You’ll get a healthier, nuttier crust when you swap some or all white flour for whole wheat. It adds fiber and flavor but needs adjusted hydration and handling to stay tender. This guide gives practical, evidence-based steps for mixing, fermenting, and baking so you can make reliable loaves at home—start with the basics below.
Ingredients and Measurements
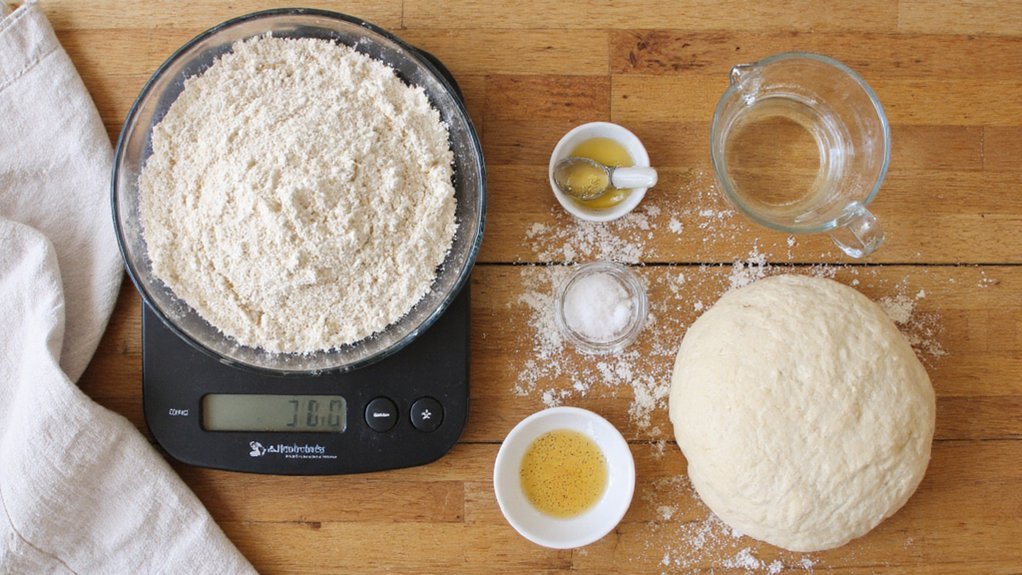
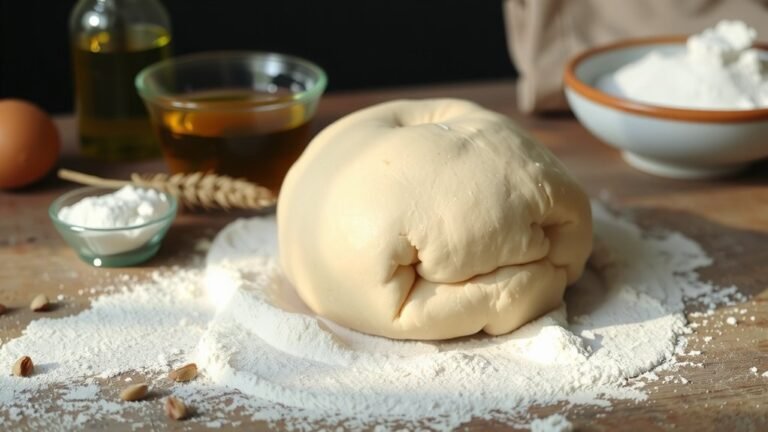
Start by weighing your ingredients: for a reliable whole wheat pizza dough, use 500 g whole wheat flour, 325–360 g water (65–72% hydration depending on grind and desired chew), 10 g salt, 7 g instant yeast (or 15 g active dry yeast), and 15–30 g olive oil. Measure by weight for consistency; research shows bakers get more repeatable hydration and texture when they weigh. Choose the lower water range for coarser grinds or if you want less stickiness; increase toward 72% for finer flour or an open crumb. Salt controls flavor and yeast activity—keep it at 10 g. Olive oil improves extensibility and mouthfeel; 15 g yields a leaner bite, 30 g gives more tenderness. Adjust modestly and note results. Track timings and temperature changes.
Equipment You’ll Need
You’ll need a few essential mixing tools—a sturdy bowl, dough scraper, measuring cups/spoons, and a reliable scale—to get consistent whole wheat dough. For baking, choose between a preheated pizza stone, steel, or a heavy sheet pan based on your oven and desired crust crispness. These choices affect rise, texture, and cooking time, so pick tools that match your skill level and the results you want.
Essential Mixing Tools
Because whole wheat absorbs more water and benefits from thorough gluten development, having the right tools makes the process predictable and efficient. You’ll want measuring equipment, a sturdy bowl, a dough scraper, and a reliable mixer or strong hands; each choice improves consistency and saves time.
| Tool | Purpose | Notes |
|---|---|---|
| Scale | Accurate hydration | Weigh by grams |
| Mixing bowl | Bulk fermentation | Stainless steel preferred |
| Dough scraper | Handle sticky dough | Plastic or metal |
| Stand mixer | Efficient kneading | Use dough hook |
Choose durable, easy-to-clean options and calibrate scales. If you mix by hand, focus on fold-and-rest techniques to develop gluten without overworking the dough. Track results and adjust hydration by 1–2% based on flour brand and ambient humidity; that evidence-based tweaking will make your whole wheat crust reliably tender and strong.
Baking Surface Options
While a hot, well-conductive surface improves oven spring and crust color, the best choice depends on your oven and goals: pizza stones and steels deliver rapid, even heat for a crisp bottom, cast-iron skillets give a deep-seared crust for smaller pies, and heavy-duty baking sheets or perforated pans offer convenience and predictable results for home ovens. Choose a preheated stone or steel if you want maximum bottom crispness; heat them at least 45 minutes at the oven’s highest safe temperature to stabilize thermal mass. Use a cast-iron skillet for small, pan-style pies or when you want a blistered, seared rim; it also works well on stovetop finishes. For ease and consistent results, a heavy sheet or perforated pan reduces sticking and simplifies handling safely.
Step-by-Step Dough Preparation
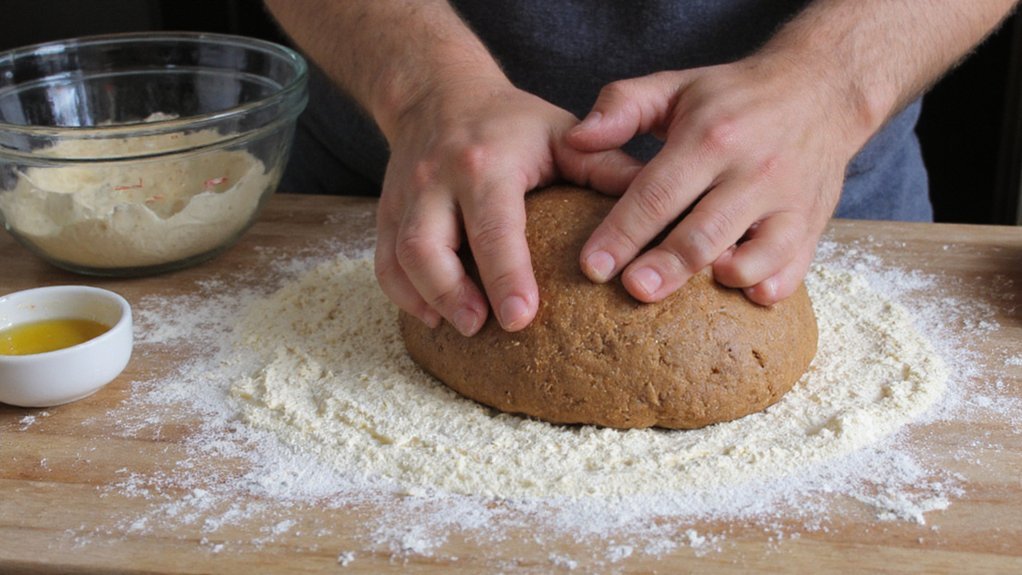
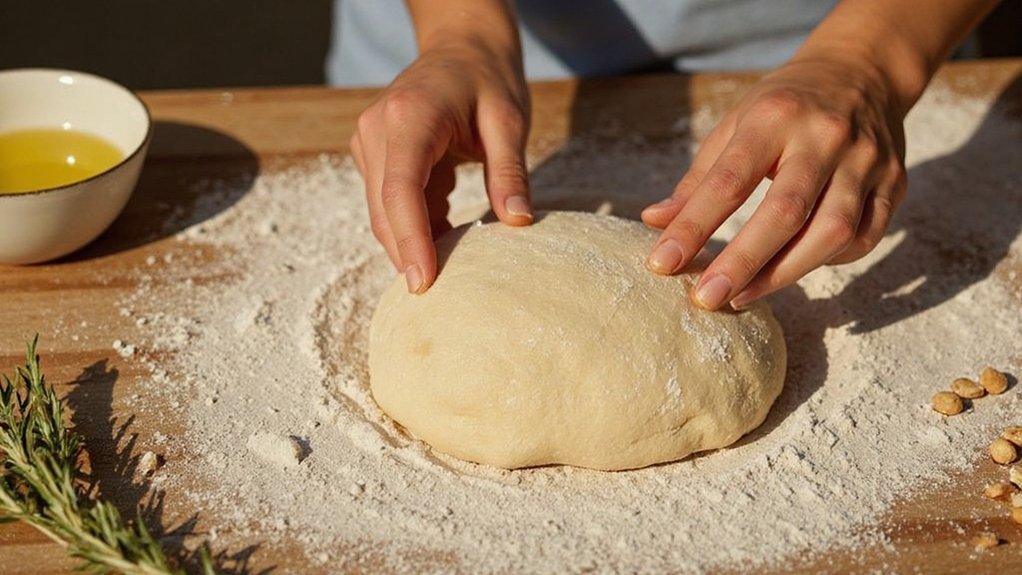
When you measure ingredients precisely and follow the sequence below, the whole wheat dough will develop consistent hydration and stronger gluten structure, which improves texture and bake reliability. Start by whisking whole wheat flour, salt, and any dry herbs in a large bowl. In a separate cup, bloom yeast in lukewarm water with a touch of honey until foamy. Pour liquids into dry ingredients and stir with a spatula until a rough, cohesive mass forms. Cover and let rise at room temperature until doubled. Turn the dough onto a lightly floured surface, press to deflate, and divide into portions. Shape each portion into a tight ball, rest briefly, then flatten gently for final shaping and transfer to a preheated baking surface for immediate baking.
Tips for Kneading and Hydration
Although whole wheat absorbs more water than white flour, you should aim for a wetter dough (typically 65–75% hydration) and adjust by feel rather than strict volume—add liquid gradually and note a tacky, slightly sticky surface that smooths with gentle handling. For kneading, use short sessions (5–8 minutes) or stretch-and-folds to develop gluten without overworking bran, which can tear strands. Rest 5–10 minutes between sets to let flour hydrate; that improves extensibility. If dough feels dry, add tablespoons of water; if excessively sticky, dust lightly but avoid excess flour. Use room temperature water for predictable yeast activity. Monitor dough strength with a gentle windowpane test: it should stretch thin without tearing. Record adjustments for repeatable results. You’ll get consistent texture as you practice regularly.
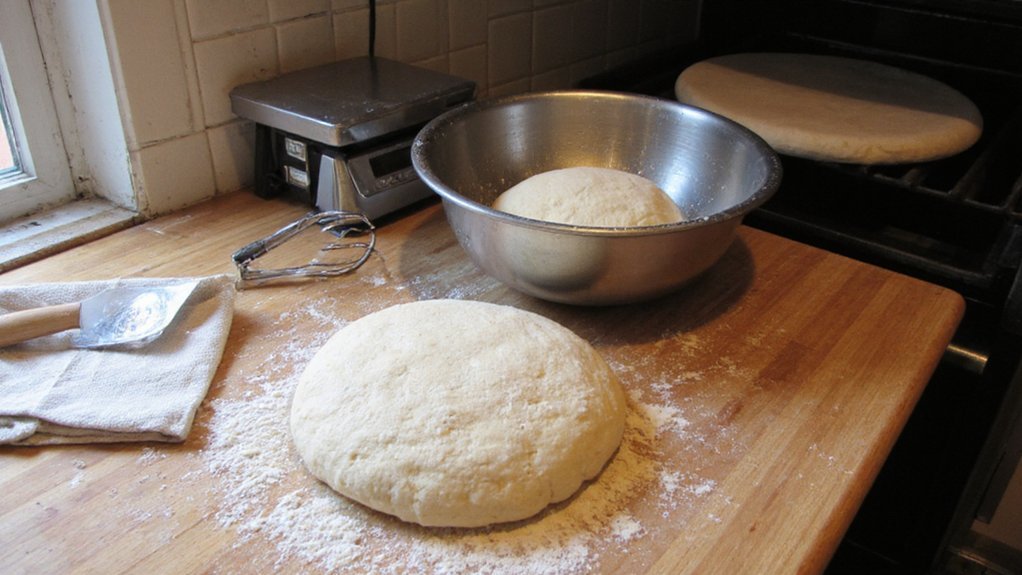
First Rise and Bulk Fermentation
You’ll want to make sure yeast activation happens predictably—fresh yeast and warm water usually kick things off in 30–90 minutes—so you can time the bulk ferment. Keep the dough in a stable, draft-free environment (about 24–27°C/75–80°F) or retard it in the fridge to slow fermentation and build flavor. During bulk fermentation, gently degas and perform folds every 30–45 minutes to strengthen the gluten network and redistribute yeast.
Yeast Activation Timing
How long you let the dough rise depends on temperature, yeast type, and the whole wheat’s absorption and enzyme activity. You’ll watch for consistent doubling or gentle doming rather than a strict clock; whole wheat behaves slower and benefits from longer, controlled activation. For bulk fermentation, you’ll perform stretch-and-folds at intervals to redistribute yeast and strengthen gluten, tracking visible bubbles and elasticity. If using less yeast, expect extended timing; with more yeast, shorten activation to avoid overproofing. Record your timings so you can replicate results.
- Note visible bubble structure, not just size.
- Use a gentle poke test to judge readiness.
- Schedule one or two stretch-and-fold sessions for strength.
- Adjust yeast quantity based on planned proof duration.
You’ll get consistent results by measuring and noting.
Temperature and Environment
Having noted your bubble structure and scheduled stretch-and-folds, you now control temperature and environment to steer that bulk fermentation toward predictable results. Aim for 24–27°C (75–80°F) for a balanced, same-day rise; cooler (10–15°C/50–60°F) slows fermentation so flavor develops over 12–24 hours in the fridge. Use a probe thermometer for dough temperature and a room thermometer for ambient conditions; they improve reproducibility. Maintain moderate humidity or cover dough to prevent skinning. Avoid extreme heat that stresses yeast—above 35°C (95°F) accelerates fermentation and reduces flavor complexity. If you need speed, raise temperature slightly; if you want more flavor, chill. Track timing against dough volume and elasticity, not a clock alone, and adjust future batches based on these measurements. Record temperatures and outcomes for consistent future results.
Degassing and Folding
Gently degassing and doing periodic stretch-and-folds during bulk fermentation gives you control over gas distribution and gluten development without stripping away the structure you want for oven spring. You’ll press down to release large bubbles every 20–30 minutes, then do stretch-and-folds: lift, stretch, fold, rotate, repeat four times. This balances gas, strengthens gluten and preserves extensibility essential for whole wheat’s lower gluten strength. Use wet hands to avoid tearing; keep motions confident but gentle. If dough feels slack, wait 20 minutes before repeating. Aim for a smooth surface and modest volume increase, not full deflation.
- Even crumb through controlled gas
- Strengthen gluten without overworking
- Preserve sugars for flavor and browning
- Time actions to dough feel, not clock
You’ll get a more open, flavorful crust.
Shaping, Topping, and Baking
When you shape the dough, work briskly so you don’t deflate the air pockets that give whole-wheat crust its lift and chew. Use light flour on your bench, press from center outward with fingertips, and leave a slightly thicker rim for a sturdy cornicione. Transfer to a peel or baking sheet dusted with semolina to prevent sticking. For toppings, prioritize low-moisture ingredients and pre-cook watery vegetables to avoid sogginess; a thin layer of sauce preserves crispness. Don’t overload—aim for balance between structure and flavor. Bake on a preheated stone or steel at high heat (475–500°F/245–260°C) for 8–12 minutes, rotating midway for even color. Let the pizza rest briefly before slicing to set the crumb. Serve immediately for best texture and taste and maximum enjoyment.
Storing and Freezing Dough
Refrigerating dough slows fermentation and improves flavor, but because whole-wheat flour ferments faster than white flour you should plan shorter cold rests—store it in an airtight, lightly oiled container or bowl for no more than 24–48 hours. If you won’t use dough within two days, freeze portions: shape balls, wrap tightly, place in a freezer bag. Thaw overnight in the refrigerator before bringing to room temperature then reproof 30–90 minutes. Label packages with date and portion size. When you defrost, you’ll lose a bit of oven spring; adjust expectations and handle it gently. Follow safety guidelines: discard dough with off odors or discoloration.
- Portion for single pizzas
- Wrap tightly to avoid freezer burn
- Thaw in fridge, not at room temp
- Use within 3 months
Variations and Serving Suggestions
After refrigerating or freezing, you can adapt whole-wheat dough to a range of finishes and meals that play to its nuttier flavor and denser crumb. Try a thin-crust approach: roll dough thinner, prebake 4–6 minutes, then add lighter toppings (fresh tomatoes, arugula) to avoid sogginess. For thicker, pan-style pies, press into oiled pans and allow a short second rise; research shows longer rises soften whole-grain textures. You can also shape individual flatbreads, calzones, or garlic knots—portion control helps meet dietary goals. When pairing toppings, balance fat and acid (olive oil, lemon, vinegar) to brighten whole-wheat’s profile. Reheat baked leftovers in a skillet or oven to restore crispness rather than microwaving. Test small variations to find preparations that align with your taste and nutrition needs.
Conclusion
You’ll find whole wheat pizza dough gives more fiber, savory flavor, and resilient structure when you follow measured hydration, folding, and brief cold fermentation. Use a hot stone and gentle shaping to preserve air pockets and crisp the crust. If you want softer texture, mix in a bit of bread flour or extra hydration; for quicker prep, use warm-proofing. Store or freeze portions for convenience. These practical steps help you make healthier pies at home.