You can learn to stretch pizza dough without tearing. First, you rest the dough and keep the surface light, because warmth loosens gluten for easier handling. Next, you start shaping with gentle turns. Then you switch to rolling or hand-stretching, check for roundness, and pause if it resists, because slow practice hides the best tricks, and you’ll learn what to try next.
Resting the Dough for Flexibility
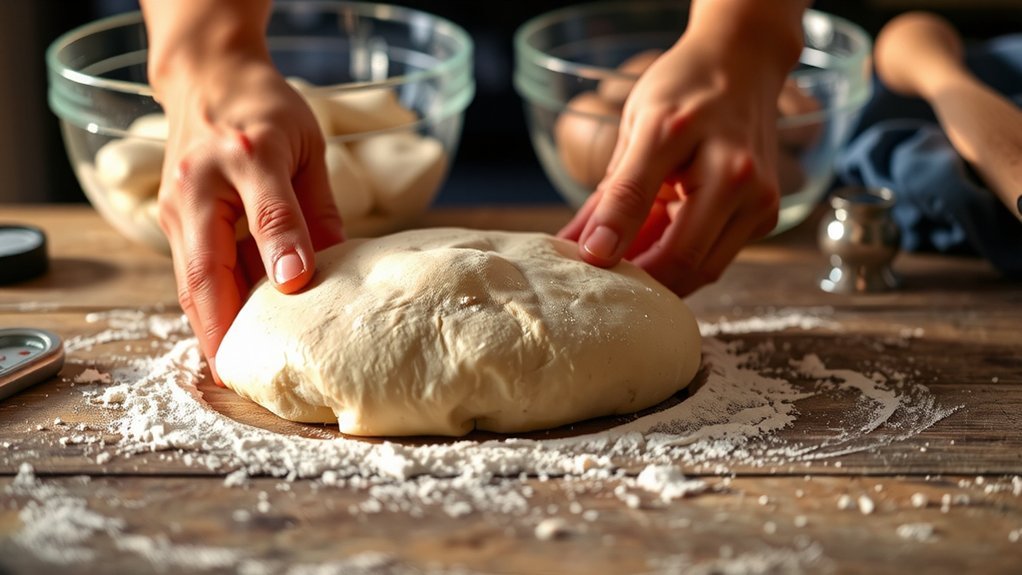
To start, resting the dough helps it relax. You feel the dough slow down, and you learn patience as a quiet kitchen mentor guides you toward better texture without rush in this simple practice. This is where resting durations matter.
As you plan, you consider resting durations like 20 to 30 minutes, and you notice humidity impact on dough feel, since moisture changes how stretchable it becomes.
Keep the bowl lightly covered for safety.
If it feels tight, give it another short rest, then check again, because small tweaks add flexibility without tearing for better results.
Voice your questions aloud.
Choosing the Right Flour and Hydration
Choosing the right flour matters because it sets the dough’s feel from the start. You learn Flour selection by noticing how the dough stretches, how it tears, and how quick it feels at the bench, so you adapt without fuss each time. Hydration tuning helps you control stickiness with tiny water adjustments as needed. Keep it practical: start with a moderate hydration, then test by stretching a small ball, watching for smooth expansion and easy movement without tearing, and adjust gradually today. This approach stays steady, and your confidence grows with each batch, friend, honestly today. If you drift toward too much water, pause, wait, and reassess, because flour varies and Hydration tuning depends on your dough’s feel, not rules alone at the bench.
Temperature and Fermentation Basics
How fast your dough ferments changes how you work. You’ll notice yeast activity shifts the pace you stretch, shape, and sauce your plan. Temperature guides how lively the dough feels in your hands, so keep your kitchen calm and steady. You want a dough that’s springy, not stubborn, and that means watching proofing duration as much as watching the clock. If your room is warm, fermentation speeds up and you’ll need shorter rest periods. If it’s cool, give it more time and you’ll still get a resilient crust. Signpost this: feel the dough, then adjust. This isn’t magic, it’s timing. With practice, you’ll sense when to go forward and when to pause. Remember, patience helps your dough rise with character, not tears.
Preparing Your Workspace and Tools
First, you’ll prep a clean workspace so your dough isn’t fighting dirty counters. Next, gather essential tools like bench flour, a rolling pin or your hands, a dough scraper, and a timer, and I’ll show you how each helps you stay on track. Finally, keep a flour-dusted surface ready for action.
Clean Workspace Prep
To start, you clear a clean, dry surface and gather your tools. Set up a calm, organized space. Keep the surface free of flour clouds and sticky spots, and you’ll feel more confident; sanitizing counters first helps you breathe, and organizing utensils keeps pans within easy reach. Next, you check the layout. Place a small bowl for scraps nearby and position towels where you won’t trip, because a neat setup saves time, reduces mess, and invites steady hands when you stretch. Finally, you pause to breathe. With your space ready, you’re prepared to begin, and you feel motivated to stay steady even when the dough fights back today and again tomorrow. Now you’re set to stretch with focus. Keep habits simple and stay curious.
Gather Essential Tools
With your space set, you’ll grab the tools that make dough handling easier and keep you steady as you work.
First, think about tool ergonomics, not flashiness. Choose a sturdy bench scraper, bowl, and rolling guide that feel comfortable in your hands, so fatigue stays far from your kitchen.
Next, consider knife selection—keep a sharp, dull-free blade for slicing and scoring, and store it safely. A light knife can trim dough quickly without chaos.
Now, set your workspace so towels, boards, and tools have clear spots; this avoids searching mid-stretch and helps you stay focused and steady all along.
Finally, keep a simple kit nearby and label items, so you can grab what you need without breaking rhythm; this is your practical anchor today.
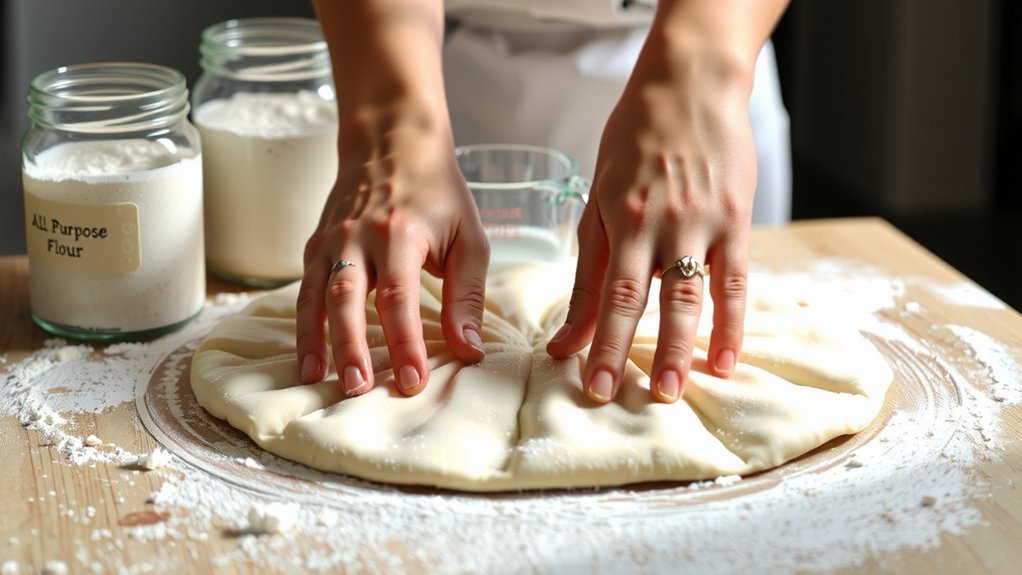
Flour-Dusted Surface Setup
On a clean workspace, a light dusting of flour sets the stage for smooth dough handling. Set up your workspace by sprinkling a light dusting of flour, watch the surface texture as you work, and notice how dust distribution guides the dough. Keep the board steady, and let the flour stay in a thin layer. If you see clumps, pause and re-dust nearby areas, not over the dough, then explain this shift aloud so you remember the habit next time. This setup gives calm control and a small victory smile. Signpost the next step by noting your dust distribution here, then proceed to shaping, resting, and testing your dough without rushing toward a smooth pizza outcome for best results. You’ve got this, friend today.
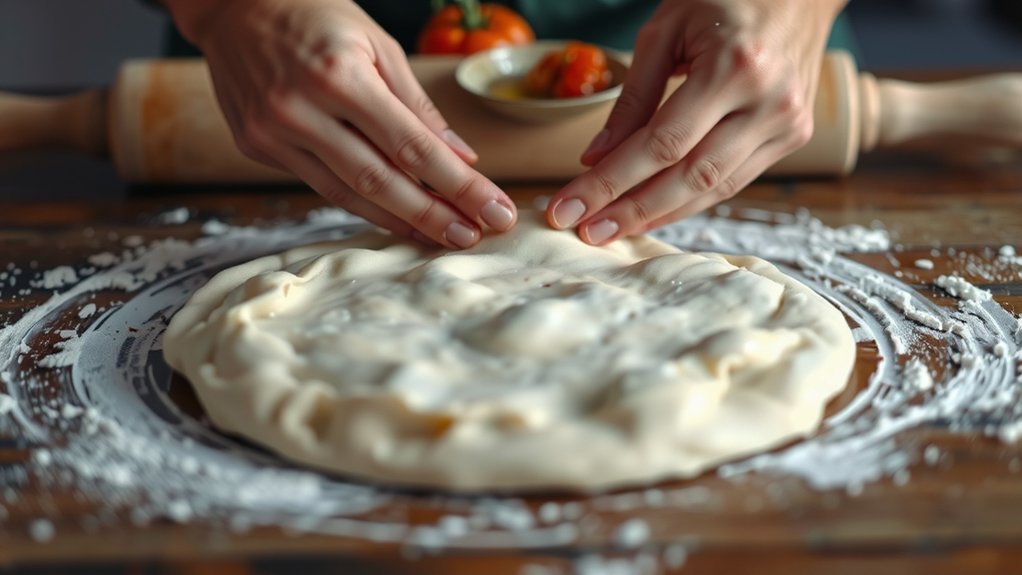
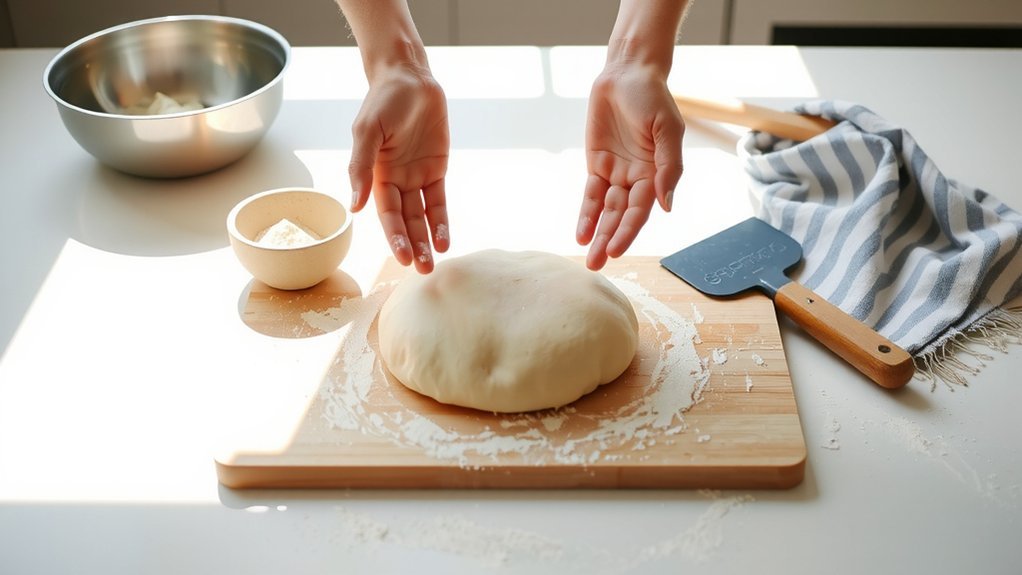
Hand-Stretching Technique: Starting From a Ball
First, you start with a tight dough ball and let it rest a bit before you begin. Then you gently press and turn the ball, stretching outward in small circles, keeping the center thick while the rim thins, and you check for a soft, bouncy skin. Next, you move to Gentle Stretch Steps, and I fess up about my wobble, because practice beats perfection, most days.
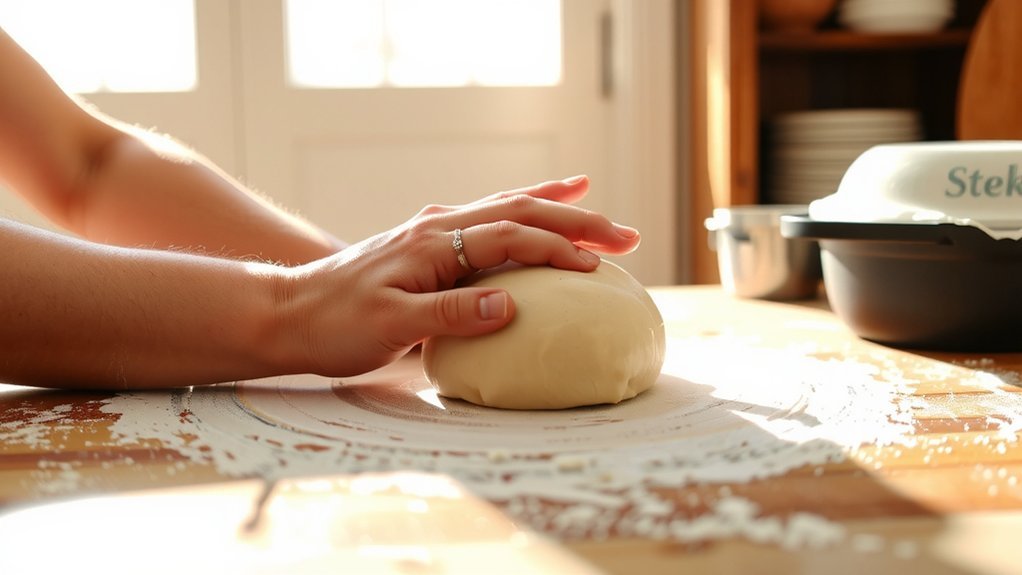
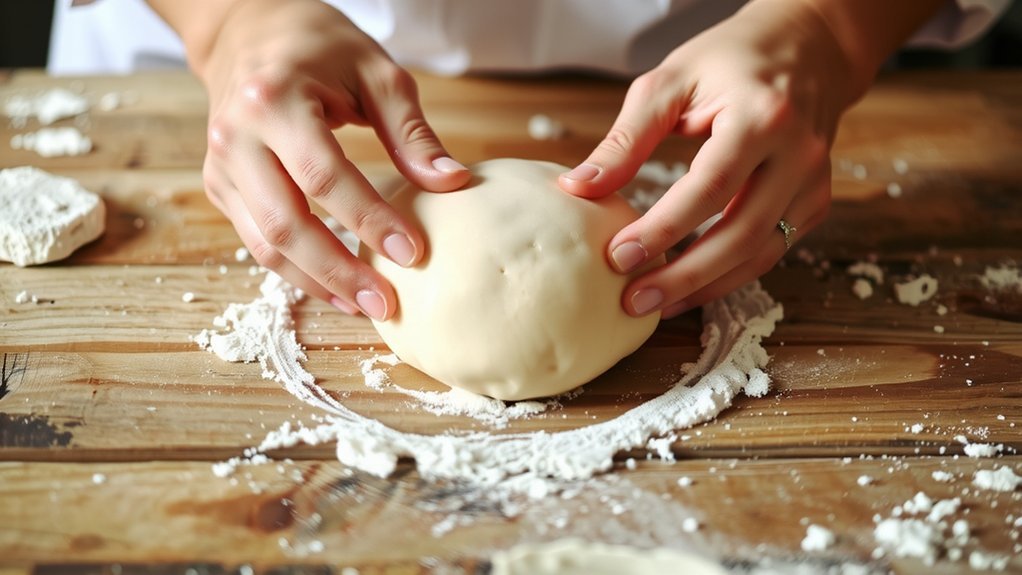
Ball-Based Start
Grab a ball of dough and give it a gentle tap to wake it up. You feel the dough soften, and you check hydration balance by pinching a tiny edge; then you rotate the ball, using slow, steady ball rotation to wake more gluten. This is your baseline move today here. As you proceed, keep the dough centered on the work surface and apply gentle pressure outward; you plateau, then pause, then continue, guiding toward a round shape without tearing. Patience wins here, and you’ll feel steadier. If the dough sticks, give it a tiny rest, then reattempt, because a rest helps hydration distribute evenly and calmer hands prevent tears during the stretch for a smoother finish. Keep practicing, and trust the dough process.
Gentle Stretch Steps
If you’re starting from a ball, you’ll ease into gentle stretch steps by first waking the dough with a steady, clockwise rotation.
Next, you lay the ball on the bench, press gently with fingertips, and let gravity do a bit of work, while you check hydration myths and stay calm.
Your goal is even, gentle expansion.
If a pinch happens, you pause, rotate again, and breathe. You’ll feel the dough relax, and the edge strength keeps shape aesthetics from slipping away under pressure.
Keep the pace steady, not frantic.
Practice, smile at your mistakes, and trust the dough to guide you forward today.
Keep the surface lightly floured and work from center outward.
Be patient; you’ll learn.
Mistakes happen, but progress follows with practice.
Gentle Grip and Circular Motion to Expand
Gently cradle the dough and let it relax a moment. With a soft grip and steady hand, focus on grip mechanics and motion dynamics as you ease the dough outward, turning it slowly with steady breathing. Keep your fingers curved and contact light. If you feel tension, pause and let the dough relax, then continue with small turns. Signpost: shift to a broader circle as diameter grows. As you work, imagine a calm coach guiding your hands, offering gentle correction when the dough obeys your cues. Keep practicing; steady improvement follows mindful effort, always. Then restate the goal: your dough should feel pliable, resilient, and ready for shaping, not tight or sticky, so you can stretch further with confidence and calm focus each time.
When and How to Use a Rolling Pin
When should you reach for a rolling pin, and when is it better to let the dough rest?
Rollers help only in the right moment.
If you feel resistance, use a gentle pin technique, press evenly, and rotate the dough. Too much pin pressure can tear or stiffen the center, so go steady.
When resistance appears, roll gently: press evenly, rotate, and avoid tearing.
Let the dough loosen from your hands and ambient warmth before rolling again.
When you decide to roll, keep the work surface lightly floured, or use parchment. This reduces sticking and helps you see where edges need gentler stretches.
I’m not perfect, so I practice, laugh, and try again.
Remember signposting: switch from resting to rolling with a breath, observe how the dough yields, and adjust pin pressure as you proceed to an even circle.
Achieving an Even, Thin Crust With Air Bubbles
Rolling the dough toward an even, thin base starts with calm hands and a clear plan.
You keep the dough relaxed, you guide it outward, and you watch for crust texture as you rotate to shape a circle.
If you see bubbles, you let edges stretch thinner and calmer, aiming for even bubble distribution without big holes there.
Next, you tweak your grip and pace, keep pressure gentle, then test flexibility by lifting an edge and letting it relax gently.
This practice builds control, not fear, so you stay patient, breathe, and accept imperfections as you chase a smoother crust.
Transferring to the Baking Surface and Docking
Transferring the dough to the baking surface marks an essential next step. Now you’ll learn how to move it smoothly without dragging. You start by flouring a peel or the back of a baking sheet, then ease the dough onto the surface. This is where surface transfer comes in, and you keep the dough centered with gentle coaxing. Next, you’ll dock it to prevent bubbles, using a light docking technique with a fork or dough docker. Don’t rush; take a breath and plan your grip. I’m not perfect either, so I joke that my dough has a mind of its own. Signposting: first transfer, then docking technique, then bake. We stay practical and calm, aiming for a crisp, even crust. And yes, it works.
Common Tearing Fixes and Troubleshooting
Ever notice tiny tears forming in your dough after you stretch it? These tears often happen still, but you can fix them by centering the dough, letting it rest, and choosing a gentler stretch instead of yanking. Rest helps. If holes appear, sprinkle flour lightly, lift the edge, and pull from the center outward, not outward only. This keeps the surface smooth, you maintain stretch, and you avoid tearing. Myth busting helps here. Common technique myths say dough should never rest, but myth busting shows resting strengthens gluten, reduces tears, and makes stretching easier for you in practice. Give it a try and note what works. If you still tug too hard, stop, breathe, and reset the dough on the bench, letting it relax before retrying stretch.
Conclusion
You’ve learned to rest, then roll. When it stretches without tearing, you’ll feel you’ve tamed a stubborn mule; keep calm, rotate, and let warmth do the work. So, here’s the bottom line: center, press outward in small, steady motions, then test edges for flexibility. Stay patient if it resists—rest a moment and try again. You’ll bake toward a round, supple crust, and your kitchen will host a tiny victory dance, and every crust sighs yes.