If you want predictable pizza dough, you need to think in baker’s percentages. They put flour at 100% and express water, salt, and yeast relative to it so you can scale and compare recipes. You’ll learn how hydration affects handling, crumb, and bake time — and why one percentage can change everything.
Basics of Hydration and Baker’s Percentages
How much water should you use in your pizza dough? You’ll base it on desired crust and handling: lower hydration (50–55%) yields a stiff, easy-to-shape dough and tight crumb; moderate (58–62%) gives extensibility, crisp edges and open interior; higher (65–75%+) produces very open crumb, glossy interior, and stickier handling that benefits from stretch-and-folds and high-strength flour. Hydration interacts with flour type, salt, and fermentation time, so you’ll adjust upward for whole grain or coarse semolina and downward for weak flour. Measure water precisely, hydrate fully, then rest to let gluten develop. If dough’s too sticky, refrigerate or add flour sparingly; if too dry, incorporate small water additions during mixing. Practice with set recipes so you’ll learn hydration’s impact and adapt confidently to different flours.
Reading and Calculating Baker’s Percentages
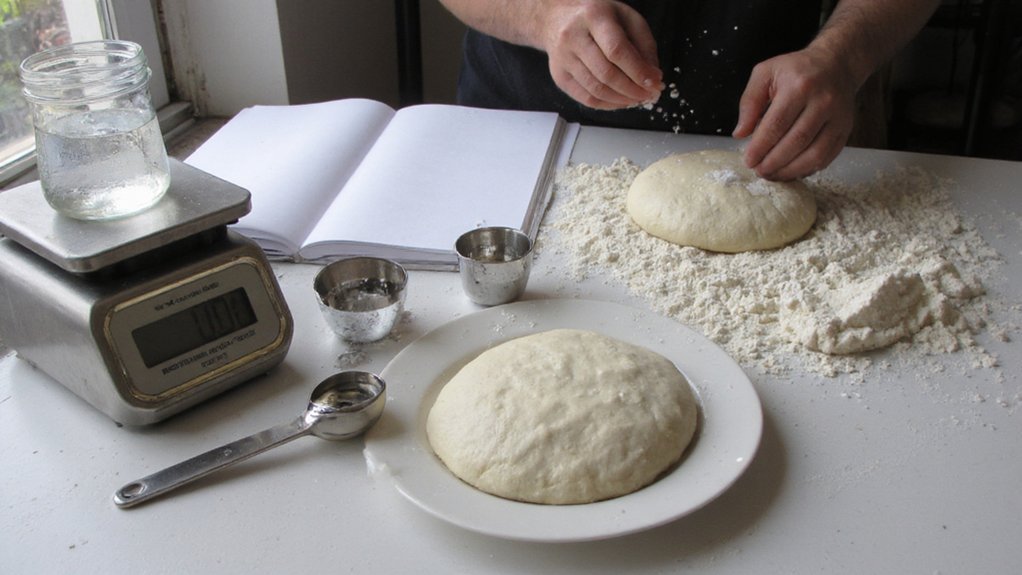
You use baker’s percentages with flour defined as 100% and every other ingredient expressed as a percentage of that flour. The formula is (ingredient weight ÷ flour weight) × 100, so you calculate hydration by dividing water weight by flour weight and multiplying by 100. Always convert all weights to the same unit and weigh ingredients on a scale before calculating to guarantee accuracy.
Baker’s Percentage Formula
Baker’s percentages give every ingredient a clear, comparable value by expressing each as a percentage of the flour weight, which is always set at 100%. Use the formula: ingredient percentage = (ingredient weight ÷ flour weight) × 100. That single equation governs hydration, salt, yeast and oil; you’ll apply it to control dough behavior. When you set flour at 100%, hydration is simply water percentage, so a 60% water yields a moderate dough. Salt at 2% is typical; yeast varies by type and temperature. For scaling, maintain each ingredient’s percentage and adjust flour weight to reach your target batch size. Record percentages, not just grams, so you can reproduce and tweak recipes with precision and predictability. Keep notes on timing and ambient conditions regularly.
Converting Weight to Percent
When you need to compare or scale recipes, convert each ingredient’s weight into a percentage of the flour weight so formulas stay consistent and predictable. You divide ingredient grams by flour grams and multiply by 100. That yields baker’s percent; flour is always 100%. This lets you read hydration, salt, and yeast quickly and scale precisely to any batch size.
- 500 g flour → baseline 100%
- 350 g water → 70% hydration
- 10 g salt → 2% seasoning
- 3 g yeast → 0.6% leavening
Use a calculator or spreadsheet, keep units in grams, and round minimally. When you scale, multiply flour by desired factor and apply each percentage to get exact weights. Don’t forget to record percentages so you reproduce results every time consistently.
Low Hydration Doughs (50–55%)
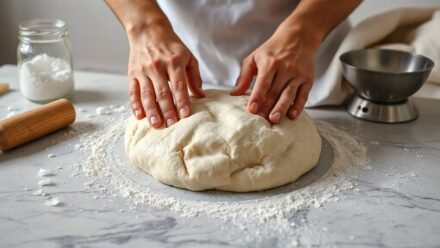
Low-hydration doughs (50–55%) feel stiff and firm, and they give you a tight, easy-to-shape ball that’s ideal for thin, cracker-like crusts and quick handling. At this hydration range gluten is concentrated, so you’ll develop structure with minimal slack; knead deliberately to align strands and avoid overworking. Fermentation is predictable: shorter bulk times and less rise, which helps if you want control and consistency. You’ll need less bench flour and can press or roll without excessive sticking. Expect a dense crumb, crisp exterior, and limited oven spring—traits you use deliberately for specific styles. Adjust salt and yeast modestly rather than water to tune performance. Measure precisely; small hydration shifts noticeably change texture and workability. Track temperature and humidity, and record results for repeatable outcomes consistently.
Medium Hydration Doughs (60–65%)
At 60–65% hydration you’ll get a dough that’s noticeably softer and slightly tacky, offering a springy interior with enough structure to hold toppings. You’ll handle it easily—it’s forgiving during shaping, stretches thin without tearing if you use gentle presses and light flouring, and benefits from folds to build strength. Baked, it yields an airy crumb with crisp, blistered edges and a pleasant chew that balances crispness and elasticity.
Texture and Feel
A 60–65% hydration dough feels like a slightly tacky, springy ball that holds its shape and responds when you press or stretch it. You can sense balanced elasticity without excessive stickiness; the surface is smooth with tiny, visible seams where gluten aligns. When you lift the ball it recoils slightly and maintains cohesion, indicating proper hydration for an open crumb and good oven rise. Your fingertips leave a gentle impression that slowly recovers. Visual and tactile cues to note:
- Slight tackiness that releases cleanly from your fingers
- Smooth, satin-like surface with subtle seams
- Noticeable springback when compressed
- Cohesive mass that doesn’t sag or drip
Use these cues to judge hydration rather than relying on measurements alone. Trust your touch; it’s the most reliable indicator.
Handling and Stretching
Now that you can read the dough’s feel, use those tactile cues to guide how you handle and stretch 60–65% hydration pizza dough. You’ll work with a dough that’s responsive but not overly slack; keep movements controlled. Before stretching, bench rest ten to twenty minutes after bulk ferment to relax gluten. Flour your hands lightly and lift dough from center, letting gravity assist while rotating to maintain even edge; don’t press out the rim. Use finger dimpling to create an even thickness, then finish with gentle palm presses or a short toss if you’re confident. If the dough resists, return it to rest rather than force it. These steps preserve structure, prevent tears, and produce a predictable, easy-to-manage crust. Repeat practice for consistent results.
Baking Results
When baked at high heat, 60–65% hydration doughs give you a reliably crisp exterior with a moderately open, even crumb and a chewy, well-structured rim. You’ll achieve predictable oven spring and controlled blistering when you manage fermentation and sheet thickness; underproofing yields tighter crumb, overproofing softens the crust. Aim for a hot surface and brief bake to lock structure while preserving chew. Use these visual cues to judge results:
- Golden-brown blistered spots across the skin.
- Even alveoli, mostly uniform in size.
- Thin, crisp base that supports toppings.
- Resilient rim that compresses then rebounds.
Record changes and iterate; modest swings produce measurable shifts in crust, crumb, and chew every bake. Adjust hydration, proof time, or heat in small increments to move results toward your target.
High Hydration Doughs (70–80%)
Although higher hydration can feel intimidating, you’ll get a more open crumb, stronger oven spring, and a silkier, more extensible dough at 70–80% hydration. You must adjust handling: expect stickier feel, longer folds, and gentler shaping. Hydration in this range rewards patience—bulk fermentation and surface tension are critical. Use wet-hand techniques, bench flour sparingly, and rely on cold retardation to develop structure. Monitor dough strength; underdeveloped gluten means collapse, overworked dough loses extensibility.
| Feature | Practical effect |
|---|---|
| Stickiness | Requires wet-hand handling |
| Open crumb | Larger alveoli with light bake |
| Oven spring | Improved with proper tension |
| Fermentation | Slower, benefits cold proofing |
Practice incremental increases to find your sweet spot. Record percentages, times, and temperatures; small changes yield measurable differences in crumb and handling. Adjust, test, repeat consistently.
How Different Flours Change Hydration Needs
Different flours demand different water ratios because protein content, ash level, and particle size directly affect how much water they’ll absorb. You’ll adjust hydration based on flour strength: higher protein (strong bread flour) needs more water to reach the same feel; whole grain flours soak up a lot more because bran cuts gluten and holds liquid; semolina and durum absorb differently and can stiffen the dough; low-protein cake or pastry flours need less. Use these practical cues to judge hydration:
- Pale, highly refined flour: slick, elastic at moderate hydration.
- Whole wheat: coarse, thirsty, tacky with higher hydration.
- Semolina/durum: granular, firm, demands measured increase.
- High-protein flour: stretchy, tolerates substantial hydration.
Trust texture over numbers and adjust by feel. Record adjustments and refine with each bake.
Scaling Recipes and Managing Fermentation
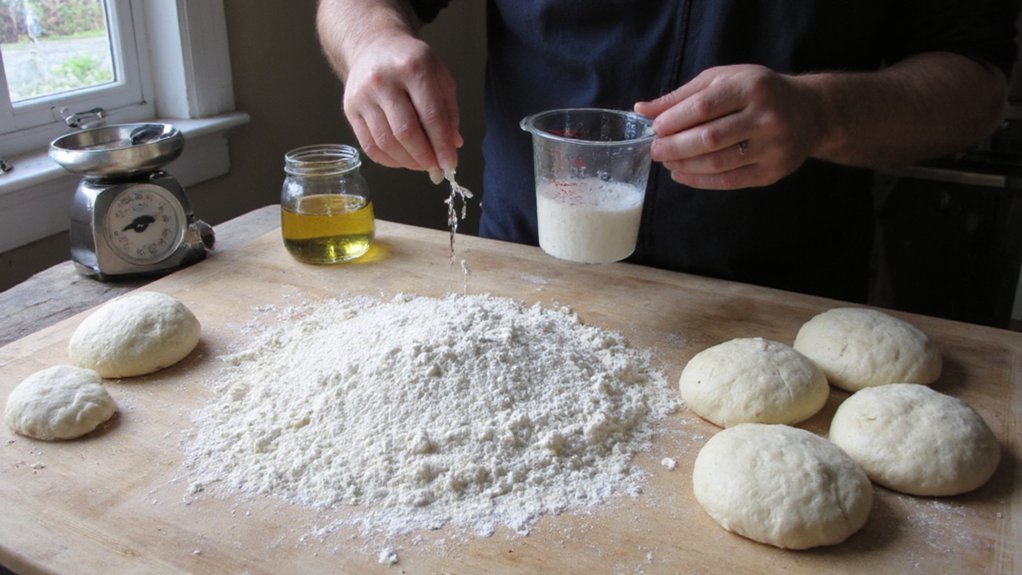
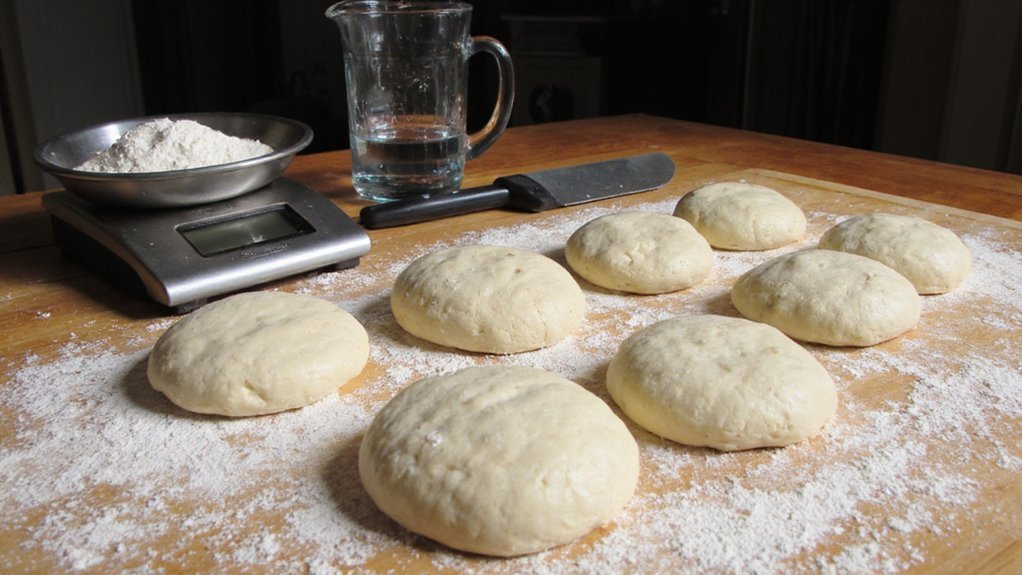
If you scale a recipe up or down, weigh ingredients and work in baker’s percentages so hydration and salt stay exact; that keeps the dough’s behavior predictable no matter the batch size. You’ll scale yeast and improvers proportionally, but also adjust fermentation time and temperature: larger batches retain heat and ferment faster; smaller balls cool and ferment slower. Use dough temperature calculations to hit target fermentation rates, and monitor bulk fermentation by volume and feel rather than clock time. For big batches, split dough into appropriately sized containers to guarantee even cooling and gas development. Use cold retardation to slow activity and develop flavor when working ahead. Keep records of batch size, ambient temperature, and timings so you can reproduce results reliably every time.
Practical Dough Tests and Troubleshooting
When you change batch size or fermentation schedule, run a few quick, repeatable tests so you catch problems early and make precise fixes. You’ll measure hydration effects with simple, objective checks: feel, windowpane, tack, and rise rate. Perform tests after mixing and after bulk fermentation, record results, and tweak water, time, or salt in small increments. If dough feels slack, reduce hydration or strengthen by folding; if dry, add per-100g water in 1–2% steps. Use these four rapid checks to localize issues:
- Texture: surface smoothness and elasticity under thumb
- Windowpane: thin film without tearing
- Tack: stickiness to touch, not residue
- Rise rate: predictable doubling or set fractional increase
Document each batch; reproducibility is your diagnostic tool. Keep notes; change only one variable at once.
Shaping, Baking, and Final Crust Characteristics
Because shaping and baking directly determine how that carefully tuned dough translates into crust, you should handle each step with purpose: shape to preserve gas and build surface tension (gentle degassing for open crumb, tighter rounds for uniform crumb), dock or stretch thinly for crisp bases, and place loaves or pies onto a preheated stone or steel to lock in oven spring. Use high heat and conduction to set crust quickly; rotate as needed for even color. Adjust hydration relative to baking surface and peel technique—higher hydration benefits blistering but needs faster transfer. Steam early for oven spring when baking pans, avoid excess for thin pizzas. Cool on a rack to finish set and prevent sogginess. Judge doneness by color, feel, and bottom crispness.
Conclusion
You now understand baker’s percentages and how hydration shapes dough behavior. Use flour=100% to calculate water, adjust hydration by flour protein and whole-grain content, and test by touch. Start 60–65% for reliable handling; raise hydration for open crumb and quicker handling, lower it for tighter crumb and easier shaping. Scale formulas consistently, manage fermentation times, record results, and iterate—you’ll control crust texture and baking outcomes predictably with reproducible professional-level results consistently through small, measured adjustments.