You want a blistered crust, tender crumb, and perfectly melted toppings. That means matching temperature to style and equipment, controlling heat transfer, and timing the bake precisely. You’ll learn target temps for home ovens, pros, stones and steels, plus fixes for heat-related failures…
How Oven Temperature Shapes Crust, Cheese, and Toppings

When you dial the oven temperature, you control competing chemical and physical processes that define crust, cheese, and toppings: high heat (450–500°C in wood-fired, 260–300°C in home ovens) drives rapid oven spring, crisp Maillard browning and starch gelatinization at the crust surface while leaving the interior tender; it also melts cheese quickly, promotes emulsion breakdown and oil release, and chars or caramelizes sugars on toppings before prolonged dehydration. You’ll modulate crust porosity by balancing heat flux and bake time: intense radiant flux puffs edges, sets a blistered skin and locks moisture; lower, longer bakes yield uniform crumb. Cheese kinetics—fast melting then fat separation—mean you’ll time loading and rotation to limit breakout. Toppings’ water activity and sugar content dictate charring versus drying and browning control.
Ideal Temperatures for Home Ovens
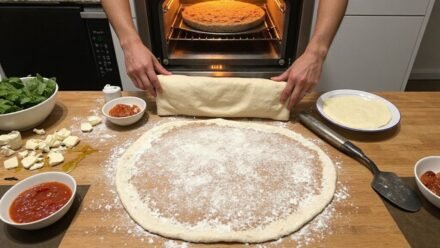
In a typical home oven you’ll usually have a practical range up to about 230–260°C (450–500°F), with many domestic units maxing near 230°C (450°F). For Neapolitan-style pies, push the oven to its highest setting and use a thoroughly preheated pizza stone or steel to concentrate heat for a rapid, high-intensity bake that promotes blistering and charring. By contrast, deep-dish pizzas perform best at lower, longer bakes—around 175–190°C (350–375°F)—to cook the thick crust and fillings through without burning the exterior.
Typical Home Oven Temps
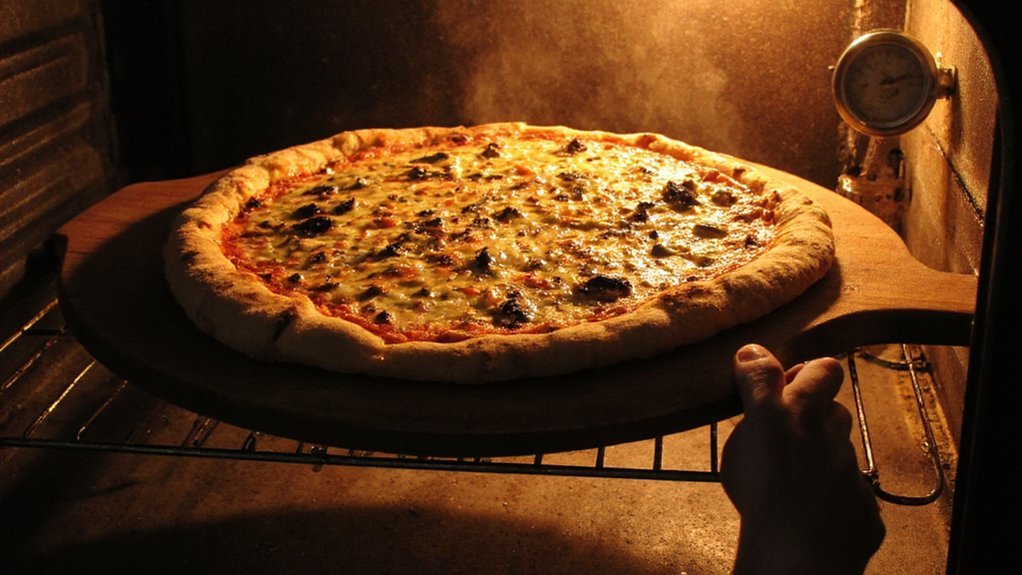
A typical home oven stabilizes between about 175–260°C (350–500°F), and you’ll need to treat those numbers as working ranges rather than absolute guarantees. You should calibrate your oven with an accurate probe thermometer, map hot spots across racks, and note recovery time after opening the door. For most styles—thin-crust, pan, and Sicilian—you’ll target the upper third of that range for rapid crust set or the lower third for gentler bake and even crumb development. Use convection when available to improve heat transfer and reduce bake time by roughly 10–20%, but adjust temperatures downward according to your manual. Monitor internal crumb temperature (around 93–99°C / 200–210°F) to judge doneness rather than relying solely on time. You can also preheat a baking steel for steadier bottom heat.
High Heat for Neapolitan
How hot should you push a home oven to chase true Neapolitan char and leopard spotting? You’ll aim for the highest stable temperature your oven can sustain—ideally 500–550°C (but most homes reach 260–300°C). Since you’re limited, use a pizza stone or steel, preheat for 60–90 minutes, and place the pizza on the hottest rack. Monitor bake time closely; you’ll mimic wood-fired results with intense top heat and rapid conduction.
- Preheat 60–90 minutes on max setting.
- Use a baking steel or stone for rapid conduction.
- Bake near top rack, rotate for even char.
You’ll prioritize short bakes (3–6 minutes in high-heat ovens, longer if cooler) and adjust hydration and thickness for blistering without collapse. Track oven temperature with an infrared gun for repeatable, precise results.
Low Heat for Deep-Dish
When you’re moving from blistered, high-heat pies to tall, pan-heavy deep-dish, you must change your thermal strategy: lower, steadier oven temperatures let the interior set without burning the exterior. You’ll typically bake deep-dish between 350°F and 425°F (175–220°C), depending on pan depth, dough hydration and topping mass. Start at the lower end to allow thorough heat conduction; if crust hasn’t browned after 25–35 minutes, increase by 25°F and monitor. Use a heavy steel or cast-iron pan, preheat it thoroughly for consistent radiant and conductive heat. Cover loosely with foil if toppings brown too fast. Check internal temperature: aim for 200–205°F in the crumb for fully set dough. This measured approach yields tender, fully cooked interiors and caramelized crusts without sacrifice. Trust the gradual heat.
Temperatures for Professional and Wood-Fired Pizza Ovens
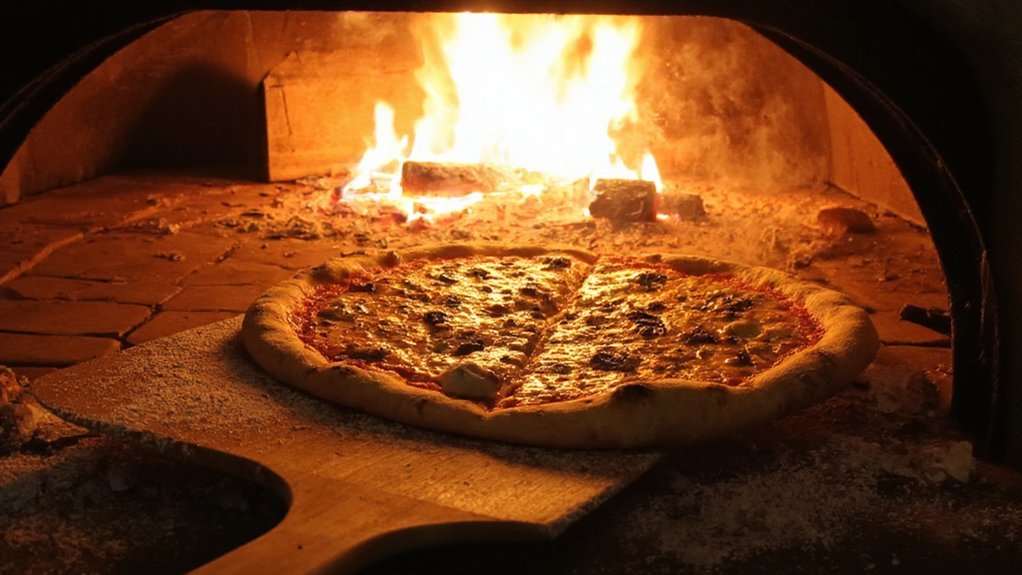
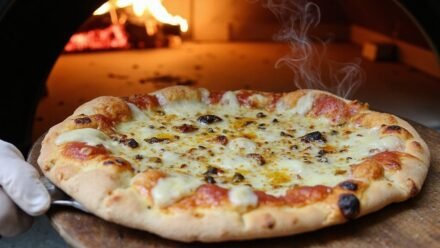
Brick ovens reach 800–900°F (427–482°C), giving you the radiant and convective heat to blister Neapolitan crusts in 60–90 seconds. You’ll rely on extremely high dome temperatures and a hot floor to produce rapid steam expansion, leopard spotting, and a tender crumb while maintaining a flexible workflow. Professional gas and electric ovens operate lower but sustained: 600–700°F (316–371°C) for tavola and Roman styles, letting you control bake time and hydration precisely.
- Match dough formulation to oven thermal mass and recovery.
- Monitor dome, floor, and air temperatures separately for consistency.
- Use short bakes, rotation cadence, and fuel management to tune char and crumb.
Measure with infrared pyrometers and thermocouples, and document cycles for repeatable results every shift. You’ll calibrate technique to oven architecture and desired char.
Using Pizza Stones, Steels, and Grills: Temperature Tips
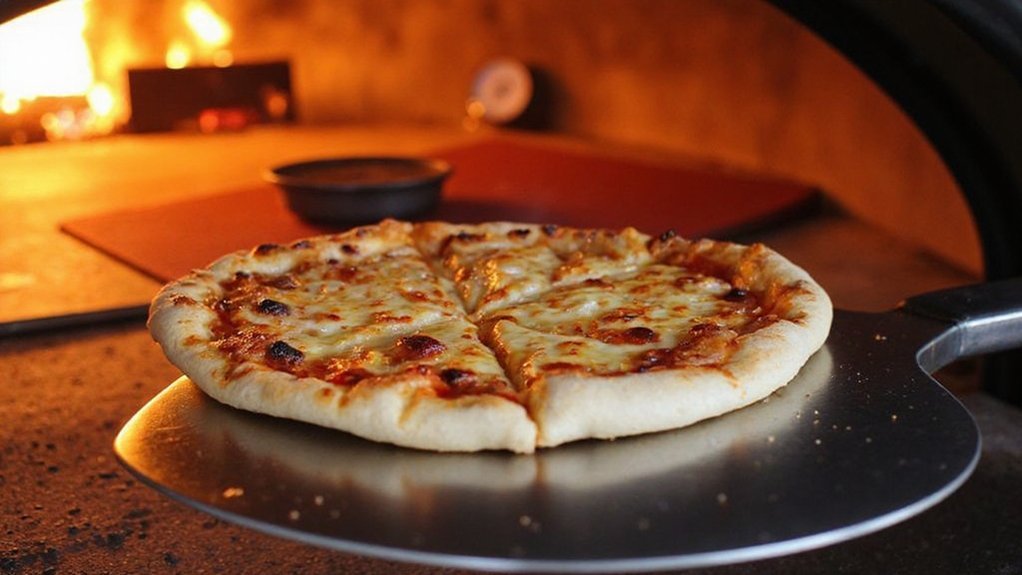
You’ll preheat your stone or steel long enough to saturate the thermal mass — typically 45–60 minutes for a stone and 30–45 minutes for a steel — so the surface reaches steady temperature. Aim for slightly lower oven setpoints for stone (500–550°F / 260–290°C) and higher for steel (550–650°F / 290–343°C) because steel transfers heat faster. On a grill, set up two heat zones, monitor surface temps with an infrared thermometer, and adjust burners or coals to control radiant and convective heat and avoid hot spots that char the crust.
Preheat Duration and Temperature
Although oven models and fuel sources differ, you should preheat long enough to bring the cooking surface and surrounding air to stable, target temperatures—this determines crust rise and char. Aim for equilibrium: heat capacity of a stone, steel, or grill grates takes time; give heavy thermal mass at least 45–60 minutes at target, lighter surfaces 20–30 minutes. Use an infrared thermometer to verify surface and ambient air, and avoid opening doors during stabilization. Manage fuel or element settings so radiant and convective components balance for top browning and bottom crisp. Aim to preheat slightly above target if you’ll lose heat when loading. Plan accordingly.
- Verify surface temp with non-contact infrared.
- Stabilize oven air for consistent bake profiles.
- Stage heat: ramp, soak, then load quickly.
Stone Versus Steel Temps
Because thermal conductivity and heat capacity drive how quickly and how intensely a surface transfers energy, you should pick stone, steel, or a hot grill with their different temperature behaviors in mind: A ceramic or cordierite stone stores heat (high capacity, low conductivity) and responds gradually; preheat it at 500–550°F (260–290°C) for 45–60 minutes so it reaches steady-state and browns crusts evenly. A steel has low heat capacity but very high thermal conductivity, so it delivers rapid, intense bottom heat; preheat at 500–600°F (260–315°C) for 30–45 minutes and expect faster oven spring and crisper bottom within shorter bake times. On a grill, the radiant and convective balance differs; treat grill use as higher-flux steel-like behavior and adjust exposure accordingly and gauge surface with thermometer
Grill Heat Management
When you move pizza cooking from an oven to a grill, you must actively manage radiant and convective flux to get consistent results: treat a stone as a high-thermal-mass, slow-to-change element and a steel as a high-flux, fast-response element, then place and preheat them accordingly, monitor surface temperature with an infrared thermometer, and use grill controls (burner power, venting, coal placement, grate height) to stabilize the plate temperature.
You’ll preheat longer for stone—45–60 minutes—and shorter for steel—15–25. Place stone close to heat for energy; keep steel lower for radiative flux. Use vents burner modulation to tame plume, browning. Check hot spots, rotate pizza, adjust grate height to balance crust and char.
- Measure temp per bake.
- Map hotspots.
- Adjust fuel, not dough.
Baking Strategies When Your Oven Runs Cool
If your oven runs cool, you’ll need a systematic approach to reclaim oven heat and predictable bake results. Start by extending preheat to saturate mass—leave a baking steel or stone in for sixty to ninety minutes. Set the oven fifteen to thirty degrees Fahrenheit higher than target; verify with an oven thermometer and a surface probe. Use convection to homogenize heat and shorten bake time. Position the pizza on the lowest rack for radiant heat or directly on the steel for blister development. Minimize door openings and use a peel for transfers. Preheat pans and iron for thermal mass. Reduce topping cold load by letting dough and ingredients approach temperature. These interventions restore thermal stability and yield consistent crust color, blistering, and bake timing.
Troubleshooting Temperature-Related Pizza Problems
You’ll still run into temperature-driven failures even after beefing up preheat and adding mass; troubleshooting narrows those failures to measurable causes so you can correct them. Start by quantifying: use an accurate oven thermometer, IR gun, and thermal mass readings. Log temperatures at surface, oven air, and stone through a bake. Isolate variables: airflow, rack position, and door opening frequency. Corrective actions follow directly from data—adjust thermostat calibration, change stone thickness, or modify bake time and placement.
- Verify thermostat calibration with a second thermometer.
- Map hot and cold zones with an IR gun.
- Standardize dough and hydration to reduce variability.
You’ll iterate until your pizza consistently hits target browning and internal crumb temperature. Measure, adjust, document, and repeat until your results meet engineering tolerances consistently.
Conclusion
You’ll match temperature to style and equipment: blast Neapolitan at 500–600°F (260–315°C) on a preheated stone or steel for rapid oven spring and leopard spotting, while baking deep‑dish at 350–425°F (175–220°C) lets crumb and toppings set without burning. Preheat thoroughly, monitor internal crumb (~200–210°F/93–99°C), rotate, and adjust placement or convection to balance browning and moisture. With controlled heat, you’ll craft consistently superior pies. Trust thermometers, steel responsiveness, and short high-heat experiments to refine your technique daily.