To make perfect pizza dough every time, start with high-protein flour, water, yeast, salt, and olive oil. Mix the ingredients until barely combined, then knead for about 10 minutes until the dough is smooth and elastic. Let it rise in a warm spot for 1-2 hours, covered to keep it moist. Avoid over-kneading and use the right flour to achieve that ideal chewy texture. Want more tips and tricks for flavor variations and storage?
Key Takeaways
- Use high-protein flour for a chewy texture and ensure proper hydration with balanced water levels.
- Activate yeast with warm water and a pinch of sugar to achieve optimal dough rise.
- Knead dough for 8-10 minutes until smooth and elastic, avoiding overworking it for a tender crust.
- Allow dough to rise in a warm environment (75-80°F) covered to maintain moisture and promote rising.
- Enhance dough flavor with herbs or spices and store any excess dough lightly oiled and wrapped tightly.
The Essential Ingredients for Perfect Pizza Dough

When it comes to making perfect pizza dough, having the right ingredients is key. First off, flour’s your foundation; go for high-protein flour to achieve that chewy texture. Next, water’s essential for dough hydration. Aim for the right ratio—too little, and your dough’s dry; too much, and it’s gooey. As you mix, remember to activate your yeast with warm water and a pinch of sugar; this step’s critical for your dough’s rise. Don’t forget salt; it not only enhances flavor but also strengthens gluten, giving your dough structure. A touch of olive oil can improve texture and make it easier to stretch. Finally, balance these ingredients well. Play with ratios until you find your sweet spot. Experimentation’s all part of the fun, so embrace that creative spirit. With the right ingredients, you’re on your way to pizza joy!
Step-By-Step Guide to Making Pizza Dough
Let’s get your perfect pizza dough started! First, you’ll need to gather some essential ingredients, and then we’ll talk about the best kneading techniques to make your dough smooth and elastic. Ready to roll up your sleeves and get baking?
Essential Ingredients List
Ready to whip up a batch of perfect pizza dough? Let’s gather the essential ingredients that’ll make it happen! Here’s what you need:
- Flour Types: Go for high-protein bread flour for a chewy crust, or all-purpose flour for something lighter and airier.
- Yeast Varieties: Use active dry yeast for a traditional rise, or instant yeast if you want to skip the blooming step.
- Water: This should be warm, around 110°F, to activate that yeast, and dissolving the salt guarantees a balanced flavor.
With these ingredients, you’re already on your way to a glorious pie. Take this step, and let your creativity shine through your homemade pizza! Happy cooking!
Kneading Techniques Explained
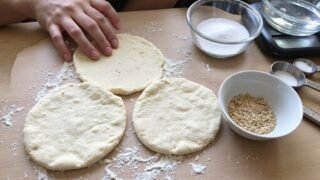
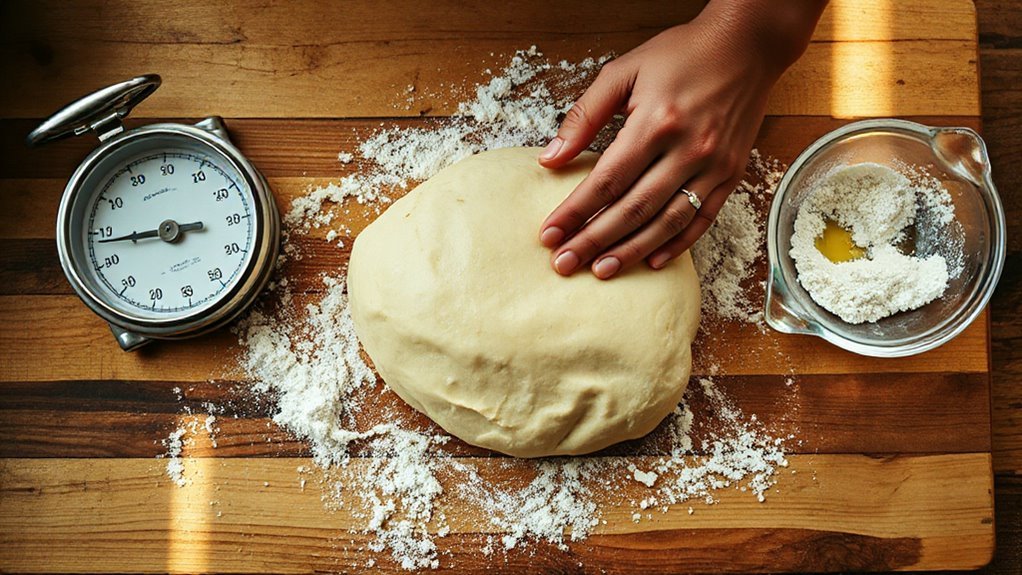
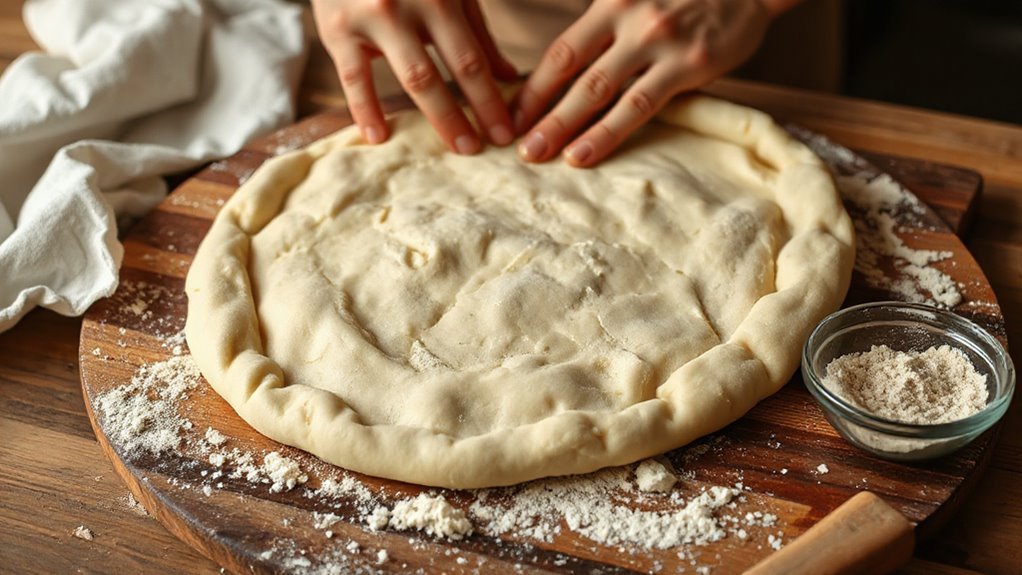
Now that you’ve gathered your ingredients, it’s time to roll up your sleeves and get kneading. Start by mixing your dough until it’s barely combined, then lightly flour your work surface. With your palms, push the dough away from you, using stretching techniques to build tension. Fold it back over itself and repeat. You want to maintain ideal dough hydration, so add small amounts of water or flour as needed to keep it manageable. After about 10 minutes, your dough should feel smooth and elastic. Give it a little rest, then shape it into a ball. Trust the process; this kneading technique will yield the perfect base for that delicious pizza you’re craving!
How to Let Your Pizza Dough Rise for Best Results
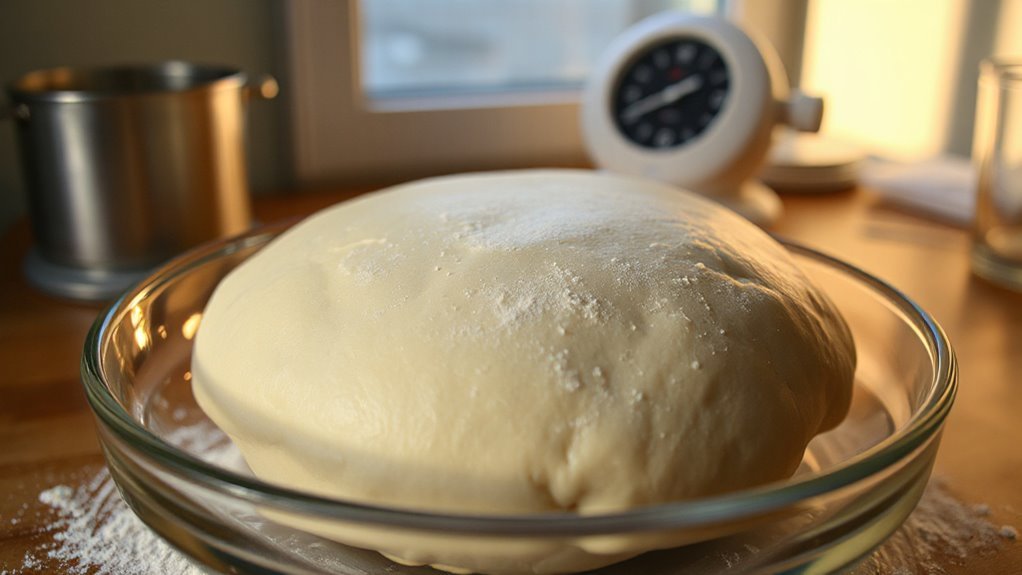
The key to achieving that light, airy crust lies in how you let your pizza dough rise. To really nail this step, keep a few things in mind for the best results:
- Ideal Temperature: Aim for around 75-80°F (24-27°C). Too cold, and the yeast will slow down; too hot, and you risk killing it.
- Rising Time: Let your dough rise for about 1-2 hours, or until it doubles in size. Be patient—it’s worth the wait!
- Cover It Up: Use a damp cloth or plastic wrap to keep your dough from drying out. This also helps maintain moisture, creating that perfect texture.
Common Mistakes to Avoid When Making Pizza Dough
When you’re making pizza dough, it’s easy to make a couple of common mistakes that can ruin your pie. Overworking the dough can lead to a tough crust, while using the wrong type of flour can mess with the texture. Let’s break down these pitfalls so you can achieve that perfect dough every time!
Overworking The Dough
Although it might seem tempting to knead your pizza dough endlessly, overworking it can lead to tough and chewy crusts that ruin your pizza night. To achieve the perfect dough elasticity and maintain texture balance, keep these points in mind:
- Knead Just Enough: Aim for about 8-10 minutes of kneading. Don’t go beyond, or you’ll ruin that lovely softness.
- Look for Smoothness: Once the dough feels smooth and elastic, it’s ready. Trust your instincts—don’t keep pushing it!
- Resting Matters: After kneading, let the dough rest for at least 30 minutes. This helps it relax and improves your crust’s final texture.
Incorrect Flour Type
Choosing the right flour can make or break your pizza dough, and many home cooks overlook this essential ingredient. If you want that perfect, chewy crust, you need to use high gluten flour. This type of flour has more protein, which creates a wonderful dough texture that’s elastic and satisfying. Using all-purpose flour might work, but it won’t give you that authentic pizzeria feel. You might end up with a dough that’s too soft or flat. Don’t shy away from experimenting with different flours, but remember: aim for high gluten flour if you want to elevate your pizza game. Your taste buds will thank you, and you’ll be well on your way to pizza perfection.
Flavor Variations for Your Pizza Dough
While plain pizza dough can be delicious on its own, adding flavor variations can elevate your pizza experience to a whole new level. Why not get creative and try some fun twists on your dough? Here are a few ideas to spark your culinary freedom:
Elevate your pizza experience with flavorful dough variations that inspire creativity and enhance every bite.
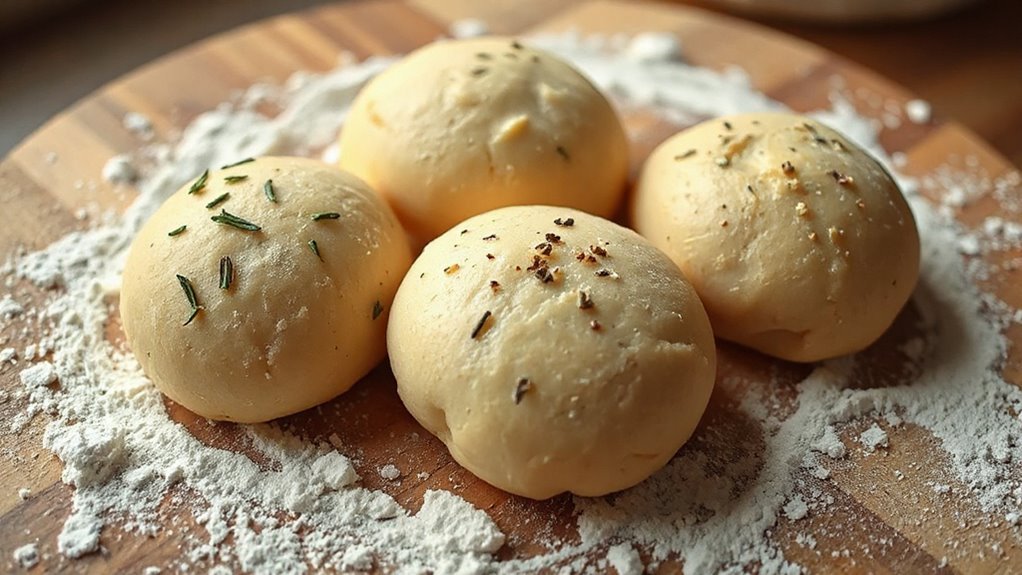
- Herb Infused Dough: Mix in fresh or dried herbs like basil, oregano, or rosemary for a fragrant touch that complements your toppings beautifully.
- Garlic and Parmesan Blend: Incorporate minced garlic and grated Parmesan cheese into your dough to give it a zesty kick that’ll make your pizza irresistible.
- Spice Blends: Experiment with a dash of chili powder, smoked paprika, or Italian seasoning for a flavorful twist that’ll tantalize your taste buds.
With these variations, you’ll craft dough that not only serves as a foundation but also bursts with flavor, making every bite memorable!
Tips for Storing and Freezing Pizza Dough

Storing and freezing your pizza dough correctly can save you time and effort, ensuring you always have a batch ready when the pizza craving strikes. For pizza dough storage, start by letting your dough rise. Once it’s doubled in size, divide it into manageable portions. Lightly coat each portion in olive oil and wrap it tightly in plastic wrap. Place the wrapped dough in an airtight container to prevent freezer burn.
When you’re ready to use your frozen dough, remember those freezing techniques: simply transfer it to the fridge overnight or let it sit at room temperature for a couple of hours. This way, it’ll rise again, giving you that perfect texture. Always tag your containers with dates so you know what needs to be used first. With a little prep, you’ll always have fresh pizza dough on hand, allowing you to whip up delicious pizzas anytime!
Frequently Asked Questions
Can I Use Whole Wheat Flour for Pizza Dough?
Yes, you can definitely use whole wheat flour for pizza dough! Whole wheat flour boasts numerous benefits, like added fiber and nutrients, making your pizza a healthier option. To achieve the best texture, try using a blend of whole wheat and all-purpose flour. A common ratio is 50-50, but you can adjust it based on your preference. So, get creative and enjoy the delicious flavors while boosting your nutrition!
How Do I Know When the Dough Has Risen Enough?
You’ll know the dough’s risen enough when it’s doubled in size and feels light and airy. Gently poke it; if the indentation springs back slowly, it’s ready. Pay attention to the dough texture—it should be smooth and slightly tacky but not sticky. Generally, rising time can vary based on temperature, but don’t rush it. Enjoy the process, and let that dough develop its full flavor! You’re on your way to deliciousness!
What Is the Ideal Water Temperature for Activating Yeast?
The ideal water temperature for activating yeast is between 100°F and 110°F. If the water’s too hot, you could kill the yeast, but if it’s too cold, it won’t activate properly. Just warm it up and check with your finger—it should feel comfortably warm, not scalding. Once you mix in the yeast, let it sit for about five to ten minutes until you see bubbles. That means it’s ready to go!
How Can I Make Gluten-Free Pizza Dough?
Making gluten-free pizza dough is like crafting your own little doughy masterpiece! Start by mixing gluten-free flours, such as almond or rice flour, with binding agents like xanthan gum or ground flaxseed. Combine these with water, olive oil, and yeast, letting it rise for a bit. Shape it to your liking and bake it until it’s golden brown. You’ll have a delicious, gluten-free crust that lets you enjoy freedom from traditional wheat!
Is It Better to Use Fresh or Dry Yeast for Pizza Dough?
It really depends on your needs! Fresh yeast has great benefits, like providing a more robust flavor and a quicker rise. It’s perfect if you have the time and want that artisanal touch. On the other hand, dry yeast offers amazing convenience; it’s shelf-stable and easier to store, making it a great option for busy cooks. So, if you want efficiency, go for dry yeast; if it’s flavor you crave, fresh yeast’s your friend!
Conclusion
Now that you’ve got the know-how for perfect pizza dough, it’s time to roll up your sleeves and get cooking! Picture that golden, bubbly crust emerging from the oven, contrasting with the disappointment of soggy store-bought alternatives. With your newfound skills and a little practice, every pizza night can be a delicious celebration rather than a bland routine. So grab your ingredients, embrace the process, and enjoy the satisfaction of creating something truly special—your very own masterpiece!