Let’s delve into New York–style dough. You start with flour, water, and salt, wake it with yeast, knead for chew, then bulk until it swells about one and a half times. Then you shape a wide circle with a blistered edge. Signaling the bake, you want a crisp bottom and soft center, rest briefly after shaping and bake hot for a quick rim. Stick with this plan, and you’ll see what makes folds worthwhile.
Why This Dough Delivers Giant Foldable Slices
Why do this dough’s slices turn out giant and foldable every time?
You notice it when you press the dough; it stays soft and resilient, stretching yet staying together.
Press the dough: soft, resilient, stretching yet holding together.
That balance matters.
Regional history explains why your crust acts this way, as bakers in busy neighborhoods learned to stretch dough thin and keep it tender.
You feel confident when you trust the feel.
Cheese ratio comes up later, but you learn to keep moisture calm and air steady, so the dough stays shaped.
Signpost to the next idea: texture, not tricks.
You might notice the crust’s chew comes from hydration and gentle mixing, not heavy kneading, keeping folds intact after a nap.
You can try this tonight and see the giant slices yourself soon.
Key Ingredients and Ratios for Ny-Style Crust
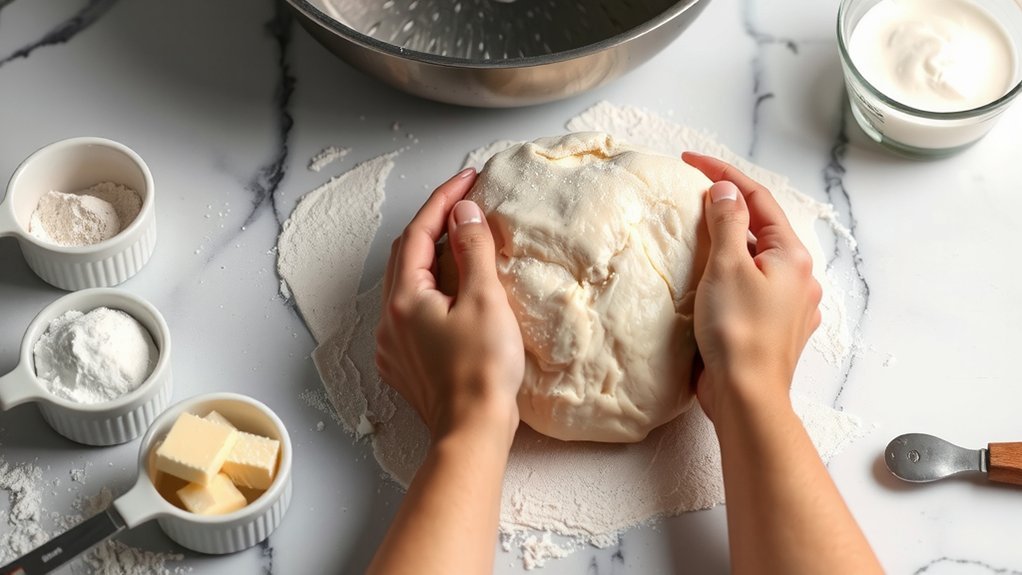
The core ingredients you’ll rely on start with the flour, water, and a touch of salt to set the base for a foldable, large slice. Next, you balance hydration percentage with a steady flour blend, choosing something sturdy yet tender so your crust folds nicely without getting gassy or dry. This is where ratios matter, not magic. You’ll aim for enough water to activate gluten while keeping the dough flexible to stretch into foldable slices. We’ll talk about hydration percentage and salt balance in plain terms, and you’ll see how a simple flour blend shapes your chew and crust color. Signpost: this topic sets the stage for mixing later, so keep notes on your preferred flour blend and hydration targets for next steps ahead.
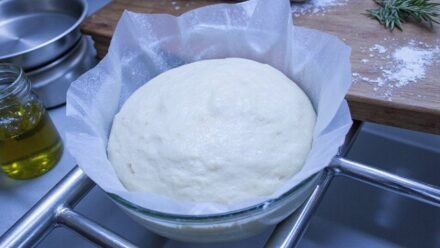
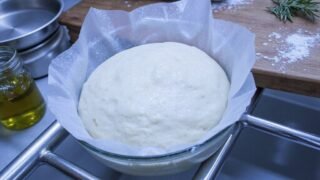
Step-By-Step Mixing, Kneading, and Bulk Fermentation

Now it’s time to mix and knead, turning our plan into dough you can actually work with. First, mix water, flour, and salt, then gently stir in yeast activation until bubbles rise, because you’ll want this starter to wake up and join the party. Keep the dough loose and friendly. As you knead, watch gluten development grow stronger with each fold, and you’ll feel the dough gain chew and strength, which helps you shape big slices later. Finally, bulk fermentation rests, and you’re learning patience. During this time, keep the dough in a warm spot, cover lightly, and wait for it to expand by about one and a half times, then punch down gently. That’s the core of your NY-style base for you today.
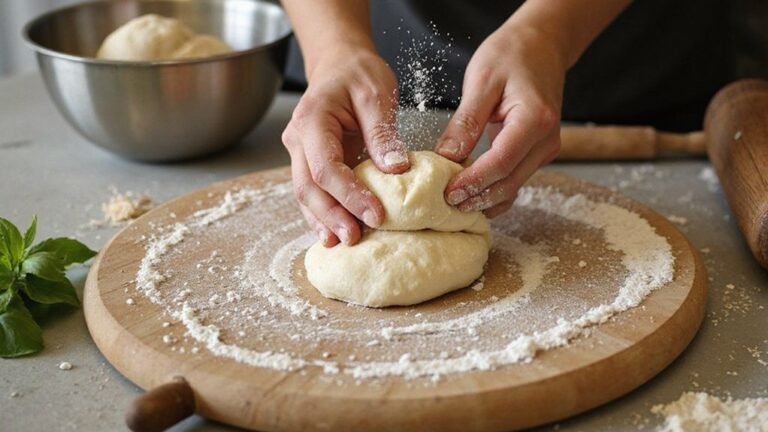
Shaping, Proofing, and Achieving the Blistered Edge

How do you shape and proof to get that blistered edge everyone loves?
First, let the dough relax and stretch with gentle hands.
Let the dough breathe and stretch with gentle hands.
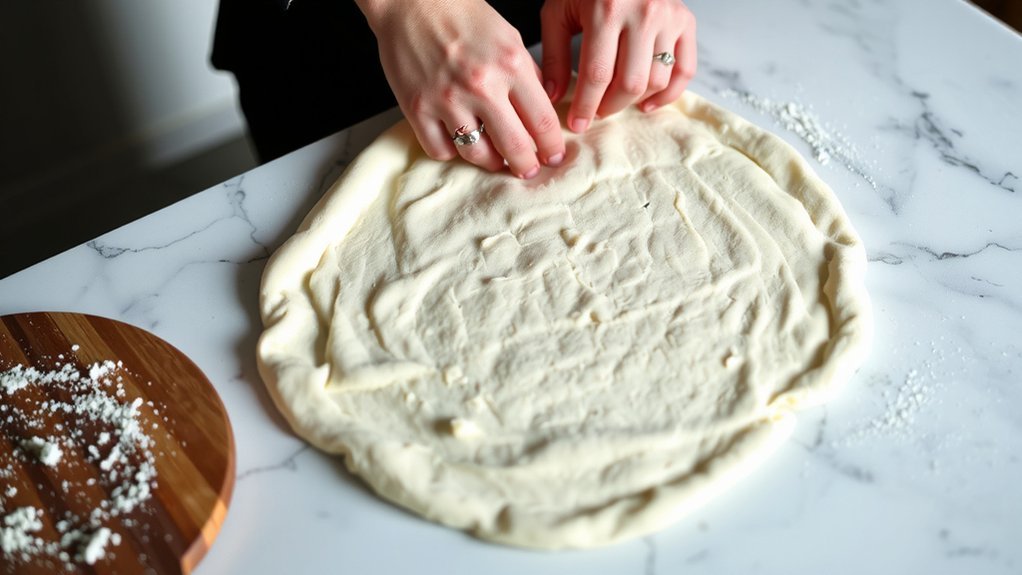
Keep dough tension even as you work, and use light flour only where it sticks, then guide it outward toward a wide circle while listening for a soft, airy pop.
Next, study your scoring patterns and decide where blisters should form for maximum bite.
A simple approach is to slash in a few angled lines or a quick lattice, then rotate the dough halfway so edges blister evenly and stay crisp later.
Practice this approach a few times, and you’ll notice the skin turning speckled with tiny bubbles as heat, moisture, and dough kindness meet, creating that signature edge.
Remember dough tension and scoring patterns guide the look, not race the clock.
Keep it relaxed, breathe, and adjust hands as the dough remembers its place.
You’ve got this, friend.
Baking, Cooling, and Serving for Optimal Texture

With your crust stretched, let’s finish strong. After baking, you’ll check for a golden edge and a crisp bottom, then rest briefly so steam fades, and you don’t lose the foldable texture you love. Use cooling techniques like a rack, not a pan, to avoid sogginess. When you slice, try right after a short rest, and switch from hot slices to room temp plates, then keep this moment calm with simple serving strategies.
Signpost the next step so readers stay engaged. For leftovers, reheat gently in a toaster oven so the cheese stays soft and crust keeps its chew. This ends with confidence; you taste progress and learn balance for texture that stays delicious. Enjoy the slice, share tips, keep practicing together.
Conclusion
So you’ve mixed, watched it rise, and learned the feel of the dough. Now keep your eyes on the edge as it blisters and proofs, because greatness hides in patient waiting. If a crack appears, you’re not failing; you’re learning, and I’ve done the same with my overexcited oven fingers. Rest, slice, and serve, then savor the moment you realized giant foldables can be simple, honest, and delicious—one crust at a time for you today.