You probably don’t know that dough changes flavor as it sits, not as it rises. First, you’ll compare quick and slow fermentation and how timing affects chew and aroma, so you can pick plan fits life. Next, we’ll cover oven heat and proofing ranges with simple cues. Finally, I’ll outline gear that helps, from a sturdy stone to a dough scraper, plus a candid note about mistakes you’ll make as you start.
Crafting the Perfect Dough: Timelines From Quick to Slow Fermentation
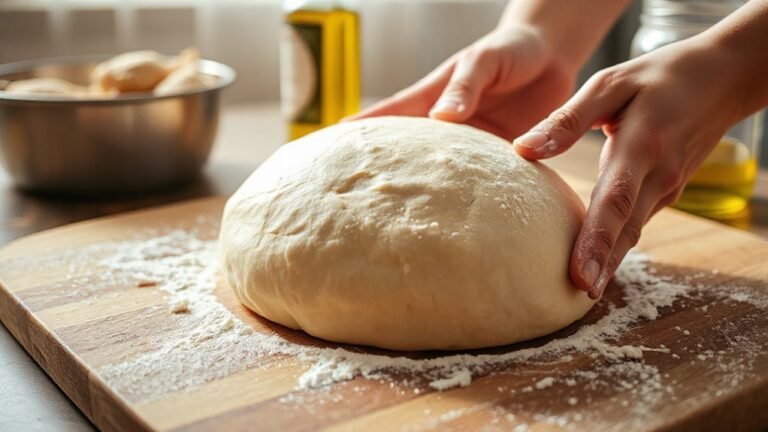
First, let’s map out dough timelines from quick to slow fermentation. You’ll see how fermentation timing changes texture and flavor. You start with quick mixes, then longer rests, and finally cold-proofing that stretches days. With each option, you feel your dough relax and gluten development slowly build. You’ll notice quicker ferments come together fast, but they’re lighter in taste. Slow methods take patience, yet they reward you with deeper aroma and chew. For now, keep notes on your starter’s activity and how your hands sense structure. I’ve botched a batch before, so I’m right there with you. Stay curious, and trust the process. We’ll refine your method together, one experiment at a time. You’ve got this. Keep practicing, and celebrate wins along the way.
Temperature Sweet Spots: Oven Temps, Proofing Ranges, and Hydration Effects
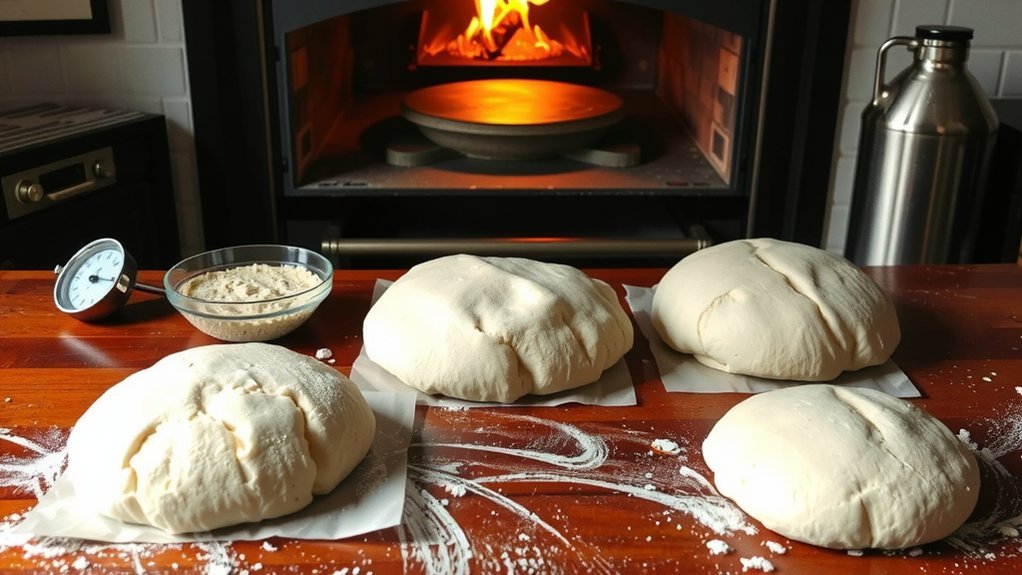
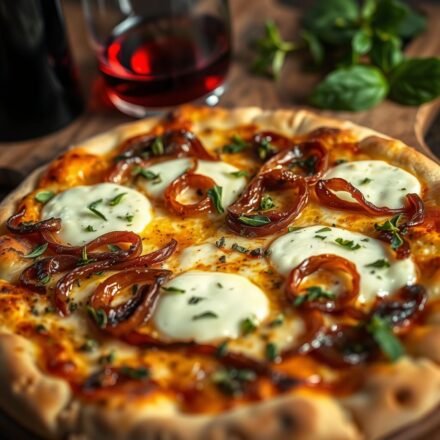
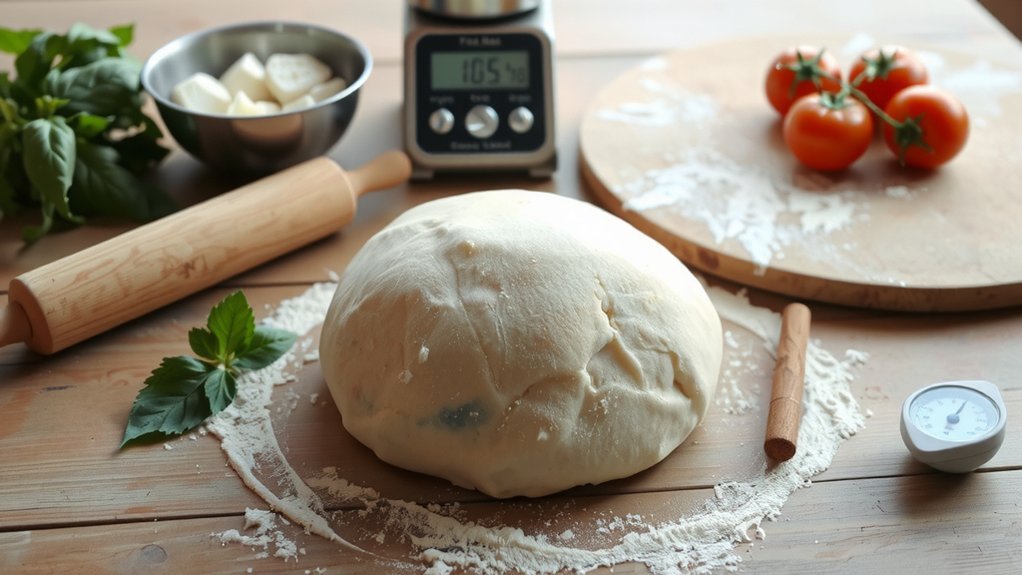
Now that your dough has some life, we look at temperature and timing that shape its crust. First, think about oven warmups and how hot your oven actually gets before you slide in the dough to bake a crust that’s crisp and flavorful. Next, focus on proofing ranges, not one fixed number, so your dough can balance flavor, rise, and ease in the same moment each night. Then adjust hydration balance by feeling the dough—stiffer for a chewy bite, softer for a light, airy crumb—and remember hydration shifts with flour type and climate during proofing. Signpost the next idea clearly, and trust simple tests over fancy gadgets; you’ll taste the difference when the rim browns, the crust paradoxically puffs, and you feel confident tonight.
Essential Gear for Pizza Night: Tools That Actually Help
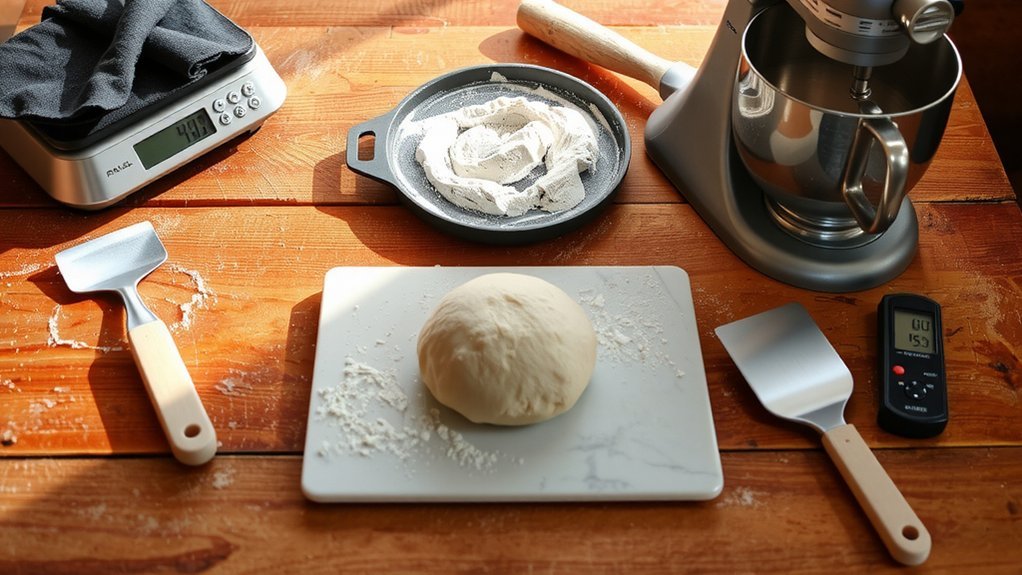
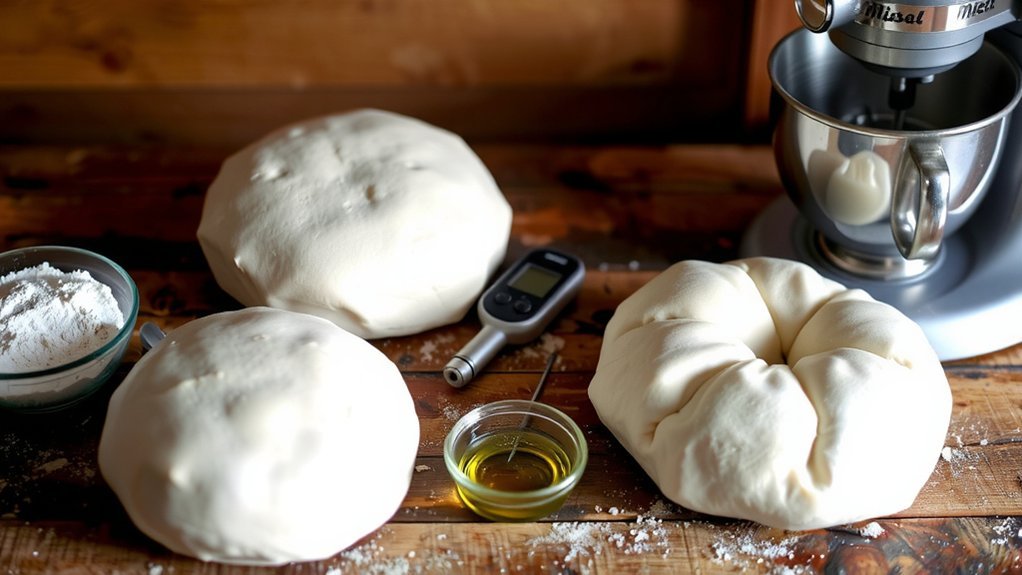
A good pizza night starts with the right gear, like a sturdy stone and a trusty dough scraper. Next, you need a dependable pizza peel to slide pies in and out, and a baking steel that stays hot enough to crisp the crust without burning the toppings. Choose tools that fit your space and budget. A wooden or metal dough scraper helps you keep flour under control, while the dough bucket lid keeps your dough cozy and safe from drafts during proofing. Keep setup simple and clean as you go. Then think about placement and workflow, because your oven peaks, you want the peel ready near the oven and the baking steel warmed ahead of time. Practice with your gear and enjoy the process.
Conclusion
So you’ve got dough, a plan, and optimism.
You’ll learn faster than you expect, and yes, it’ll still stick to the spoon, but that’s your breadcrumb trail toward perfect crusts you swear by tonight.
Irony loves timing, and timing loves your patience.
When the oven roars, you stay calm, you stretch gently, you brush with olive oil, and you pretend you’re a pro, hoping the smoke alarm approves.
You’ll bake again, and smile at mess.