Like a quiet nod from old bakers, you start with a question. You aim for a high-hydration dough that stays open and airy, learning to handle it gently, stretch it slowly, and let the dough catch up. That calm pace keeps pockets intact. Signpost to the next step, you allow time and warmth to develop flavor, while folding tests resilience and builds the crust you want. Then you rise, bake, and wonder what folds could do…
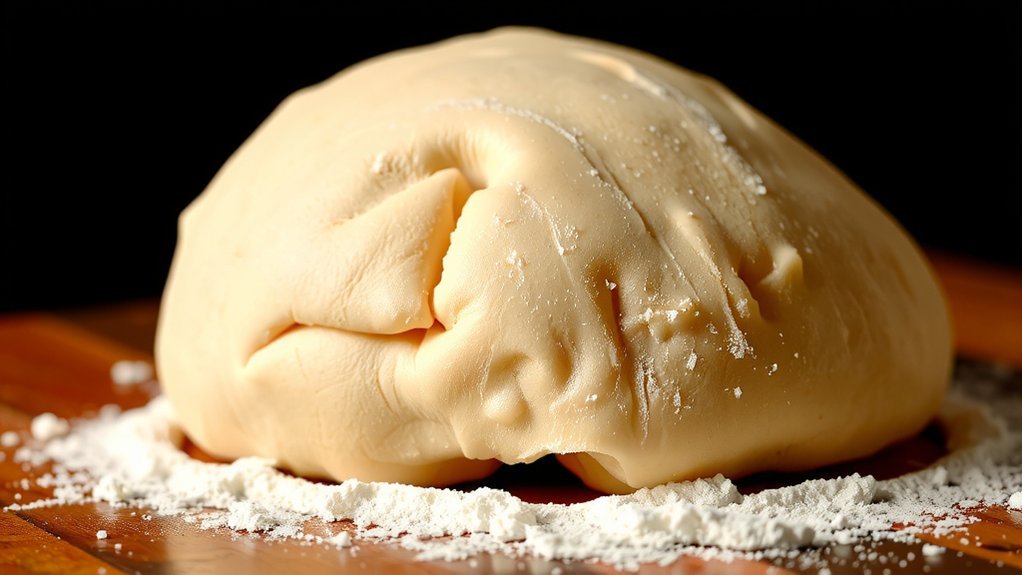
The Science Behind High-Hydration Dough
Why does high-hydration dough feel lighter and puff up with those big, restaurant-style holes?
You notice the dough seems alive, because water moves through starch and gluten, spreading tension as tiny bubbles form and grow, pushing air toward the surface.
This is osmotic diffusion.
When you balance hydration, you raise water activity just enough to keep dough supple, but not so wet that it collapses, and you guide yeast gently.
Honestly.
Next we signpost the idea of texture, because too much water slows structure, while calm handling lets gluten trap gas and keep those holes open.
Trust.
Balancing Hydration and Structure for Open Crumb
First, we’ll talk about hydration versus structure. Next, we’ll explore how water levels shape an open crumb, how a stronger gluten matrix holds it together, and how you can balance softness and chew with careful mixing. If I mess up, I own it with a shrug and keep tweaking, because a little wobble today can teach a crisp crust tomorrow.
Hydration Vs Structure
How do you balance hydration and structure in a pizza dough without turning your crust into a swamp or a brick? First, you test hydration gradually. Too much water makes gaps; too little makes dense bites. Next, look at how you train the dough for even water distribution and steady gluten alignment. You’ll feel the dough relax when you knead, then tighten as it rests. I’ll keep it simple: rest helps structure catch up with hydration, so the air pockets stay open. Practice in small batches and note the texture. If it’s sticky, add a touch more flour, not more water. Remember, calm handling beats frantic mixing every time. With consistent timing, you’ll taste balance, airiness, and confidence in crust you can serve proudly.
Open Crumb Dynamics
You’ve felt how the crust opens when the dough breathes, and that’s the doorway to Open Crumb Dynamics. This is where hydration meets structure, so you watch gas migration push airy pockets without collapsing the dough, and you learn how cell stability keeps those pockets from popping. Signpost: balance your mix and rest for even rise. You’ll notice the crumb gains openness as you maintain moderate warmth and gentle handling, and you’ll hear the dough breathe when you open the oven door with patience. If I’m honest, I’m still learning, so you’ll too. Keep notes on dough feel, water temp, and timing, then tweak slowly. Open crumb is patient work; celebrate small pockets, learn from missteps, and adjust next batch with care and optimism.
Strengthening Gluten Matrix
A sturdy gluten matrix starts with mindful hydration. You balance water, flour, and time, and you notice the dough firms up without losing its bounce, because enzyme addition helps layers build gently together. Signposts show your next move. Keep hydration even, but add a touch of protein crosslinking with careful mixing, so the crust gains strength without choking the open crumb you want. You test gently and rest. In short, stay mindful of hydration balance, signpost progress, and trust technique to guide you toward an airy crust that holds together and yields results. Keep notes, bake, compare results. Finally, jot adjustments, like a tad more hydration or a softer mix, and repeat the process until your open crumb meets your bakery dreams exactly for your own memory.
Fermentation: Time, Temperature, and Flavor Development
Fermentation shapes flavor, texture, and how airy your crust turns out. You control fermentation by giving your dough a steady schedule, choosing cooler nights for slow rise or warmer days for quicker activity, and watching how long the yeast activity lasts. Temperature guides flavor as much as time. When kept warm, gas production expands the dough quickly, but too warm invites overproofing and sour notes; cool conditions slow release and let flavors deepen gradually. Signposts show your readiness for the next step. Keep notes on rise, smell, and bubble size so you learn your dough’s rhythm, and you’ll time shaping for light pockets and balanced yeast activity. Practice makes flavor mastery, slowly and consistently. Keep practicing, and your dough will speak with flavor soon.
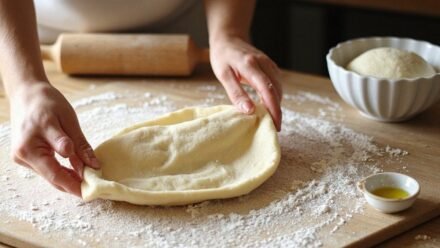
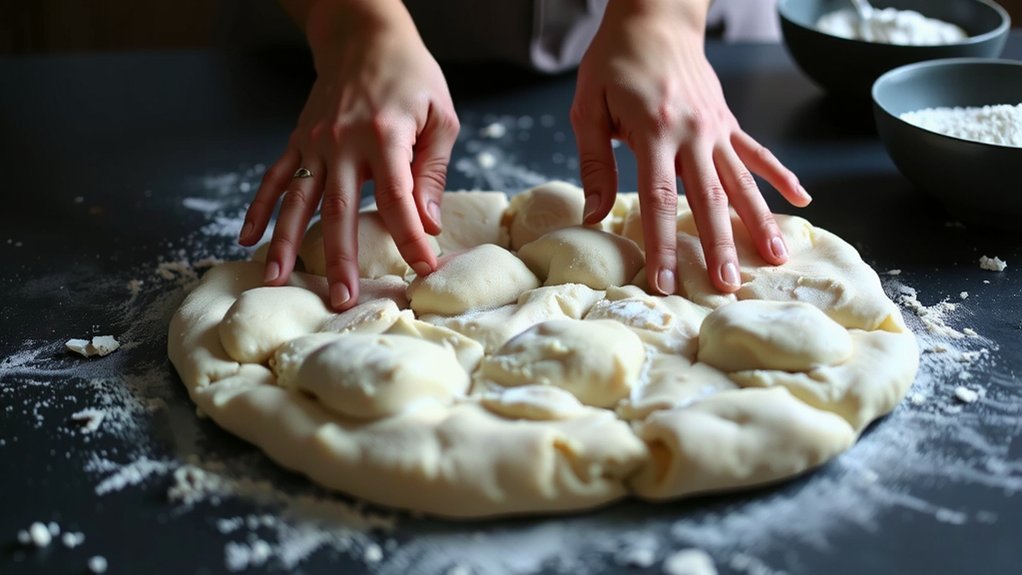
Mastering Kneading, Folding, and Shaping for Air Pockets
First, knead timing sets the air, even on my clumsy mornings.
We’ll explore knead timing techniques and folding to air pockets, showing how a gentle fold at the right moment traps gas, then shaping with care so you get light bubbles.
Next, practice these moves and move on.
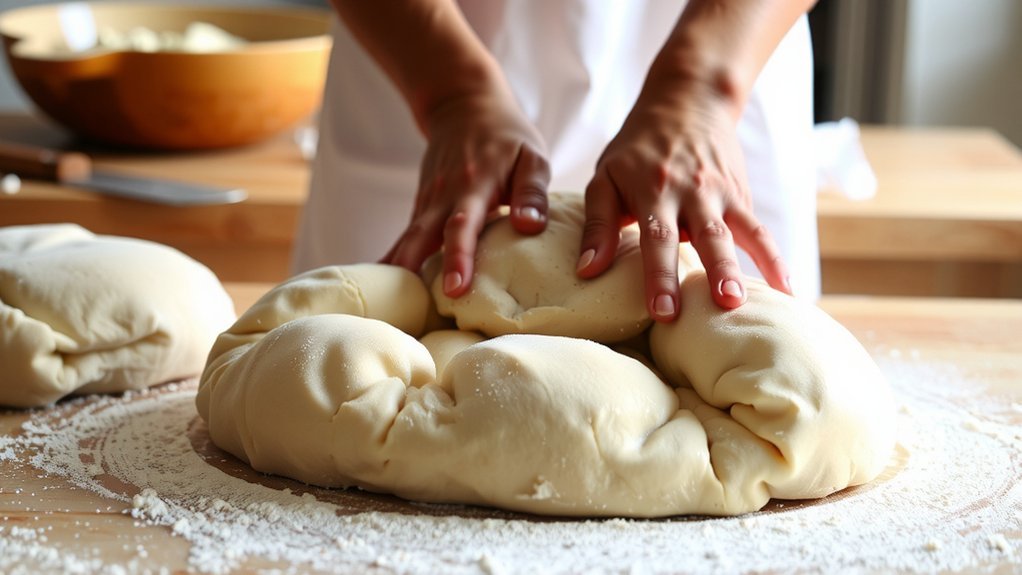
Knead Timing Techniques
When you knead dough, timing matters more than you think. You’ll feel rests help gluten develop, so you watch the clock, enjoy tiny pauses, and you’ll see air pockets grow from steady, calm effort every time. Start with pulse kneading. You’ll feel rests help gluten develop, so you watch the clock, enjoy tiny pauses, and you’ll see air pockets grow from steady, calm effort every time. Start with pulse kneading. Pulse kneading keeps heat out and lets you check texture between cycles, so you don’t overwork it, and you build stronger dough you can trust. Then interval rest. During the rest, the dough relaxes and hydrates, and you feel patience returning, which pays off when you resume shaping with a smoother, more even texture. Keep a steady tempo. Signpost your steps by naming them aloud, like knead, rest, and shape, so your brain stays in control and you avoid drift into overworked dough. That balance helps pockets.
Fold to Air Pockets
If you’re chasing a light, airier crust, folding is the move that locks in pockets. This is where pocket formation becomes your goal, not a mystery. You’ll practice gentle folding, letting the dough soak up more hydration without tearing today at home with care. Keep your hands light and steady; breathe as you work through it. Fold in turns, rotate the bowl, and check for a gentle bounce as you go; this routine teaches your dough to form pockets without collapsing and sticks to your plan. Signpost: pause to observe the dough’s texture, listening for spring. When you’re ready, shape gently, then rest; the goal is visible, airy layers, not perfect symmetry, so celebrate small pockets and keep practicing with a calm, hopeful grin.
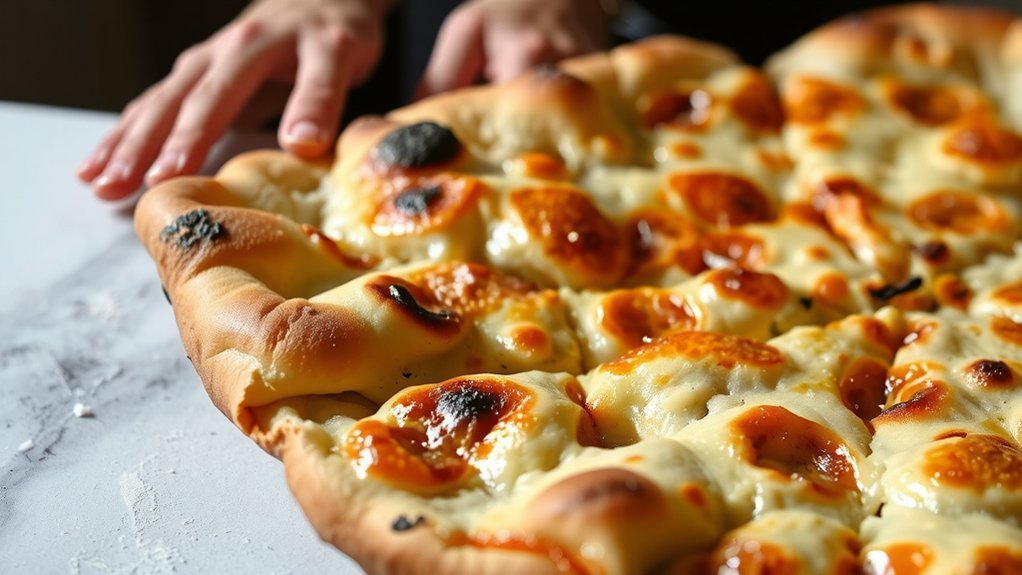
Oven Temperature, Steam, and Heat Management

Now let’s explore how oven temperature, steam, and heat all shape that airy crust. You set the heat to wake the dough and keep it rising, but you also need steam to keep the surface tender. This is where steam control matters, not just a splash from a spray bottle. Next, you balance a strong heat strategy with a hot stone or steel to create quick surface set and a puffy center. Keep the oven door steady for a steady rise; avoid peeking too early. Signposting: first, temperature, then steam, finally heat management. You’ll notice crisper edges when your steam stays steady at the start and fades later. Practicing helps, and yes, I’ve burned toast too—awkward but funny. I’ll keep learning with you alongside.
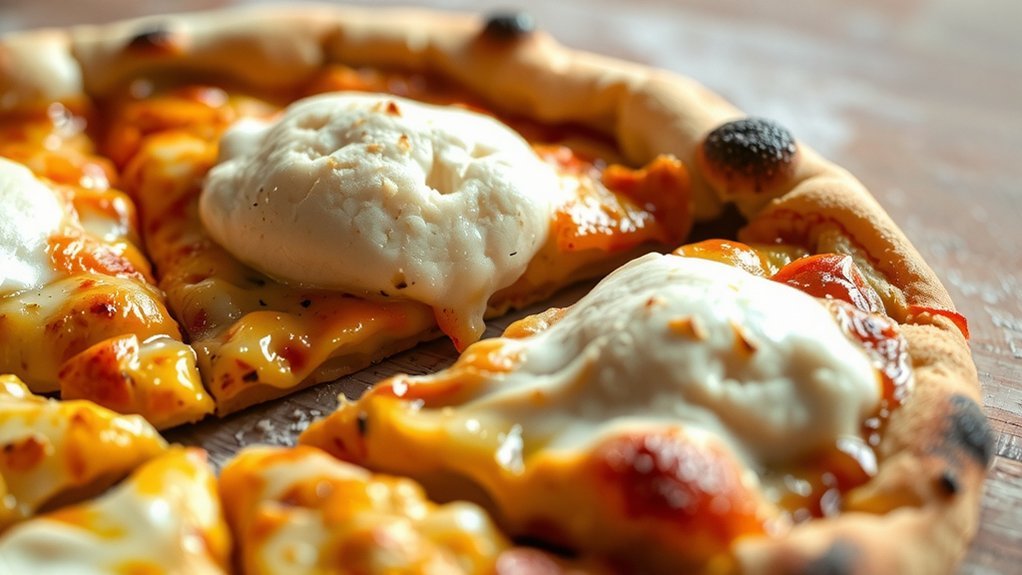
Finishing Techniques: Scoring, Baking, and Slicing
How do you finish a pizza to look as good as it tastes?
Score crust with clean lines, bake until puffed and blistered, then slice when just set
First, you score the crust with purpose, using gentle cuts and clean lines, so steam escapes evenly and the dough breathes into that airy, restaurant-style interior.
Next, you bake with confidence, watching color develop while the center stays soft and the edges puff up like tiny hills.
Keep your blade selection practical, because a sharp, thin blade makes precise scoring patterns without tearing the dough.
If you slice now, do it when the crust is just set but not cool, so toppings stay bright and cheese stays melty.
Remember, practice helps; you’ll improve your timing, feel, and flavor balance with each round.
Soon, your finishing skills become second nature for you.
Conclusion
You tune hydration and respect dough.
Then you wait, fold gently, and watch bubbles rise; you’re learning temperatures matter, and patience pays, turning a loose mix into a breathable, restaurant-style crumb tonight.
Next, shape softly and keep poise.
You’re balancing steam and heat, you’re respecting time and crumb structure, you practice scoring light lines, you finish with confidence, and savor the gentle lift today.
Finally, you learn from mistakes, smile, and bake again with hope.