You might not know that a true Margherita needs a light touch, not a heavy hand. First, you mix flour, water, salt, and yeast, then rest the dough to hydrate. Next, you won’t overcook the sauce and ruin its brightness. Tear mozzarella by hand, add basil, and slide the pie onto a hot stone for blistered edges.
Perfect Margherita Dough: Simple, Reliable Techniques

If you want dough that stretches beautifully without guesswork, you’re in the right place. First, you’ll mix flour, water, yeast, and salt. Then you watch hydration percentage rise the dough softly, a simple math you can feel, and you note autolyse timing to let flour hydrate peacefully before you knead. That rest makes gluten calm and ready for shaping and baking. If you’re unsure, keep the dough sticky but not soupy, and remember signposting tweaks next: rest, knead, and test poke to check spring in today. Keep it simple, and you’ll taste the sandwich of flavor. Finally, you’ll let the dough rest after mixing, then knead softly, shaping balls, and you’ll memorize how long to wait for the autolyse timing until the surface shines.
Rich Tomato Sauce for a Bright, Bold Base
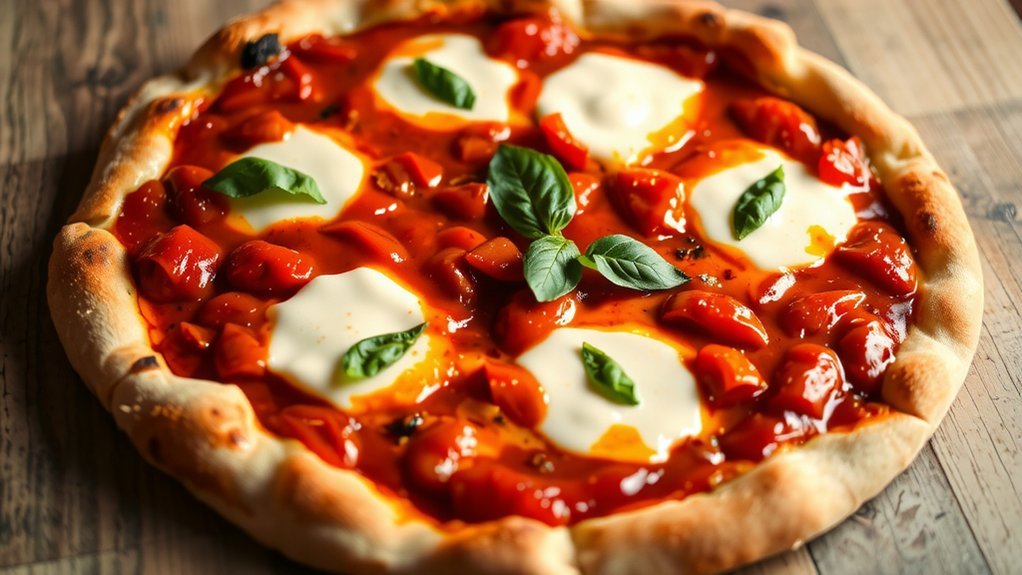
Now that your dough is ready, we switch gears to a sauce that makes the crust sing. You’ll heat oil, garlic, and crushed tomatoes gently, then taste for brightness, adding salt and a pinch of sugar to balance acidity without drowning the tomato memories. Keep it simple by choosing tomato varieties you like, simmering until thick, and then whisking in a splash of olive oil so the sauce shines on the pizza. Next, we discuss simmer techniques and timing, guiding you to reduce heat for steady bubbling, not a boil, so flavors blend patiently while you prep the toppings. If you crave depth, simmer longer and whisk occasionally; if you want brightness, add a tiny splash of vinegar at the end, then taste again.
Best Cheese and Fresh Mozzarella Timing
How do you pick the best cheese and time it just right for a bubbling, blistered crust?
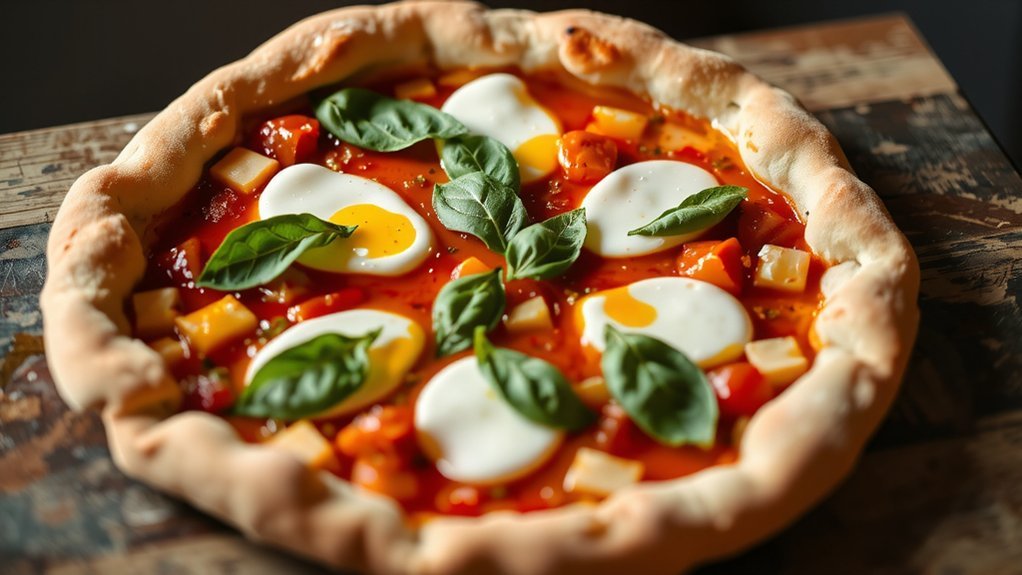
First, choose fresh mozzarella and salty, mellow cheeses. Keep mozzarella timing simple. Grate or tear cheese, then rest it nearby. Some bakers test cheese aging by a quick sniff and a small melt. When the oven heats, slide cheese in early or late depending on your pan and heat. This is the mozzarella timing you’ll feel in balance. Signpost to cheese aging: taste a tiny melt before serving. Remember to avoid overloading the slice with water-rich fresh mozzarella. Air and heat need a calm rhythm, not a flood. Trust your sense, jot notes, and adjust next time for better balance. Practice makes mozzarella timing more natural too.
Fresh Basil and Toppings Balance
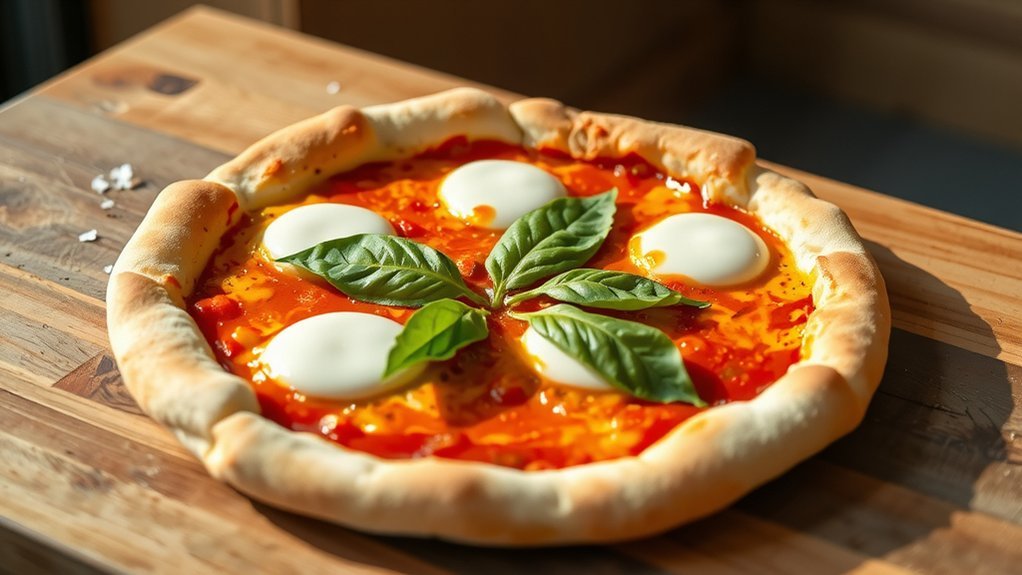
Slicing fresh basil and arranging toppings starts with feeling the balance as you go. You notice the basil aroma guiding your choices, so you layer torn leaves evenly, not in clumps, and you pause to taste the overall topping balance before serving. If something seems heavy, you add more basil.
Now you shift to color and texture, spreading tomatoes and cheese so each bite lands with harmony rather than competition. It helps to keep toppings light and bright. You practice restraint, picking moments to lean on fresh basil instead of more cheese, and you smile at how simple tweaks change the mood. Your confidence grows with every small tweak. Remember to stay practical, because home cooking shines when taste meets ease in real life.
High-Heat Oven and Pizza Stone Setup
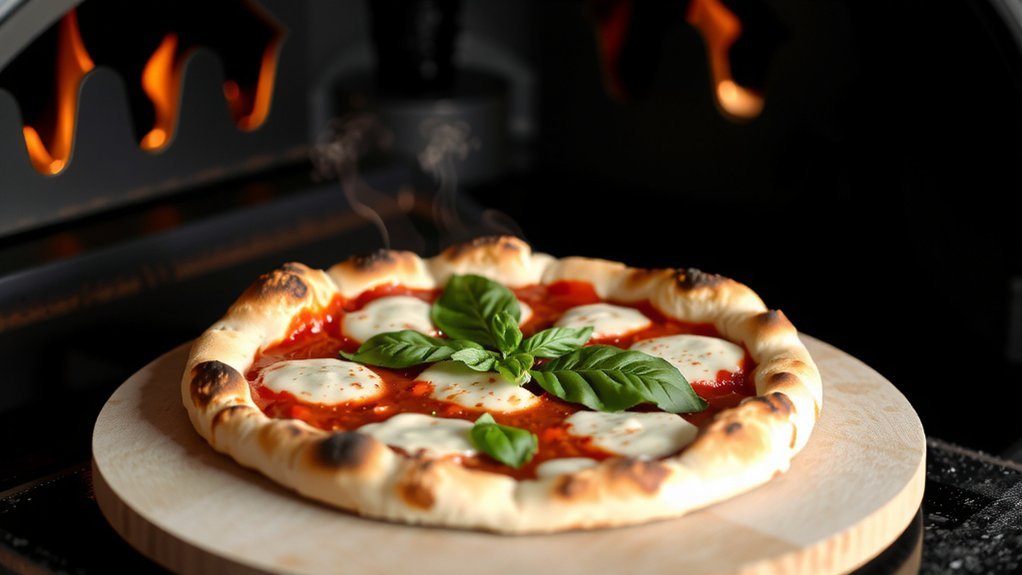
A hot oven makes the crust crackle and the cheese melt just right, so you’ll want to preheat it early. Set your stone on the rack and heat. This is where stone maintenance matters, so don’t rush the oven and let it glow for at least 45 minutes before you bake the pizza. When the timer dings, check heat calibration by measuring the stone’s surface; it should be hot but not scorched, so tweak your oven knobs gently. Next, slide the pizza and watch for even browning. If things seem uneven, pause, reassess heat calibration, and give the stone a minute to settle; you’ll feel steadier, and your Margherita will taste brighter and closer to authentic. Keep notes for future cooks and smile brightly.
Shaping and Stretching the Dough for Even Crust
First, grab your dough and aim for an even crust as you get ready to shape. Next, you shape by pressing from the center outward, turning often and using gentle stretches so the edge stays even, not wobbly, and you avoid pockets in the middle. Now you see the point, and I’ll keep it simple—my dough mistakes keep me honest.
Even Crust Shaping
Stretch the dough gently and watch how the edges even out.
Now you shape with intent, keeping the disk round and the center taut, so the rim texture stays even as you coax air pockets toward the midline.
If your dough feels tight, rest it a moment and relax your grip, because hydration levels vary by flour and climate, not by your ambition.
Keep turning the ball gently, letting gravity do some work, and tell yourself this isn’t a race, it’s a steady practice that builds even crust confidence.
If you notice stretch marks, shift your grip and redraw the circle, then assess the edge a moment before topping, so the final bake stays uniform.
Now you’re ready for toppings and bake, a smooth shift ahead.
Proper Stretching Technique
Patience and a steady hand, practicing stretching, set you up for an even crust. First, slow, motions calm your dough and keep air from rushing today. Next, use gentle palms to push from center outward, watching for a thin edge and a puffy center, which tells you the dough is stretching evenly.
Glove usage helps your grip stay clean while you learn, and tempo tuning keeps you from overworking dough, letting you pause when it resists. If holes form, stop, rest, and regroup, then resume slowly; you want even thickness, not a lopsided ring that fries unevenly during your home bake. With practice, you’ll feel the dough loosen, and your crust will glow golden; share the proof with a smile and keep learning batch.
Baking Tips for a Crispy Edge and Soft Center
You can get a crispy edge and a soft center.
Preheat your oven hot, then slide the dough onto a stone, and notice the crust texture firm up as steam bake helps the edge stay crisp.
Keep moisture controlled by a pan of water nearby, but don’t drown the surface; this balance keeps the center soft without sogginess or moisture.
Position the rack lower so the bottom bakes quickly, and rotate the pie halfway to keep a bite; you want a gentle chew rather than a rock-hard crust.
Let the bake finish with a brief rest; this settles steam, seals flavor, and keeps your toppings bright and inviting for slices.
Finally, tune your technique gradually and celebrate small wins with confident, steady practice today.
Finishing Touches and Serving Suggestions
First, you’ll start with finishing touches that pull the whole pizza together. Next, you’ll cover Finishing Touches Tips and Plating and Slicing Tips, like a light drizzle of olive oil, torn basil leaves, and how you slice to keep the cheese intact. And you’ll smile, because I’m right there with you, a little clumsy but learning as we go.
Finishing Touches Tips
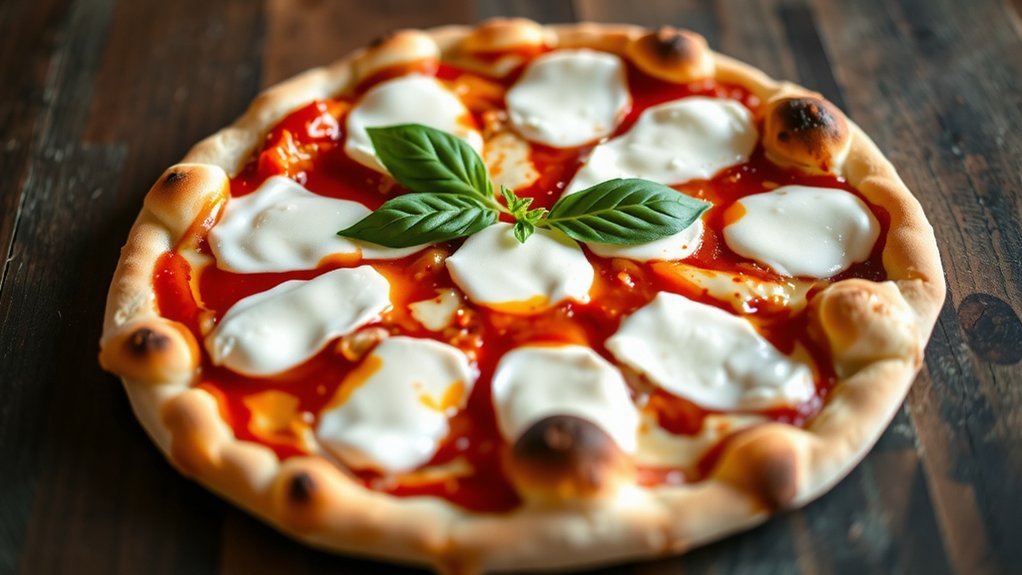
To finish your classic Margherita, keep the toppings simple and bright.
First, taste the sauce and cheese together before you add basil.
Next, drizzle a little olive oil over the crust for shine, then press fresh basil leaves so they perfume the slice without sogginess or bitterness.
Also, a balsamic drizzle can finish the look and tang.
Then let the heat settle, and pause to feel the crust crackle as you lift a slice and breathe in garlic and tomato with quiet pride.
Plain notes, bright tones, and a confident bite.
Finally, serve promptly and welcome a second slice if friends cheer.
Signpost again: keep the toppings visible, finish with olive oil and a light balsamic drizzle, and resist overthinking the final bite today.
Plating and Slicing Tips
Finishing touches matter; I swear a clean plate makes the slice feel special.
Next, you focus on knife technique, keeping the blade steady as you slice across the pizza to reveal neat wedges, because clean cuts reduce mess.
Then you plate with intention, carefully.
Describe plating tricks like a host, placing slices toward the center and guiding eyes to the tomato and basil, while you wipe the rim for a tidy finish.
Serving follows.
Finally, serve promptly, explain briefly why the crust stays crisp, and laugh at your nerves, because confidence grows when you own the plate.
Stay relaxed.
That calm rhythm helps you finish with plated tricks that look effortless, yet show care, and your guests notice the care you took tonight together.
Conclusion
Now you’ve got the basics, and you can cook with confidence. Next, you’ll focus on dough, sauce, and toppings, then practice timing to make every bite feel bright, balanced, and comforting, even on a busy weeknight. Trust the hot oven, stone, and quick cheese melt for crust. Keep tasting, adjusting salt and basil to your liking, and savor the process as you practice, because isn’t home pizza already a small, delicious victory worth sharing?