You’ll learn how protein, gluten strength, and hydration change crust texture, and why 00, bread, or all‑purpose behave differently. I’ll show practical blends, fermentation tactics, and oven tips so you can get blistered Neapolitan, thin‑chewy New York, or a sturdy Sicilian base. Which flour will give you the exact crust you want?
How Flour Protein Affects Crust Texture
Because protein is the precursor to gluten, it directly controls how your dough handles and how the crust turns out. You’ll find protein percentage dictates gluten strength: low protein yields a tender, extensible dough; high protein produces a strong, elastic network that traps gas and supports high oven spring. You adjust hydration and mixing intensity to modulate that network—more water and gentle folding promote extensibility; vigorous kneading and slightly lower hydration increase strength and chew. Protein also influences final texture: moderate strength balances crisp edge with pliable crumb, while excessive strength gives a tough, overly chewy bite. When you measure protein and then control time, temperature, and mechanical work, you engineer predictable crust outcomes instead of guessing at results. Repeat tests, record variables, optimize.
Types of Flour Explained: All‑Purpose, Bread, 00, and Whole Wheat

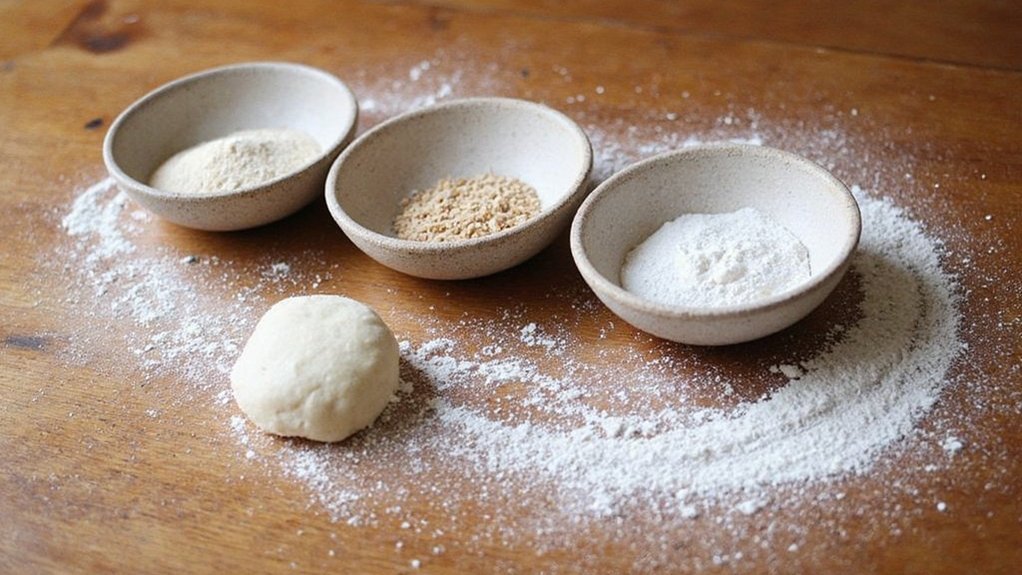
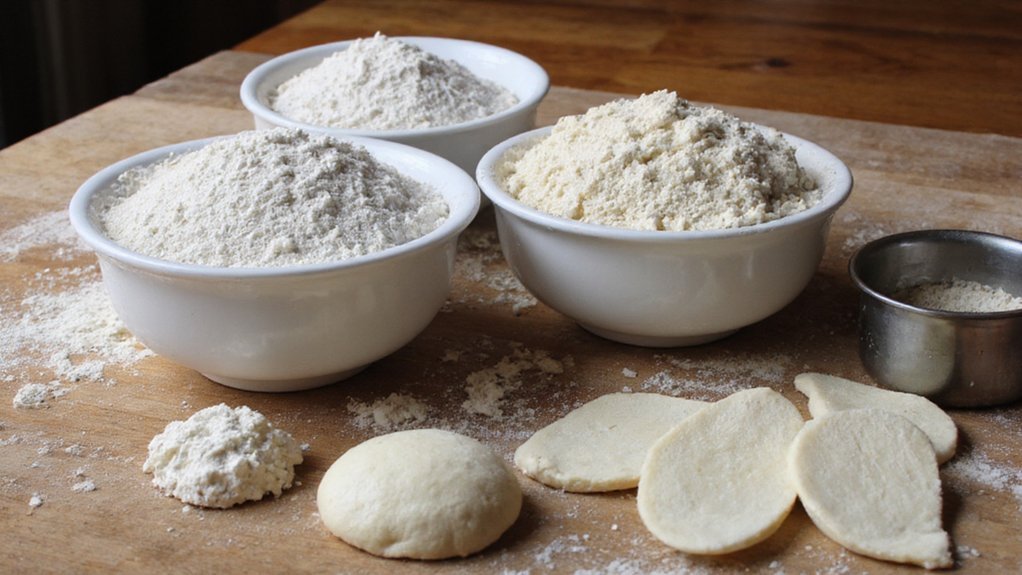
You’ll compare all-purpose, bread, 00, and whole wheat by their protein percentages and the gluten strength they produce. All-purpose sits mid-range (~9–11% protein) for general use, bread gives high gluten for chew (~12–14%), 00 is finely milled with low-to-mid protein for a tender, blistered Neapolitan crust, and whole wheat has higher protein but bran that interrupts gluten and yields denser dough. You’ll learn which to pick for thin-crisp, chewy, or whole-grain pies and how to adjust hydration and mixing to optimize structure.
Protein and Gluten Content
When you’re choosing flour for pizza, the protein percentage tells you how much gluten the dough can form and directly predicts chew, strength, and oven spring; all‑purpose sits around 9–11% protein for a tender, moderate‑strength crumb, bread flour ranges 12–14% for a chewier, higher‑tension crust, Italian 00 is milled finer and typically 11–12% protein offering a silky texture with good extensibility, and whole wheat contains similar or higher protein but produces a coarser, weaker gluten network due to bran cutting strands—so you adjust hydration, mixing, and fermentation to match each flour’s gluten potential. You treat protein as functional capacity: higher protein increases elasticity and gas retention; lower protein increases extensibility. Adjust water, kneading, and fermentation to develop strong, resilient gluten without tearing or overworking.
Best Uses per Flour
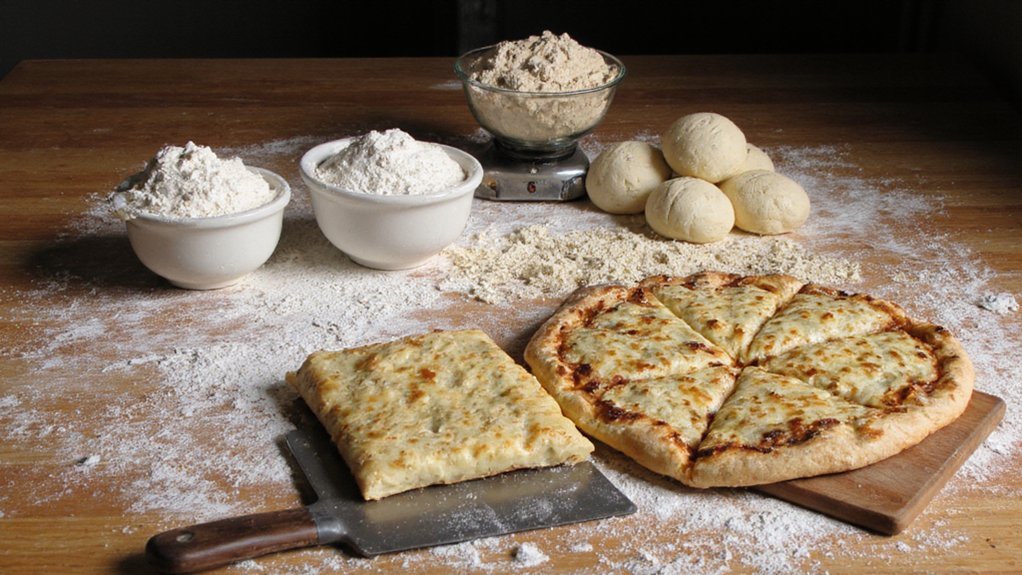
Although all flours share the same basic starches and proteins, they differ in how they absorb water, form gluten, and respond to high heat—so choose by the crust you want. You’ll use all‑purpose when you want predictable, moderate extensibility and a tender crumb; it’s versatile for pan and home ovens. Use bread flour when you need strong gluten structure, high oven spring, and chewy, airy Neapolitan‑style crusts. Choose 00 for ultra‑fine milling, fast hydration, and rapid blistering on very hot stones. Whole wheat contributes flavor, fiber, and reduced extensibility; blend it to maintain rise. Practical recommendations:
- All‑Purpose: everyday, balanced performance.
- Bread: high gluten, chewy chew, oven spring.
- 00/Whole Wheat: 00 for heat, whole wheat for flavor—blend as needed. Adjust hydration accordingly.
Choosing Flour by Pizza Style: Neapolitan, New York, and Sicilian
When you choose flour by pizza style, you match protein, ash, and grind to the crust’s structural and textural demands. For Neapolitan you’ll prefer finely milled 00 with moderate protein for an extensible, blistering rim, while New York benefits from higher‑protein bread flour for chew and pronounced oven spring. Sicilian calls for strong flour—often blended with semolina—to produce a sturdy open crumb and a crisp, gritty base.
Neapolitan & New York
Because Neapolitan and New York pizzas rely on different gluten behavior and oven conditions, you’ll pick flours with distinct protein and milling profiles. For Neapolitan, you want finely milled, low-protein (11–12%) Italian “00” that hydrates quickly, forms a soft extensible gluten network, and tolerates very high heat for rapid oven spring. For New York, you prefer higher-protein (12.5–13.5%) bread flour with stronger gluten, slower hydration, and better chew under prolonged oven exposure. Consider these practical guidelines:
- Neapolitan: 00, lower protein, higher hydration, short ferment.
- New York: domestic bread flour, moderate hydration, long cold ferment.
- Hybrid: blend 00 and bread flour to tune chew, browning, and handling characteristics.
Adjust percentages and fermentation times to match your oven and desired crumb structure precisely.
Sicilian — Semolina and Strong
If you want a Sicilian crust that’s crisp at the base, tender inside, and capable of supporting a heavy topping load, prioritize coarse semolina and a strong, high-protein flour blend. You’ll combine semolina (adds grittiness, golden color, and crispness) with bread flour or high-gluten flour (12.5–14.5% protein) to build structure and chew. Use 10–30% semolina by weight; more increases crunch and bitterness risk. Hydrate moderately-high (65–75% depending on flour absorption), fold for gas retention, and cold-proof 24–72 hours to develop flavor without weakening the matrix. Parbake at high heat to set the base before adding toppings. Measure precisely, adjust water to feel, and you’ll get a robust, airy, and reliably sheet-pan Sicilian pie. Trust ratios and timing; small tweaks yield consistent, professional results always.
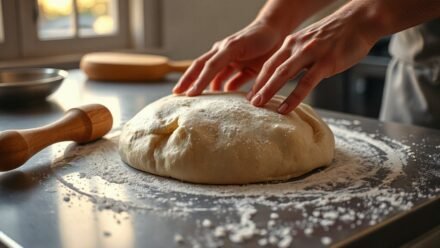
Hydration, Gluten Development, and Kneading Techniques
Although water percentage looks simple, it dictates dough extensibility, gluten network formation, and final crumb structure; target roughly 55–60% for low-protein flours, 60–65% for typical bread flours, and 65–70% (or higher) for high-protein or Neapolitan-style doughs. You’ll adjust hydration based on flour absorption, ambient humidity, and desired openness. Develop gluten through controlled mechanical work and time: you want strength without toughness. Use these core techniques:
- Autolyse: mix flour and water, rest 20–60 minutes to hydrate and initiate gluten bonding.
- Stretch-and-fold: perform gentle folds every 20–30 minutes to align gluten and trap gas.
- Final knead: finish with brief, purposeful kneading to create cohesive elasticity.
You’ll judge readiness by windowpane clarity and dough that springs back predictably. Adjust techniques as needed, observe results.
Substitutions, Blends, and Scaling Recipes
You’ve dialed in hydration and gluten work, so now adjust flours and formulas to match your goals: swap or blend flours by comparing protein content and absorption, then recalibrate water and mixing to preserve dough strength and extensibility. When substituting, replace incremental percentages—start at 10–20%—and measure absorption shifts: whole wheat and rye absorb more and need 2–6% extra hydration per 10% substitution. For blends, target a composite protein that matches your desired chew; calculate weighted protein and adjust yeast and salt proportionally. For scaling recipes, use baker’s percentages, keep hydration relative to total flour, and scale yeast logarithmically for long ferments. Document each trial, record texture and rise to iterate scientifically. Refine timing and bench handling as formulas converge toward ideal crumb with precision.
Oven Temperature, Baking Surfaces, and Fermentation Time
When you balance oven temperature, baking surface, and fermentation time, they become a single control system that defines oven spring, crust formation, and crumb structure: higher temperatures (home ovens 250–300°C / 482–572°F; professional wood-fired 430–480°C / 800–900°F) accelerate surface gelatinization and rapid oven spring, while the surface material—thin steel conducts heat quickly for blistering and bottom crisp, thick stone stores thermal mass for even bake and slower spring—modulates how that heat transfers; meanwhile fermentation time (short warm proofing versus long cold retards of 24–96+ hours) determines dough extensibility, gas retention, and enzymatic sugar development, so adjust hydration and final shaping to match your chosen oven/surface combination to preserve structure and achieve the desired crumb and crust.
- Temperature
- Surface
- Fermentation
Record results.
Troubleshooting Common Dough Problems and Pro Tips
If your dough isn’t behaving, diagnose by isolating one variable at a time—hydration, gluten development, fermentation, or baking—so you can apply targeted fixes. Check hydration: tacky vs sticky indicates adjust water by 1–2% increments; use baker’s percentage. Assess gluten: perform windowpane; underdeveloped needs more kneading or autolyse; overworked benefits rest. Fermentation: smell, volume, temperature; retard in fridge to build flavor, shorten if overproofed. Baking: surface, oven heat, loading affect oven spring and char. For sticky dough, oil hands and bench, not extra flour. For dense crumb, increase fermentation or strengthen flour (higher protein) and improve knead. Keep precise logs—time, temp, flour brand—so you replicate successes and eliminate variables systematically. Master these adjustments and you’ll consistently produce predictable crust structure, blistering, and ideal chew regularly.
Conclusion
You’ll choose flour with intent: match protein to style, push hydration to coax gluten, and time fermentation to build flavor and structure. Use 00 for extensible, blistered Neapolitan; bread flour for chewy, elastic New York crust; all‑purpose when versatility and tenderness matter. Blend or add semolina or whole wheat to dial crispness or heft, adjusting water and knead accordingly. Execute temperature and surface choices precisely, and you’ll craft consistent, expressive pies each and every bake.