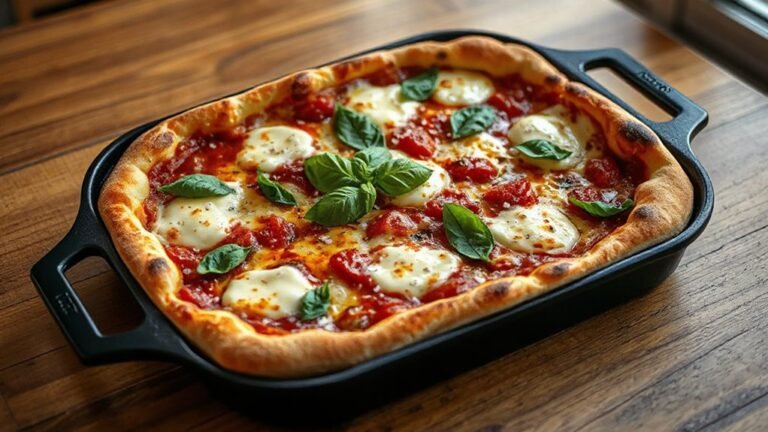
You want a pizza with a crispy bottom and a fluffy middle. First, you start with a simple dough, let it rise slow, and you listen for bubbles like a timer, because patience makes texture stay soft inside and crisp outside. Next, shaping and rest trap air. Then you top it smartly with mozzarella, basil, and mushrooms, bake hot on a greased pan, and you wait, fingers crossed, hoping the crackle meets your expectations.
Ingredients for Grandma-Style Pizza
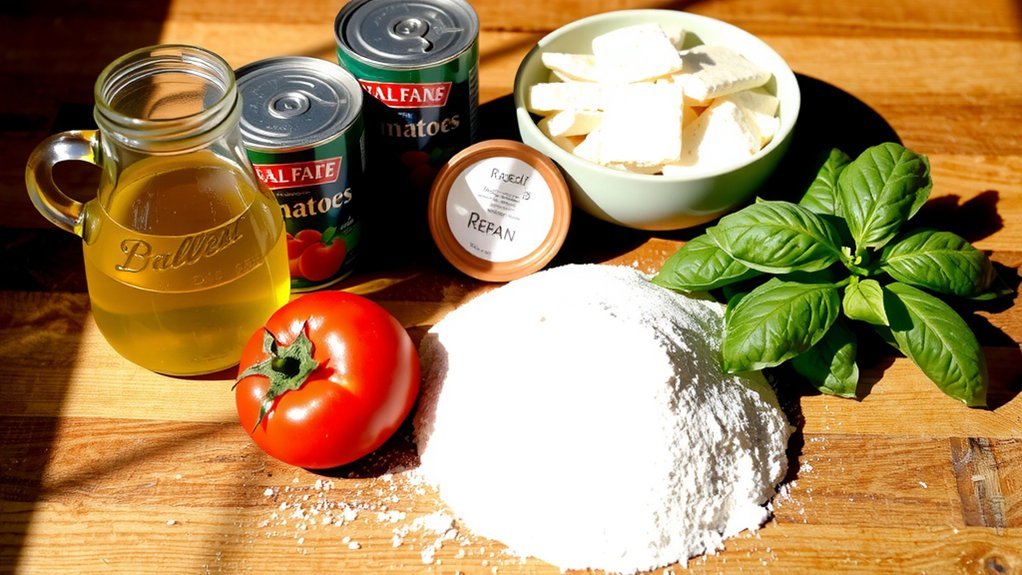
First, gather your ingredients so you’re ready to roll.
Next, you’ll choose the base ingredients, like flour, water, yeast, salt, and olive oil, and you’ll decide what flavors to highlight with toppings and sauces you adore today.
Consider ingredient substitutions to fit your budget and taste comfort.
You’ll explore flour varieties, from all-purpose to bread flour, testing textures, while you jot notes so you can tweak hydration and kneading without losing your momentum in practice.
Now we pause to recap the pantry essentials and quantities.
You’ll keep it accessible by using measurements, like cups and tablespoons, and you’ll balance ingredients so the crust stays sturdy yet tender, packing flavor without overwhelming the dough.
If a step falters, adjust calmly and keep your humor light.
Crispy Bottom: Achieving That Golden Crackle

First, set the stage by preheating your oven hot and ready. Now we’ll focus on the pan, oil it well, and watch the bottom crackle as you bake, so your crust stays sturdy and golden throughout. Keep the edges crisp by checking halfway and nudging the pan, even if I laugh at my own kitchen chaos.
Preheat and Bake Hot
Preheating the oven to a hot, steady glow sets the stage for that crispy bottom you’re chasing.
Next, you keep the heat steady and let the pan warm up, because oven calibration matters; a small fluctuation can dull that golden crackle you want now reliably.
Signpost space: bake hot.
As you slide the crust in, watch heat distribution in the oven’s belly, not the edge, and resist opening the door too often; steady air flow helps crusts stay crisp.
Patience pays; listen to your timer.
If your kitchen spills that comforting aroma, you’ve probably nailed the bake; keep notes so you remember what level you used and how long you waited, because consistent blame-free practice makes every slice reliably crunchy and shareable for friends.
Oil Pan, Crisp Edges
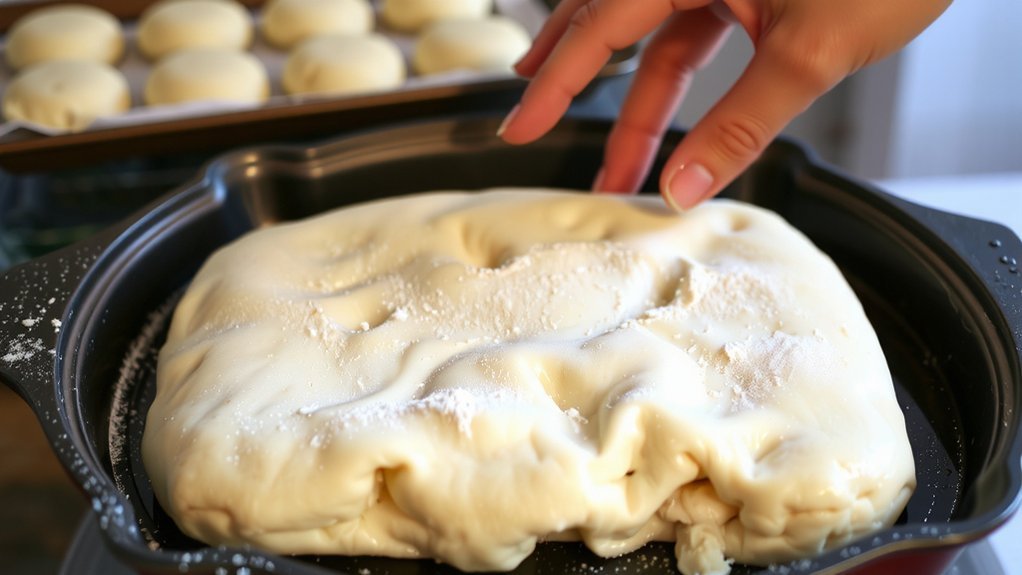
How do you get that bottom to crackle without burning the top? You place the dough on an oil pan to guide heat up through the crust, not just around the edges. You don’t rush this; you wait a beat while you breathe and stay calm, because patience is part of the trick. Next, you keep the oven set hot, and you keep watching for bubbles that signal the edge is firming, not soggy. Then you remember to add oil pan weight to help spread the heat and create crisp edges that bite back with crunch. Finally, you slide the pizza off the pan onto a rack, letting steam escape, and you savor the crackle you earned.
Dough: The Secret to a Fluffy Middle
You can make a fluffy middle by getting the dough right from the start.
Craft a fluffy middle by starting with a soft, well-hydrated dough.
First, mix water, flour, yeast, and salt, and don’t rush. Your goal is a soft, elastic dough that holds shape yet remains gentle to bite.
Second, hydration level.
Then adjust fermentation timing so the dough rises at a calm pace, not too fast, not too slow, giving flavor to develop and air pockets to form.
Hydration matters.
If you keep a moderate sponge of water and flour, the crust stays tender and the middle stays soft, even after a hot bake today.
Curious.
Finally, rest the dough briefly before shaping, so the gluten settles and you feel confident that the fluffy middle will show up in every slice.
Got this.
Shaping, Proofing, and Rest for Airy Texture
First, we tackle shaping for an airier crust. Then we’ll cover proofing and rest timing, showing you how to pause dough for bubbles to form and relax, without overdoing it, so the crust stays light and crisp. Now you’ll practice with a gentle rise and a watchful eye.
Shaping for Airy Crust
Shaping for an airy crust means giving the dough a gentle, confident touch. You learn to handle dough softly, with steady hands, and you listen to its bounce, keeping your palms light as you rotate and pat to avoid resistance.
Next, folding techniques guide where you fold the dough, creating spaces while you press out air gently, and you decide at each turn how light you want the crumb. Edge scoring adds finish; you score shallow lines around the rim to guide expansion, then you let the dough rest briefly before shaping further.
As you practice, keep the pace steady, breathe, and watch for a light, airy crust forming as you move from shaping to the next stage today, gently ahead. You’ve got this.
Proofing and Rest Timing
Although shaping is done, proofing and rest come into play.
This is where you watch yeast fermentation wake up, so your dough gains volume without panic, and you learn to feel when it’s ready for its rise.
First, keep a steady temperature control in your kitchen to avoid surprises and stay confident through the process.
If it’s chilly, you warm the dough gently; if it’s warm, you slow it down with a cooler spot and a covered bowl, and you resist the urge to poke.
Now rest comes next, giving flavor time to develop.
During the rest, you shape again later and balance air pockets with patience, using signposts like poke tests to stay calm, because you deserve dough that feels like hug now.
Classic Topping Combinations
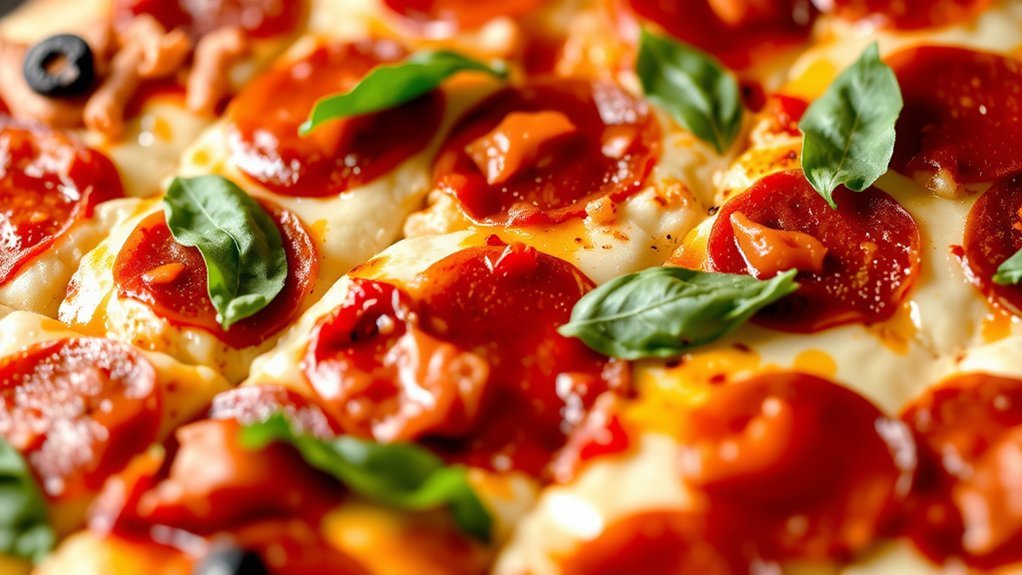
Let’s start with the basics.
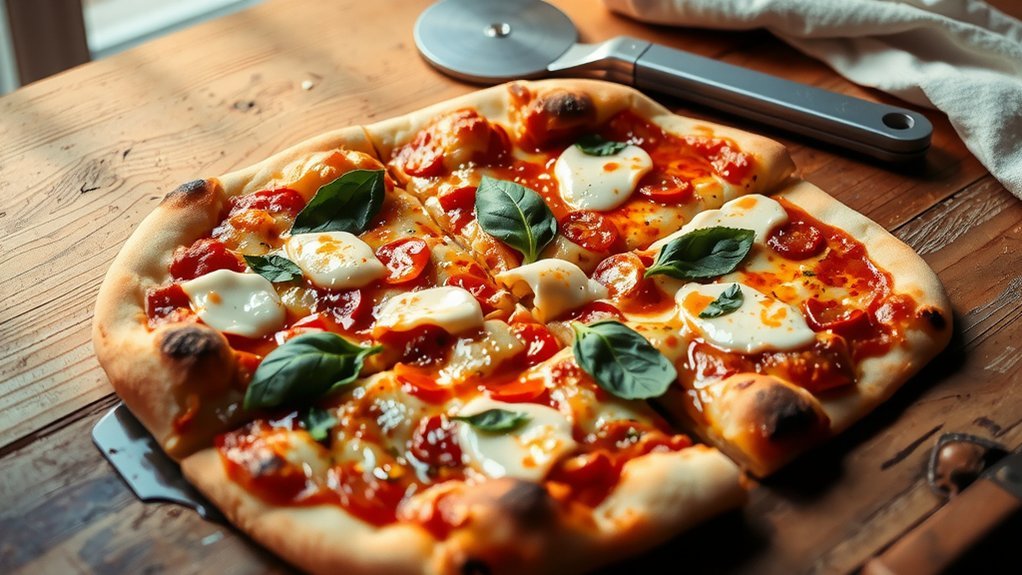
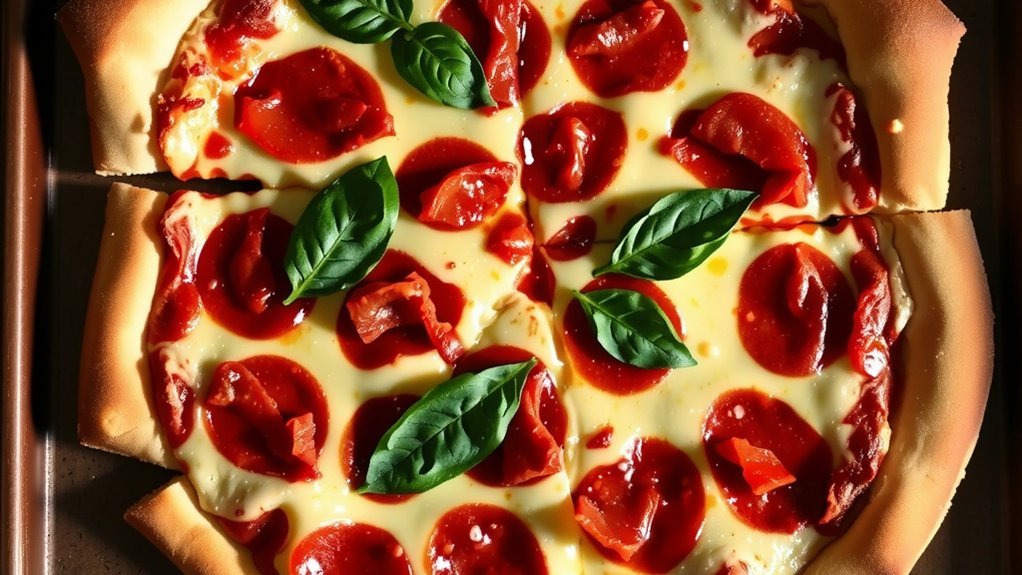
Here, you’ll mix classic toppings like mozzarella, basil, mushrooms, and pepperoni, and you’ll decide how bold you want your bite without losing Grandma’s crisp crust.
Think about balance and texture, not just flavor.
If you love meat toppings, you’ll layer sausage or meatballs thoughtfully, and if you’re curious about the pineapple controversy, simply note it as a playful debate you can revisit later.
Next, I’ll show you how to balance sauce, cheese, and toppings, so every slice stays flavorful yet easy to handle, which keeps the table steady and friendly.
If you mess up, blame the timer, not yourself.
Sticking to these combos gives you crispy crust, fluffy middle, and confidence to try your own tasty, imperfect experiments today.
Baking and Finishing Techniques
Preheat the oven and get your setup ready, because the bake is where the magic happens.
Focus on steam retention and oven spring.
You set a hot baking surface, slide in the dough, and listen for a crack as the crust wakes up and balloons into hungry sheets.
Keep toppings light so heat stays balanced, friend.
Signpost the moment you pull it, with a glossy edge and steam, then rest briefly before slicing.
Practice small tweaks and note what changes.
If the crust softens, lower the rack or finish under broil, then toast edges and celebrate small wins tonight together.
This Baking and Finishing Techniques section ends with patience, because Grandma-style pizza rewards time, conversation, and steady practice, not perfect perfection overnight, reading today.
Conclusion
You’ve got this; keep it simple and steady.
As you bake, trust the method: a hot tray, olive oil shine, and patient rest let the crust sing while the middle stays soft and airy.
If in doubt, slice and breathe.
Remember toppings stay simple—mozzarella, basil, mushrooms—so flavors don’t fight, and every bite feels balanced, like a calm conversation after a long day at the table tonight.
Crust-crackle is your trumpet; sleeves rolled, you win today.