Like a shield catching sun, your crust hints at what’s coming. You start with a base that dries moisture, then spread proteins in a layer so bite cooks and nothing clumps in a corner. Next, a dry cheese shield toward the center. Pat veggies dry and place them in firm patches, while wetter toppings wait for late addition so they don’t water the crust. Finish hot, rest briefly, and see the results.
Choosing a Sauce Base That Keeps Crust Crisp

Choosing a sauce base matters for a crust that stays crisp, and yes, I’ve burned toast before. You pair a thick sauce with the right base, so the steam stays focused on toppings, not soggy edges, and you feel steady enough to bake with confidence. An acidic base helps balance sweetness and brightness. As a coach, I suggest starting with a tomato or white option, then test by small bake, noting how the sauce clings while the crust stays crisp. Keep it simple, friend; you can adjust later, honestly. If you’re unsure, start with a thin layer and a dash of lemon juice or vinegar, then observe, then decide; seasoning matters without drowning the crust. This is the plan for crisp base thinking together.
Building a Dry Cheese Shield for Bite
You’ve got your crisp base in mind, so we switch gears to build a dry cheese shield that keeps bites firm. Now you add the cheese barrier thoughtfully, letting it melt just enough to form a thin, resilient shield that still breathes, not clumps. This crust protection keeps toppings from sinking into soggy danger, ruining every bite today. Place the shield toward the center, then let the edges stay visible, so the crust bakes evenly and you feel in control today. Signpost: next, watch moisture signs and adjust timing carefully. If you’re unsure, lift a corner gently and peek; crust protection isn’t magic, it’s steady technique and simple measurements you can trust today. Keep practicing; the bite remains firm without losing flavor always.
Layering Proteins for Even Cooking
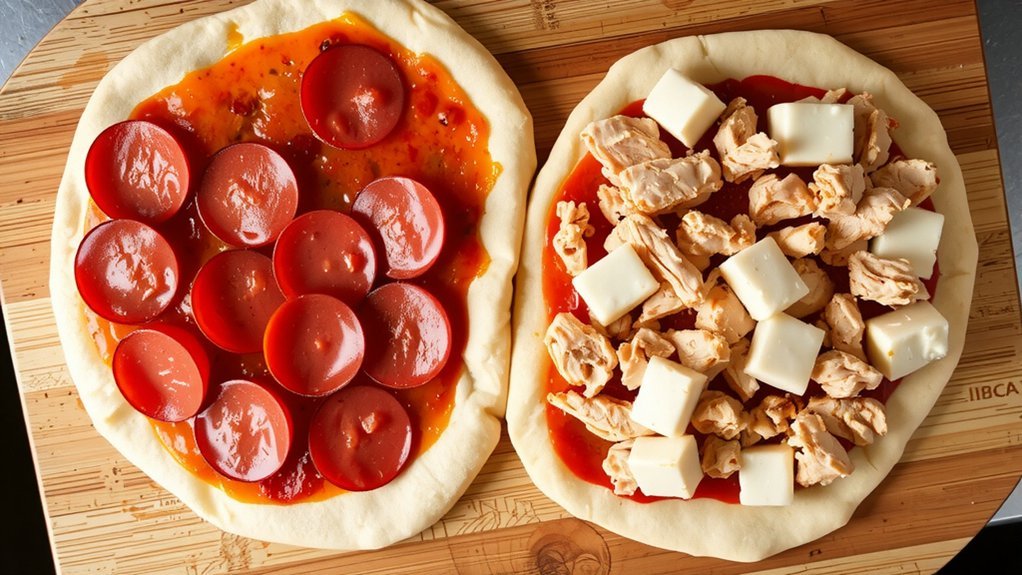
First, you’ll consider even protein distribution across the pizza. Next, we’ll talk about layering for even cook and how placing smaller slices or thin pieces near the edge helps juices stay where they belong, not all in one bite. Finally, timing of protein layers matters so every bite browns evenly, and yes, I’ve burned toast, so we’re in this together.
Even Protein Distribution
To start, picture your pizza as a tiny oven where every bite should cook evenly. You want every piece to carry a fair share of toppings, so nothing burns while other bites stay underdone. Start by spreading proteins in a single, thin layer; avoid clumps that create hot spots. This helps protein distribution stay even, guiding heat diffusion through the cheese and crust rather than piling up in one spot. For best results, space chunks apart and rotate them as the pizza bakes, so no area freezes mid-cook or lags behind. When you add extras, keep portions similar in size and thickness, so all bites finish together. If you notice uneven browning, tweak placement next time and trust the rhythm of your oven.
Layering for Even Cook
A single, thin layer of protein helps every bite cook more evenly.
Start by placing the protein in a single, flat sheet and leave space between pieces so steam can escape, guiding uniform heat toward the center rather than boiling the crust.
This helps every bite cook more consistently.
Keep toppings in even spacing so you don’t crowd flavors and you’ll see colors stay bright, while meat browns gently rather than steaming itself into a soggy mess.
It’s okay to rearrange once the bake starts.
As you layer, think of the pie as a map and use even spacing to guide heat, so every bite finishes with a flavorful finish rather than a dry edge.
Remember the goal is even cooking.
Keep it simple.
Timing of Protein Layers
When should you layer in the proteins to keep bites tender and the crust crisp? First, think about layer order so flavors align. Place sturdy proteins like pepperoni or sausage on the bottom or center, and lighter toppings higher up, so moisture stays controlled and the crust keeps its bite. Now focus on protein timing, and use this simple rule to guide steps. Layer timing matters, so place heavier proteins earlier and finish with delicate toppings, letting them melt gently without soaking the crust, which keeps bites tender and crust crisp. Signpost: after you set the layers, bake a bit longer to finish browning. Finally, remember layer order and protein timing work together for an even bake, and practice helps you feel out how long each topping needs to cook just right.
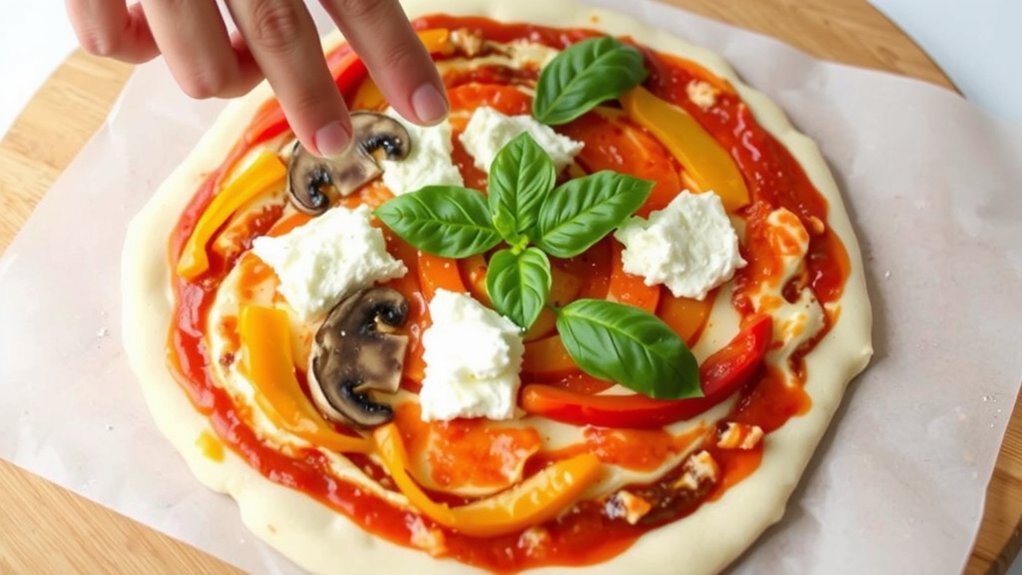
Veggie Toppings That Hold Their Shape
First, you’ll learn which veggies stay crisp on a hot pizza. Next, you’ll pick toppings that hold their shape—bell peppers, red onions, and mushrooms—and you’ll time the bake just right so they stay firm instead of soggy. I’ll keep it simple with a quick fail-safe tip.
Veggies That Stay Crisp
Usually, veggies that stay crisp start with choosing the right toppings. You want firm vegetables and even slices, not mushy bits that surrender to sauce. For best texture, think air drying and moisture management before it touches the dough. Pat greens and peppers dry with a clean towel, then air dry briefly on a rack. This step reduces wetness that can sog up the crust. You’ll layer sturdier vegetables first and softer ones later, so you control steam. If you see excess moisture, blot it gently. Signpost: next, keep heat steady and bake briefly to finish crispness. I’m learning, and so are you, but we can get close to perfect. Just keep practicing, and you’ll notice.
Shape-Retaining Toppings
As you lock in that crisp veg, you’ll shift to shape-retaining toppings that hold their form as they bake.
These veggies stay solid thanks to starch coatings and careful prep.
Next, you note gluten networks form.
That network locks moisture and gives bite, so your peppers and mushrooms don’t turn mushy, even when the cheese browns on the hot surface of the pan.
Signpost to the next tip: don’t crowd.
Lay on toppings in a single layer and give space for steam to escape, so shape stays firm and flavors stay clear without soggy interference.
Finally, bake with confidence.
If you feel unsure, pause and check edges: you want them crisp, not burnt, and this reminder helps you keep the toppings proudly intact throughout.
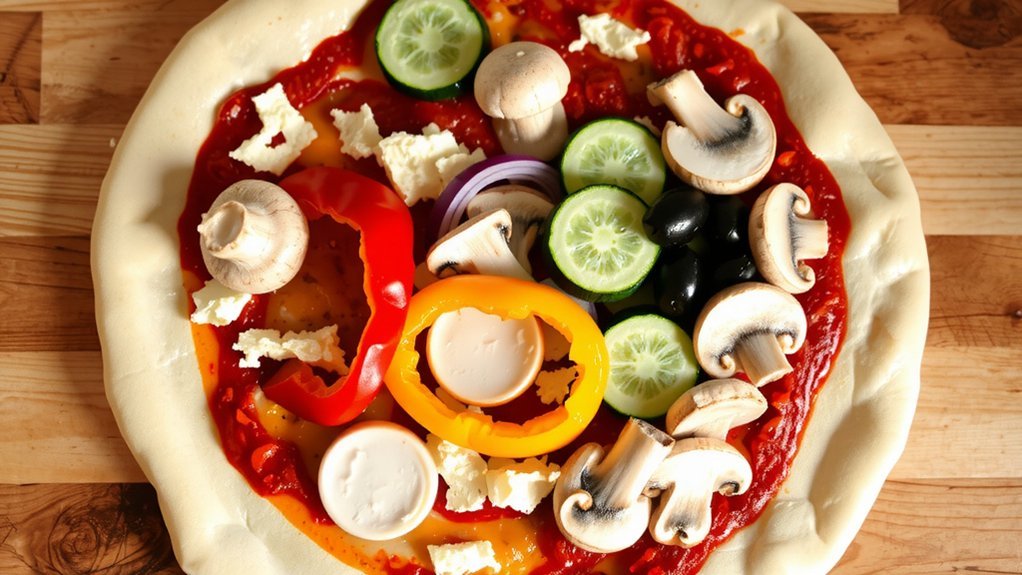
Timing Tricks: When to Add Wet Toppings
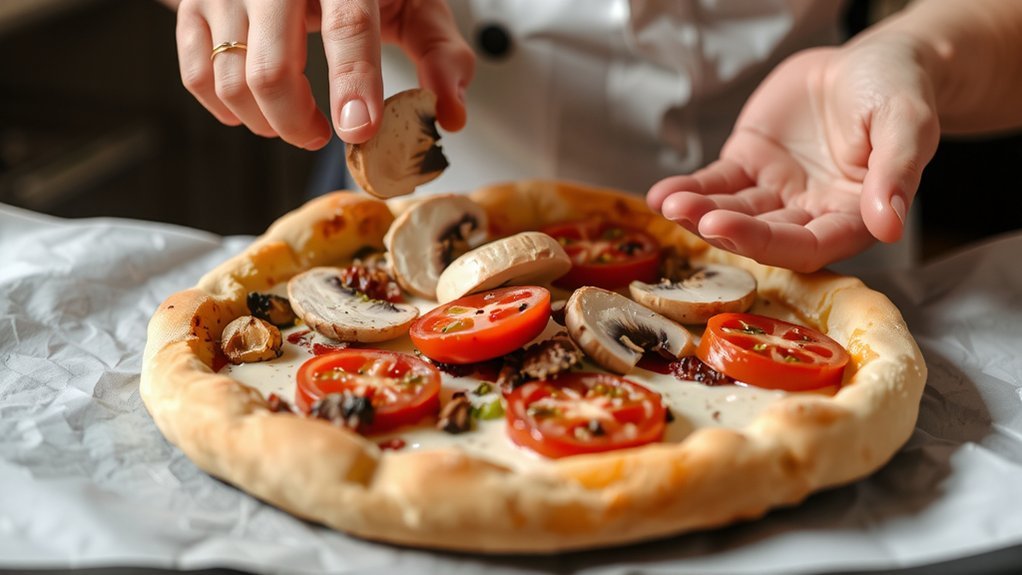
If you want your crust to stay crisp, timing matters when you add wet toppings. First, think about late addition. You can sprinkle watery ingredients after the bake starts, so steam timing helps the toppings finish without soaking the crust. Next, set your oven hot enough for quick moisture evaporation, then slide the pizza back in briefly. This keeps mushrooms and tomatoes from turning soggy, yet still flavorful. If you want visible guidance, use a timer and check every two minutes after adding wet toppings. You’ll train your eye to spot steam timing cues. Keep notes for next time, and trust your oven. With practice, you’ll know when to pull the pizza and balance moisture without overthinking, and that ease will shine every time.
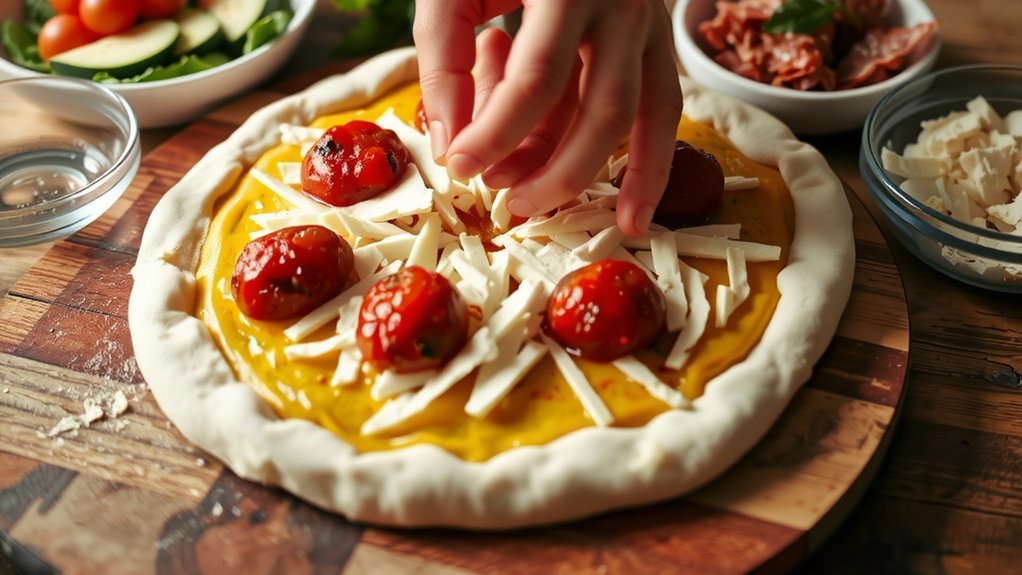
The Role of Cheese Pats and Melting Dynamics
Cheese pats are more than a topping gesture; they shape melt and texture as the pizza bakes. You feel how cheese behaves as heat rises. If you spread pats evenly, Melt behavior stays calm and predictable, helping edges brown without pooling. That steadiness saves you from soggy spots and keeps slices firm enough. Next, think about Fat distribution. Balanced fat helps flavor stay even, so you don’t chase dry bites while the cheese glosses without slipping. Position pats center and lighter bits at edges for harmony. This is your quick melt reminder. Now you can link these ideas to layering, knowing when to adjust pats and heat to avoid soggy crust, and you can trust your intuition after practice to keep cheese melting evenly.
Baking Techniques for a Blistered Crust
After dialing in melt from those cheese pats, you can push for blistering by tweaking heat, stone setup, and moisture. Next, you balance oven spring with steam management so the crust lifts and blistering appears where you want it, while keeping toppings dry and steady. Keep heat steady, not hot enough to burn edges, and let the stone soak before you slide. Then watch for tiny bubbles and listen for a proper crackle as crust firms, because signal cues guide you toward ideal blistering without scorching today. If you sense steam escaping, tweak airflow or moisture and stay patient. This approach rewards with crisp edges and visible oven spring, and you’ll see blistered patches where you planned, not where you worried, tasting confident results.
Finishing Touches That Don’t Soak the Pie
Finishing touches matter, and they stop soggy crusts from stealing the show. First, let toppings rest briefly on a rack after baking so you glimpse their color without dripping moisture into the crust. This keeps crust hydration steady and edges crisp.
Finishing touches matter: rest toppings on a rack after baking to reveal color and keep the crust crisp.
Second, drizzle oil or shine finish on the surface—sparingly—so you feel a gentle gloss without inviting soggy patches. We want texture, not a puddle, and we want flavor to pop instead of dampness.
Third, aim for crust hydration control by using toppings that dry slightly before baking again, so moisture stays in balance and the bite stays firm.
Finally, finish with a respectful signpost: taste, adjust, and serve soon, because a crust that shines—not soggy—leaves room for the whole toppings show for everyone.
Conclusion
You can nail a crisp pizza every time.
If your crust looks soggy, remember to layer dry cheeses first, pat veggies dry, and save the juicy toppings for the end, so moisture stays where it belongs.
Trust the heat and timing.
If you doubt it, try a test pizza and adjust toppings next time. You’ll taste the balance—crisp edges, a shield of cheese, and no watery bite again.
Keep practicing, you’ll be serving perfect slices.