You probably didn’t know dough can taste better after a cold rest. First, you mix flour, water, yeast, and salt, then barely knead until it comes together and rest until it behaves. Next, a slow fridge rise deepens flavor and softens the crust. Then you shape rounds, stretch, top with sauce and cheese, and bake hot for weeknight perfection. So stay with me for the timings and tweaks that unleash easy weeknight pizza.
Why Overnight Dough Works
Letting dough rest overnight wakes up the flavors. You’ll see a softer texture and a deeper taste the next day, and that’s the core idea behind overnight dough. It’s not magic; it’s time and patience paying off. First, flour hydration matters, because water and flour mingle slowly and build strength. When you plan ahead, you improve time efficiency, letting yeast do some work while you sleep. You wake up to dough that’s ready to shape, not rushed. Signposting ahead: now you’ll learn how to handle it gently, then bake. This approach reduces kneading and boosts flavor without extra steps, giving you confident results with less effort and more satisfaction. Stick with it, and you’ll taste the difference on busy weeknights and weekend gatherings together.
Essential Ingredients for the Dough
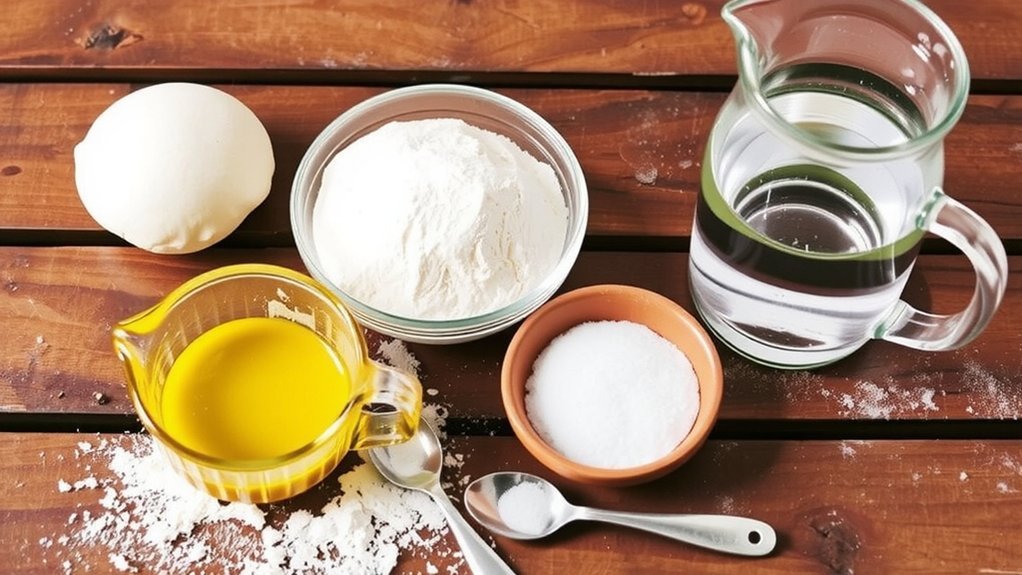
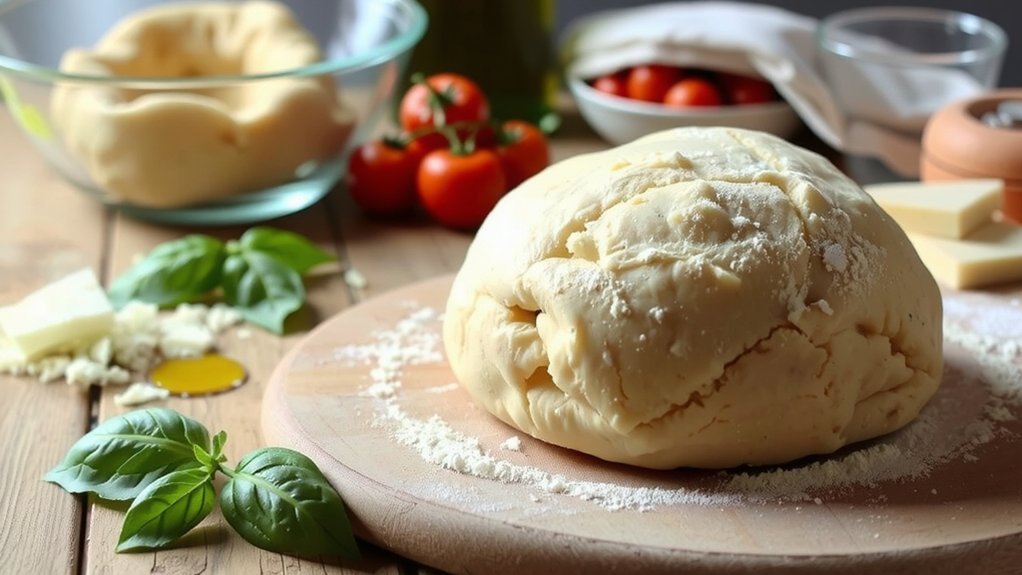
You’ll start with the basics: flour, water, yeast, and salt, the core trio that makes dough come alive. You’ll learn why flour varieties matter, from soft to strong proteins, and how salt ratios start shaping flavor, texture, and the way your dough behaves in the bowl. This topic stays focused on ingredients you can measure and control. We’ll connect to the next step by noting practical amounts, then pause before mixing and kneading, so you feel prepared without wandering into techniques yet. I’m not perfect, but I’m learning this with you, one batch at a time. By listing ingredients clearly, you’ll avoid guesswork, keep stability, and build confidence that weeknight pizzas can wow, even when you’re tired at the end of long days together.
Mixing, Kneading, and Initial Rise
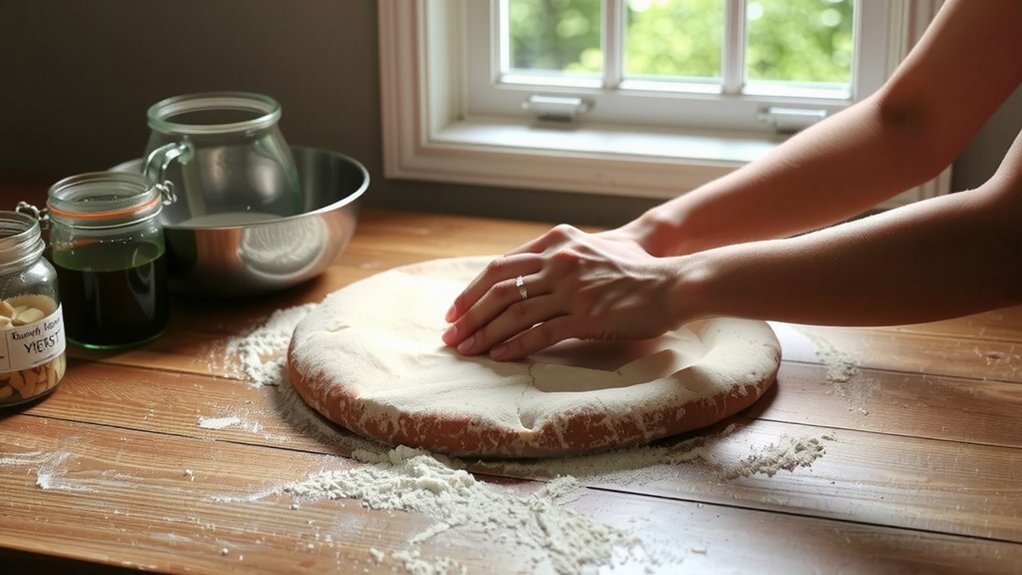
Mixing the ingredients comes next, and you’ll feel the dough come alive as water, flour, yeast, and salt meet in the bowl for the first sign of effort. You’ll notice gluten alignment as you bring the mixture together, and you’ll feel the dough elasticity grow when you press and fold, then relax between gentle squeezes. Next, knead with a steady pace, letting your palms push, turn, and fold, until the surface becomes smooth, tacky but not sticky, and air starts to look calm. This initial rise will be gentle, not dramatic, as you cover the bowl and wait, then check for slight doubling before chilling, while you keep expectations modest. If you stumble, breathe, reset, and try again tomorrow with a calmer pace today.
Fermentation: Cold Rise and Flavor Development

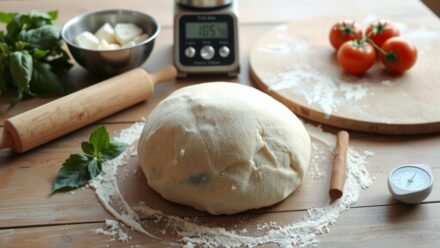
After the initial rise, we shift gears and let the dough chill to promote a cold rise and deeper flavor. You notice that patience pays off when you practice temperature control, keeping the fridge around 38 to 40 degrees Fahrenheit. During this slow fermentation, enzyme activity works quietly, shaping texture and aroma as the dough rests. You’ll measure time by hours, not minutes, and you’ll feel more confident as flavors develop. Signpost: this is about flavor, not shaping. The goal is gentle fermentation that stays manageable, not rushed. If you notice too much sourness, adjust by shortening the chill or warming the dough slightly for a milder profile. I’m learning too, and we’ll savor results together. We’ll keep experimenting and enjoying the process together.
Shaping, Stretching, and Topping Ideas
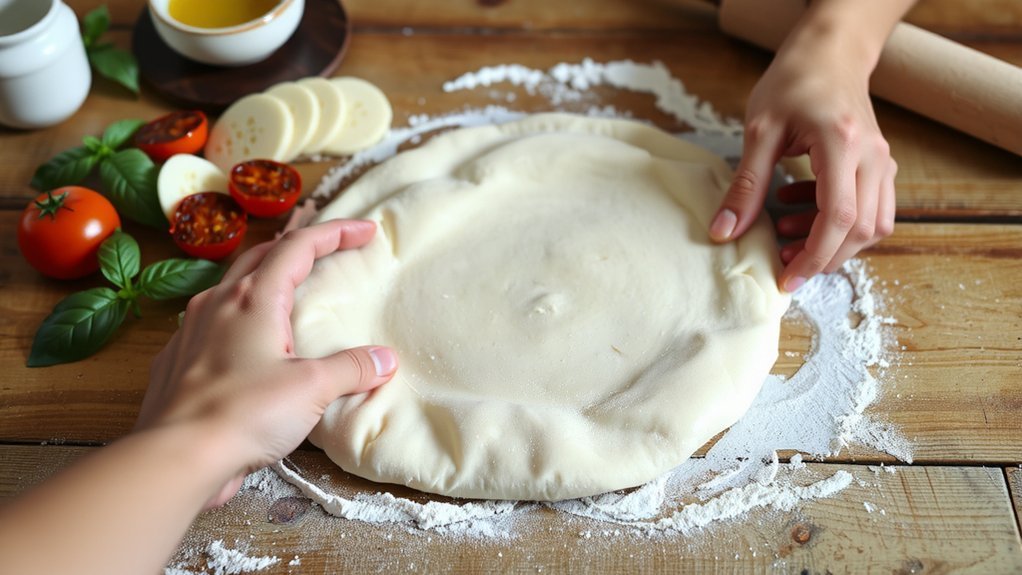
First, you’ll try shaping techniques. Next, you’ll try stretching methods that keep the dough puffy but elastic, then add toppings like mozzarella, basil, and a drizzle of olive oil, watching for even bake and color. Finally, you can try topping variations like pepperoni, mushrooms, or greens—and yes, I’ll probably drop a pepper flake or two.
Shaping Techniques
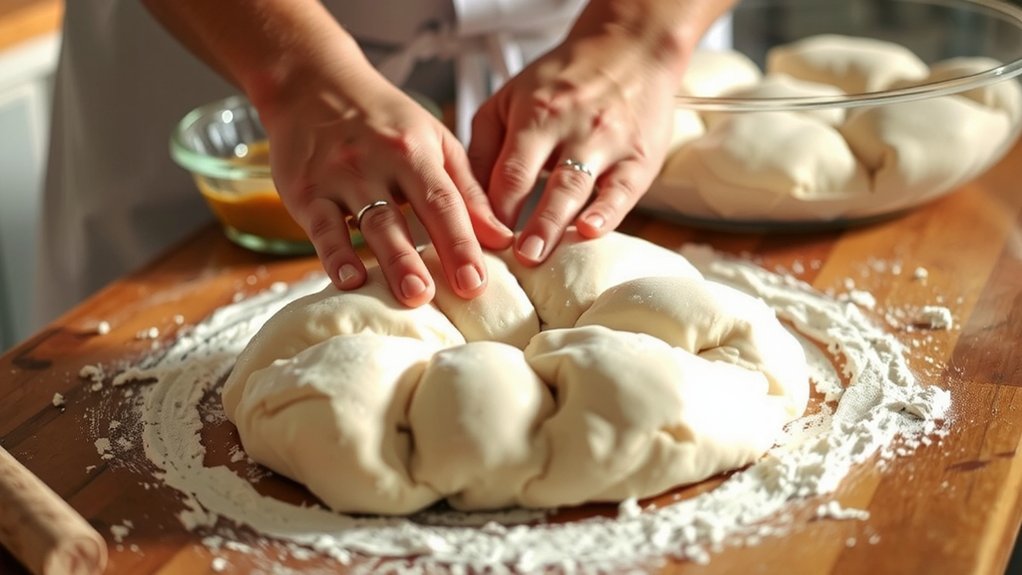
Shaping dough into rounds can feel like a mini workout, but it’s doable.
First, you focus on preshape handling, letting the dough rest gently as you prep your counter and flour lightly, so pieces won’t stick to each other for easy pan transfer.
Dust with flour dusting as you shape.
You’ll keep the rounds snug by cupping them, then rotating slightly as you press toward the edge, so the crust keeps a gentle rise without tearing and stay even.
Next, you learn to land toppings cleanly.
Signpost: after shaping comes rest and cut, but we stay mindful of even pressure and even thickness, so you don’t end up with uneven bubbles or too thick centers.
If in doubt, pause, breathe, and try again tomorrow.
Finally, you practice consistent motion, not perfection, and celebrate small rolls as proof your weeknight dough is forgiving and easy to love on your surface.
Stretching Methods
Stretching dough takes practice, and you’ll learn as you go. In this section, you’ll explore easy stretching methods that shape our dough into a great weeknight pizza. Start with a palm stretch, letting your palms press and roll the dough outward without tearing. Next, use the edge grip to control the rim and keep air pockets intact. This combo helps you form a thin, even crust and reduces slow holes. Remember to relax your shoulders, breathe, and smile at your dough’s stubborn moments. Signposting: first, practice palm stretch; then, apply edge grip for even thickness. If you feel stuck, pause, rework a small ball, and try again, because repeat attempts spark confidence. You’ll handle every stretch better with patience and a little humor today.
Topping Variations
From practicing those stretches, you’ll want to switch gears and think about toppings that pair with your dough. Shaping matters as much as sauce. Try thin rounds for crisp edges, then top with olive oil, garlic, and tomato slices while you imagine the sizzle and how the crust holds together. These tweaks build flavor. If you want a creamy bite, sprinkle vegan cheeses near the edge and watch them melt, while your herb combinations, like oregano and basil, wake the whole bake. Finally, shift to toppings. Layer thoughtfully, starting with sauce, then cheese, then vegetables, so each bite carries a little of everything. If it feels off, adjust herbs and timing for next round. Practice makes confident, and dinner comes together. Enjoy your crust.
Baking Techniques for a Crispy, Blistered Crust
Usually, you want your oven roaring hot and your dough ready to go. Begin by dusting your surface with cornmeal dusting so the dough won’t cling, then slide it onto a preheated stone bake to start intense heat from below. Keep an eye on the heat and watch the crust forming right away, okay. Next, bake with steam if you can, or place a tray of water in the oven to keep the crust lively and blistered throughout the session. If the bottom browns too slowly, pull sooner next time, okay, and note the timing. Finally, for easy weeknights, finish under a hot broiler to blister more and get color without drying toppings. Stay vigilant, rotate the pan halfway, and trust your instincts tonight.
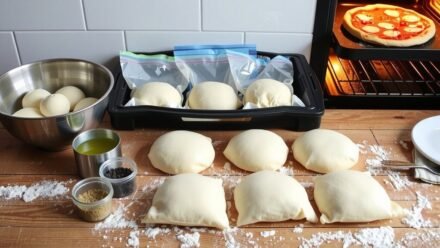
Make-Ahead Variations and Weeknight Planning
How can you get dinner on the table fast without sacrificing flavor? Set up fridge prep the night before. With overnight dough, you can stretch tonight’s plan by lifting the dough in the morning, then topping and baking after work, while you focus on weekly planning. Label portions for quick grabs. Keep a simple rotation: dough, sauce, cheese, veggies, and a protein so you can decide fast without thinking too hard during busy weeks ahead. If you stumble, laugh and adjust. This approach makes weeknight pizza feasible, and you still taste home, not haste, because the dough is forgiving, and your plan stays simple yet effective. So you can enjoy weeknight pizza, and you won’t feel rushed, because the routine builds confidence daily.
Conclusion
You’ve got this dough; weeknight pizza becomes the greatest staple.
Stick with the cold rise and patient patience; flavor deepens, crust stays tender, and your toppings sing when the oven blaze finally smiles back at you.
Trust the timing, even when you crave instant results.
Soon you’ll bake blistered rounds that vanish fast; if a misstep happens, laugh, learn, and tweak—your next crust will surprise you with better ease at every single try.