Last weekend, you baked a stone pizza and it came out with a sturdy crust. Now you’ll compare that stone’s gentle heat and moisture control with a steel’s quick, blazing start, because understanding how each tool behaves helps you choose the right path. First, heat matters most for the crust. Then we’ll compare bake times and texture, so you know when to switch aims; for now, your choice sets the tone for a crackly bottom.
How Heat Distribution Affects Crust
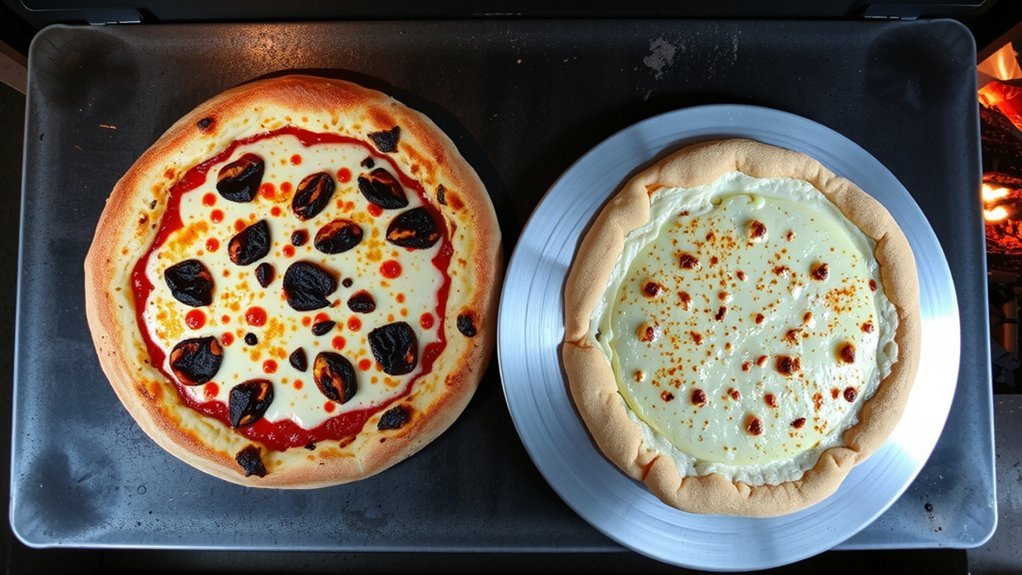
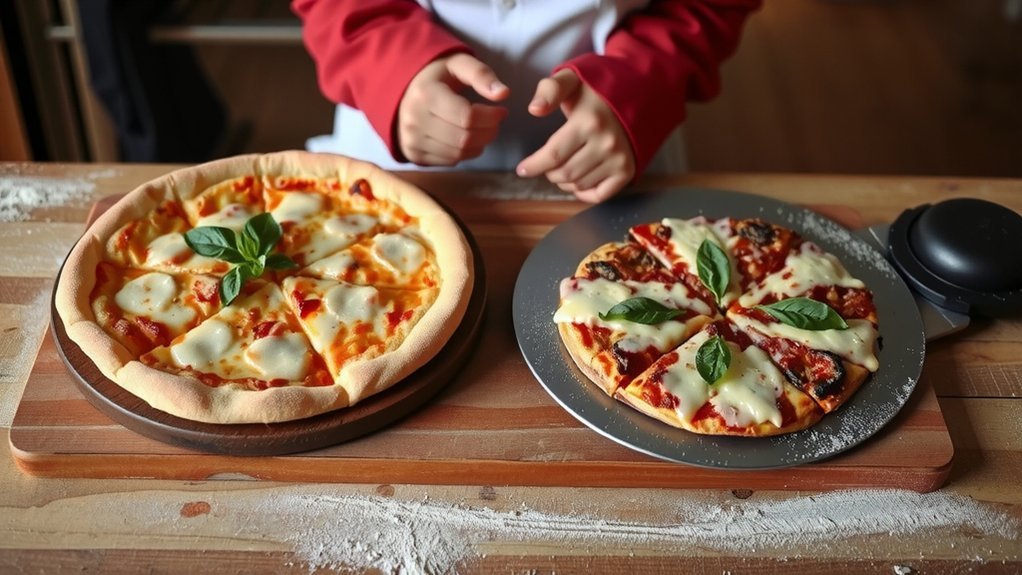
So, how does heat actually move through your pizza? Heat distribution matters because your crust texture depends on how fast the outside firms up, while the inside cooks gently and the bottom gets a stable glow. You notice it when the edges turn crisp without drying out. With a stone, heat piles up more evenly, while steel gives a quicker rise in temper, so you adjust time and position to control crust texture. Signpost: next, we tune the setup to improve even warmth. You’ll feel steadier when the oven, stone, or steel behave like teammates, sharing heat so every bite matches your hopes and you learn to trust the crust rather than guesswork. Practice helps, and I’m learning too, one bake at a time.
Comparing Bake Times: Stone Vs Steel
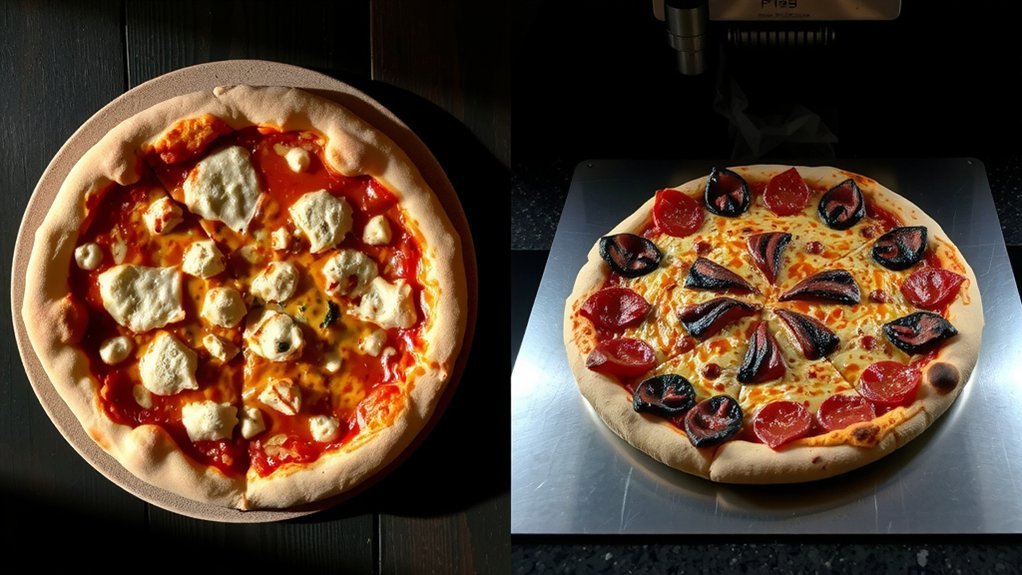
Honestly, how long your bake takes can hinge on whether you’re using a stone or a steel.
Bake times shift with stone or steel—watch edges, sheen, aroma to judge doneness.
Now, you measure time by how quickly the crust forms at home today.
With a stone, heat builds steady heat and adds time accuracy, so expect a slower start but crisper edges as the bake progresses over minutes.
Steel heats fast, shortening bake time for you.
Signpost the difference by noting first firm edges, the sheen of crust, the evenness of color, and how the aroma hints at doneness in your oven.
Keep notes for future tests, for confidence.
If you practice, you’ll learn which bake time feels right for your oven and which stone or steel helps you nail a steady crust formation every time.
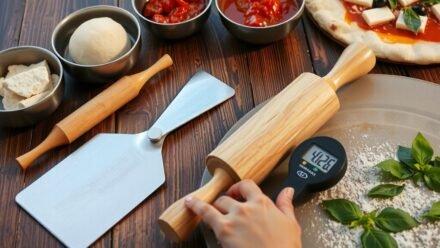
Choosing the Right Dough and Hydration

Ever wonder why some dough feels easy to stretch while others feel stiff?
The trick is choosing the right dough and watching hydration, so your crust stays tender inside and crisp on the edge, no matter your oven.
Start simple and learn what works.
Hydration ratios matter, not just water, and flour types shape texture, so you can tailor dough for a chewy crust or a light bite at home.
Keep notes to track changes.
If dough feels sticky, add flour gradually or rest, and if it seems tight, a touch more water helps relax gluten without overdoing it.
Balance comes with practice, trust the process, and celebrate small wins as you dial in your dough skills.
Layering Prep: Stone Prep and Steel Preheat
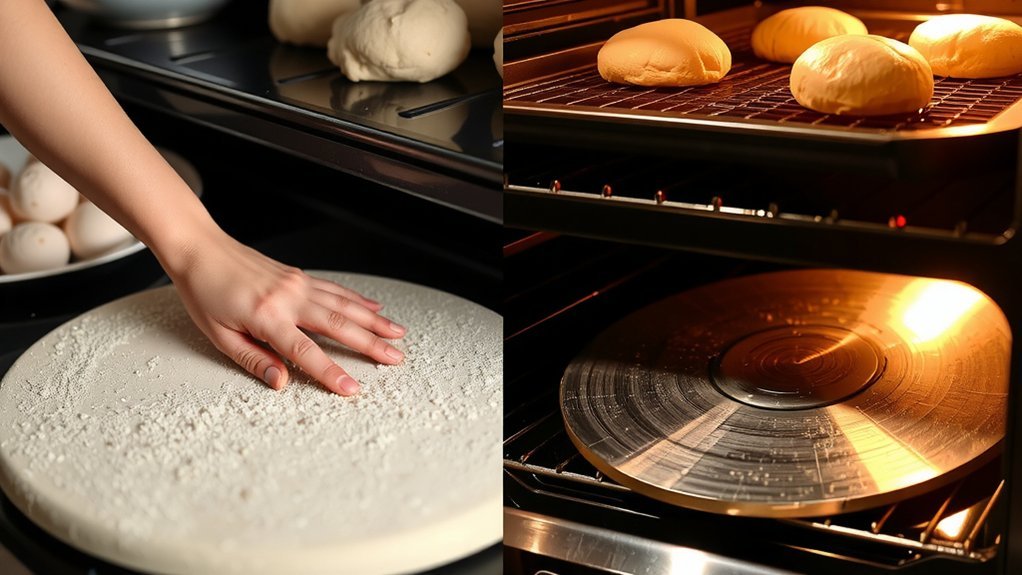
Stone prep steps set the stage for a crust that’s hot and crispy. Next, we cover the Steel Preheat Process: heat the oven to a steady temp, preheat the steel for 20 minutes, and place it on the middle rack for even heat. Stone prep stays clean and dry, unlike my flour-covered attempts.
Stone Prep Steps
To start, you’ll prep your stone and get the steel ready for heat. First, wipe away dust, then rinse quickly and dry the stone so it sits steady on the rack, because a firm surface matters. Next, soak stone briefly if your recipe asks for moisture balance. Then remove excess water and place the stone on a cold rack, allowing a steady drying time before the bake so your crust won’t cling. If your oven runs hot, adjust racks and keep away from the edge. You want even heat, so slide the stone onto a center rack and leave space for air to move, then wait for a subtle warm glow. This prep sets up comfort and control for the rest of the bake.
Steel Preheat Process
We start by getting steel hot, and you’ll feel the difference in your crust. Then you hold steady as the preheat duration ticks down, because steady metal warms evenly and feels like a warm glow through your dough. Next, you season the steel lightly. That steel seasoning helps crusts brown confidently, and you can see it when you slide a test slice and notice crisp edges, not a soggy surprise. Take time, though. If you rush, the oven can’t rescue you, and your crust will crack, not rise, so pause, breathe, and trust the routine you built. That’s the steady path. By focusing on preheat duration and steel seasoning, you create a rhythm, and your kitchen becomes a space where practice earns shared results.
Techniques for Achieving a Crackly Bottom
You can get a crackly bottom. To start, know that heat placement matters and timing matters more. Steam management helps, because a quick steam burst can soften crust and trap moisture. You’ll see better texture when you let the bottom dry a minute really before slicing. Convection effects don’t scare you; they just push hot air to brown the underside. Move the stone or steel away from the oven walls for even heat, then give it a minute to recover. This is practical advice, not magic, and I’ve burned a crust or two. If your bake feels soft, switch to higher heat briefly to boost the bottom without drying the top. Remember, practice with small tests, compare results, and jot which tricks helped most.
Monitoring Bake Temperature and Airflow
First, keep an eye on bake temperature and airflow as you cook.
If you notice the temp wobbling or the airflow feeling stuffy, you can adjust the rack, preheat a bit longer, or prop the door open slightly to encourage even browning.
Next, we’ll keep talking about steady temp and airflow for crust that stays crisp, even if I mess up sometimes.
Temp Stability Monitoring
Stability matters when baking pizzas at home, even if your oven acts dramatic sometimes.
In this stage, you monitor bake temperature and note how the heat settles, using sensor calibration to keep readings honest and watching ambient drift that can tug the numbers off.
You’ll set a baseline first and stick to it every bake.
When the oven preheats, chart a few minutes of stability, then compare to your target, adjusting for minor shifts so crusts stay predictable and you feel confident about timing.
Keep notes for consistency so you can compare monthly for future reference.
If things drift, log it, test again, and remember this signpost: tomorrow’s bake should mirror today’s results within a small tolerance, helping you avoid guesswork and shaky confidence.
Airflow for Even Bake
How does airflow affect a pizza bake, you ask?
Air moves heat across the stone, so you chase an even crust by watching how the oven breathes, not just the timer, and you adjust with calm focus.
That means your setup matters.
Practice airflow optimization by testing vent placement, opening a vent gradually to boost top browning, or closing it to balance moisture, and note outcomes.
When you monitor bake temperature and airflow, you catch tiny swings early, and that lets you intervene with a vent tweak or stone reposition.
Keep notes; progress loves repetition.
After a few bakes, your instinct grows, and you’ll feel confident predicting how airflow acts at different temperatures, so you can bake with less guesswork and more dependable crust color.
Maintenance and Care for Stone and Steel
Clean your stone and steel before and after use to keep their crust-friendly surfaces honest. Next you rinse, wipe, and dry, then store in a cool, dry spot away from moisture, so your board and pan stay ready for a perfect bake each time. Cleaning tips matter, especially after sticky cheese or thick dough. To prevent sticking later, try seasoning routines: oil lightly, heat briefly, then wipe away excess oil after cooling, and repeat weekly to build a forgiving patina that speeds future bakes. Signpost to better care: avoid soap on seasoned surfaces and dry thoroughly. Finally, monitor both stone and steel during use, keep a gentle routine, and remember I once mistook soap for seasoning and paid with a chewy, crusty lesson myself. You’ll feel confident with steady care and better crusts daily.
When to Switch From Stone to Steel or Vice Versa
When should you switch from stone to steel or vice versa? Consider your baking goals and the cost considerations you have in mind, because choosing later can mean you waste time and money or lose a crust you love. If heat comes evenly and easily, you may stay with steel for durability tradeoffs, yet stone still shines for moisture control and forgiveness in busy kitchens.
Signpost the switch by testing results, then weigh turnaround time, cleanup, and price when you decide; I’m rooting for practical choices that fit your rhythm, with a touch of humor. Remember, it’s about your routine, not perfection, so start with one piece and reassess after a few batches, because the best crust is the one you actually bake today.
Conclusion
You’ll decide how your crust turns out today, based on what you like.
If you want steadier crust, use a stone; steel makes quicker, crisper bottoms.
Try one tool first, learn its rhythm, then you can choose freely.
Preheat properly and control airflow; tweaks shift texture and bake time.
Watch the bake like a timer with a heartbeat, and learn slowly.
Fun stat: steel can cut bake time by about 20%, while stone steadies moisture.