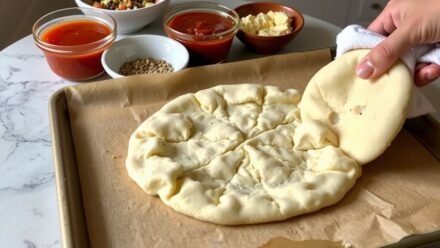
Did you know hydration can change a crust’s texture by 30 percent? Next, you’ll see it when you mix water with flour, because the amount you add changes how soft the dough feels. Then we’ll cover basics, ratios, and why tweaks at the right moments reshape gluten. Stick with me to learn the quiet craft behind blistered crusts, and I’ll guide you step by step—no bragging, just better pizza.
What Is Dough Hydration and How It’s Measured
What exactly is dough hydration, and why should you care? You mix flour and water, and the ratio tells you how stretchy or tight your dough feels. In plain words, hydration definitions describe how much water you expect in the dough, and measurement methods show you how to measure it accurately. You’ll use cups, scales, and simple math, and you’ll learn why small tweaks matter. This guide keeps things practical and calm, with clear steps you can follow, and it stays friendly even when the dough resists. Now you’ll see how numbers translate into texture, color, and bake quality when you control hydration. You’ll discover simple tricks, like noting water temperature and flour type. If you stay curious, your dough shows what it needs.
Why Water Content Changes Dough Texture
You’ve seen how water content shapes dough; now we’ll map how that moisture changes texture in your crust.
As you increase water, gluten hydration changes how stretches feel, so your dough might resist or loosen more when you shape it during the final rise and bake.
Next, starch gelatinization delimits texture as heat sets the structure.
In practical terms, a wetter dough feels softer inside and crisper outside, while a drier mix stays tighter, making slicing predictable but crusts tougher overall.
> A wetter dough feels soft inside and crisp outside; a drier one yields tighter crusts.
Keep notes and adjust by small steps.
Finally, you’re coaching your crust, balancing moisture with time, so it bakes evenly, browns nicely, and still feels forgiving when you bite in, not chalky or gummy.
Practice this, and your dough finally speaks clearly today.
Calculating Hydration: Water to Flour Ratios
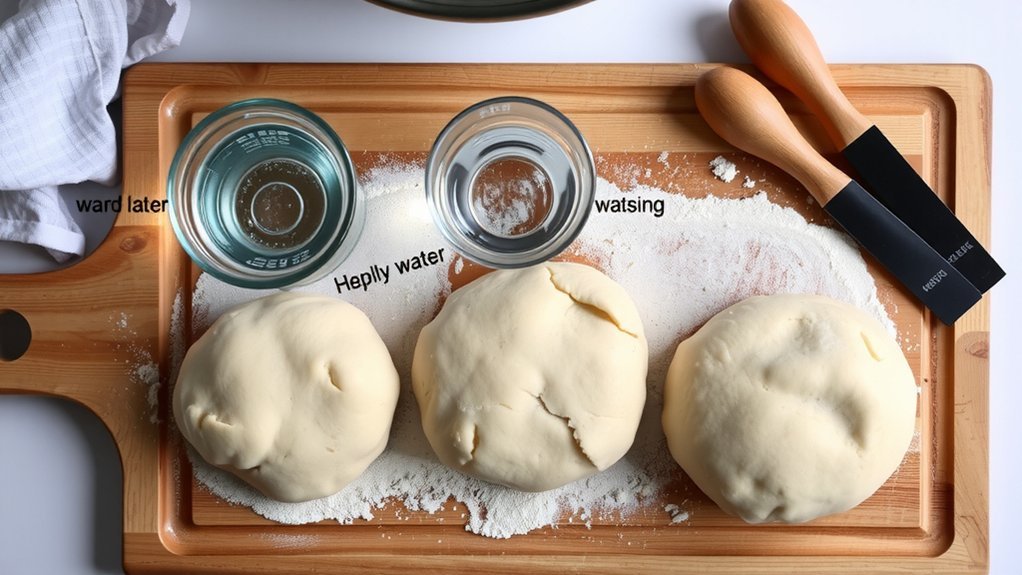
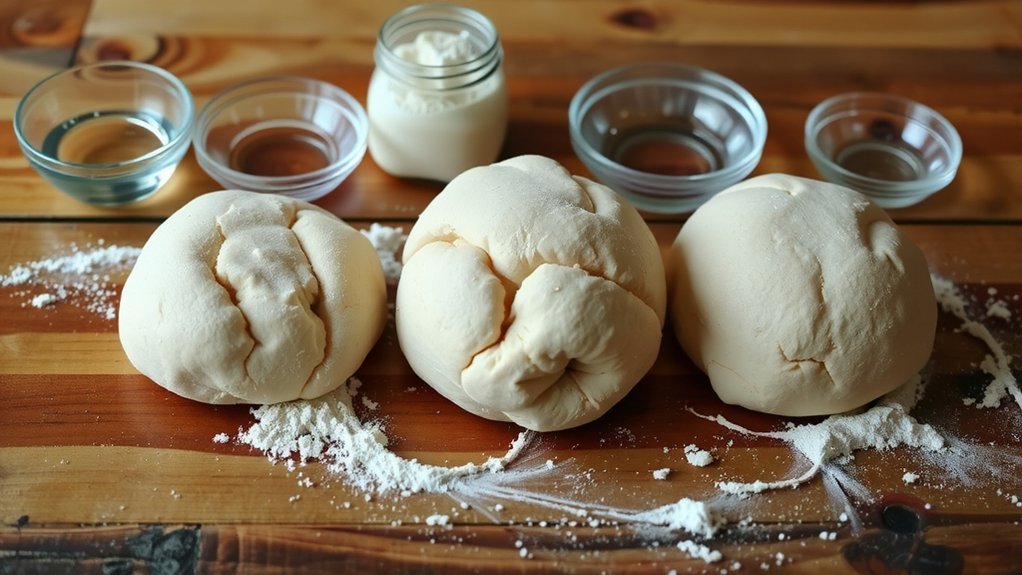
First, you’ll start with water-to-flour ratios to see how hydration changes dough. I’ll show you how a 60% ratio keeps dough supple, what 65% does for a crumb, and how texture shifts when those numbers meet flour; next, we connect this to texture. You’ll laugh at my rookie mistakes and style them into better dough.
Water-to-Flour Ratio
If you’re aiming for a pizza crust that’s bendable yet sturdy, the water-to-flour ratio is your compass.
With this ratio, you guide every mix, check measurement precision, and keep your dough honest, using a hydration scale to log how much water meets flour.
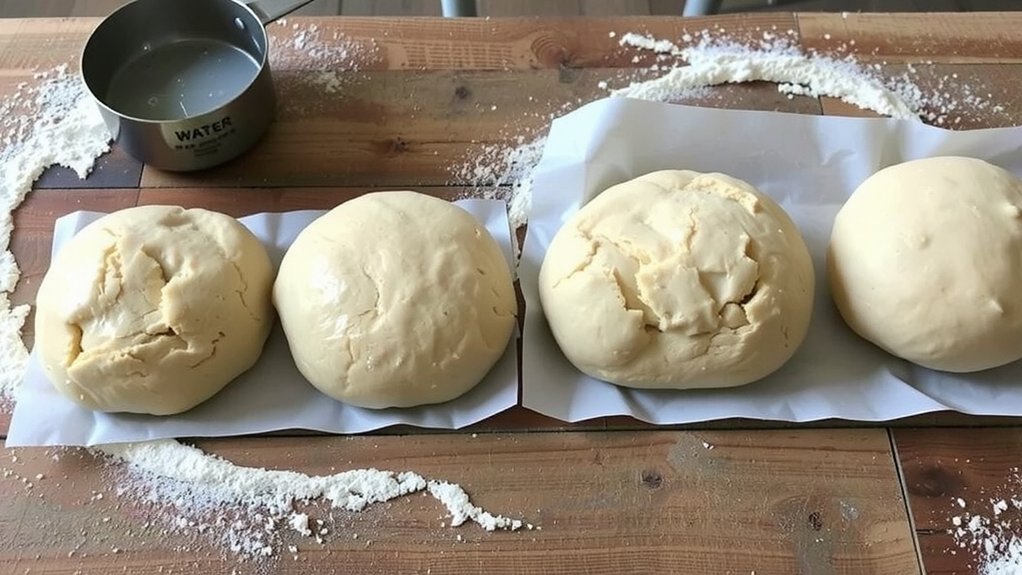
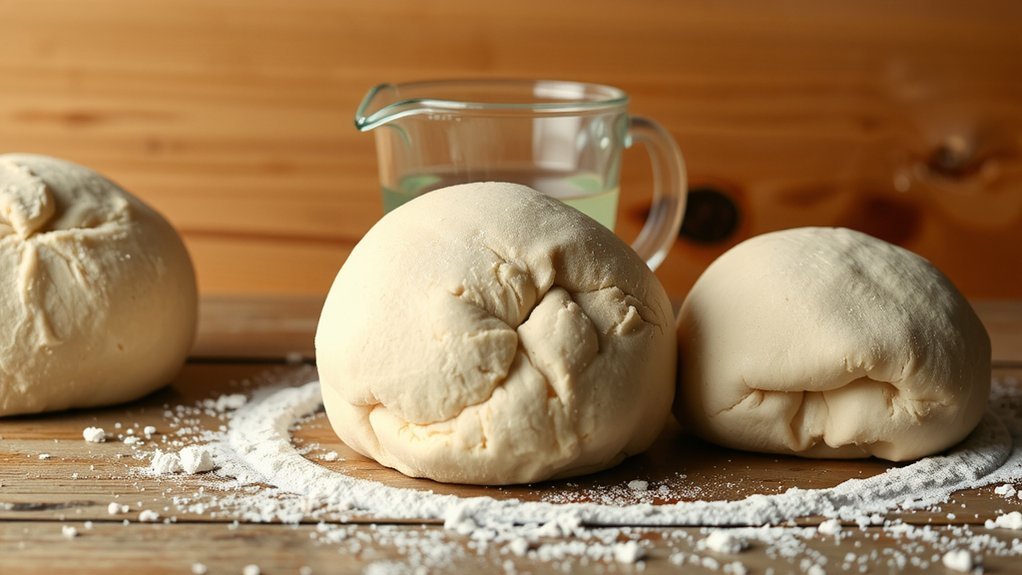
Start simple: a 60 percent hydration means 60 grams of water per 100 grams of flour, but adjust for your flour’s absorbency and climate, then note changes for next time.
Next, compare batches and keep notes so your method stays consistent, using the hydration scale to track shifts in stickiness and development over each session.
If a dough feels tight, loosen water next time; if too slack, you’ll add a touch more flour or reduce water, guiding your crust toward balance.
Texture and Crumb
Let’s lock in on texture and crumb and see how hydration shapes them.
As you mix wetter doughs, you’ll notice a looser crumb structure and springier bite, which changes mouthfeel contrast and makes the crust feel airy yet sturdy at the same time.
Next, you compare firmer doughs.
This variation tightens the crumb, strengthens structure, and dulls the airiness, so you see less rise and a tighter crumb structure that slices cleanly and holds toppings with confidence.
You’ll notice the gap.
To balance hydration, test batches help you feel crumb structure and mouthfeel contrast evolve, and you can adjust water or flour until texture teaches you what perfect crust means.
Practice each dough, and your palate will guide the perfect hydration for pizza success.
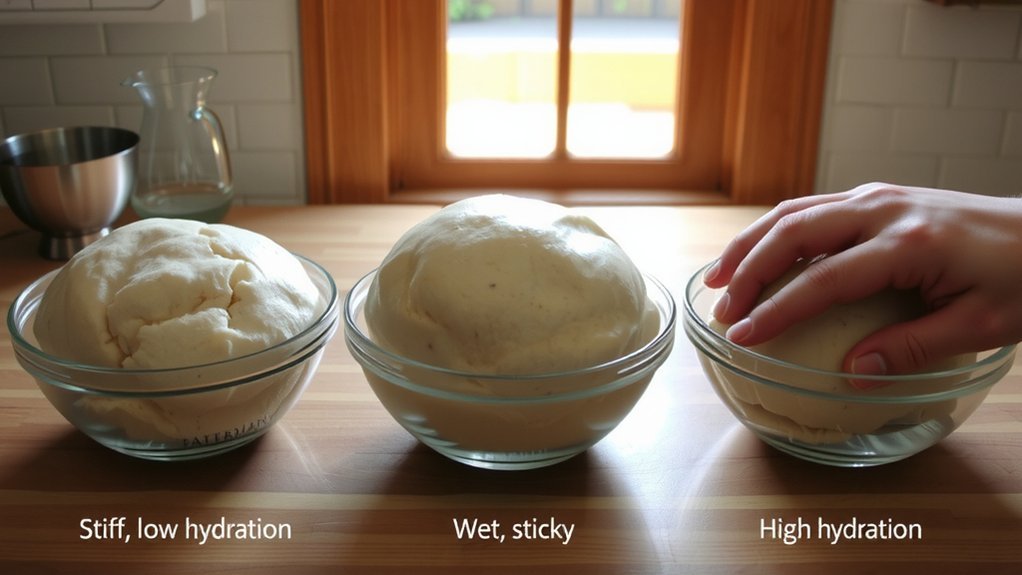
High, Mid, and Low Hydration Doughs Explained
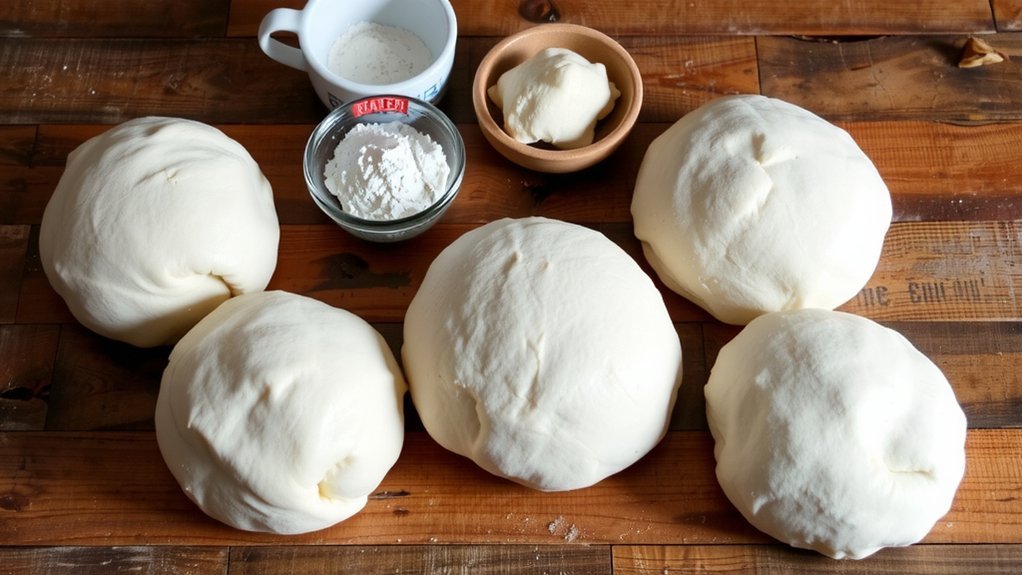
First, I’ll outline what high, mid, and low hydration feel like in your dough. You’ll notice high hydration is sticky and soft yet forgiving, mid hydration is smoother and easier to work with, and low hydration is firm and a bit stubborn but controllable. Next, we’ll link those traits to simple cues and quick tips so you can decide your target hydration with confidence.
High Hydration Traits
How does water content really change dough’s personality? You’ll feel it in high hydration dough, which feels loose yet lively as you mix and rest. It holds more moisture, so gluten formation shows up differently, and the dough stretches with a forgiving snap.
You’ll notice wetter doughs spread on a sheet pan, then puff into airy bubbles when baked. Kneading dynamics shift, too, as you push and fold with gentler pressure, watching strength build gradually. This approach rewards patience, not brute force, and it teaches you control over texture. Signpost: next, we’ll talk about shaping strategies for high moisture doughs, without getting lost in science. If you try this, you’ll taste the difference sooner, and your confidence grows with each careful, deliberate turn today.
Mid Hydration Traits
Mid hydration dough feels sturdy yet forgiving.
You’ll notice it handles easily, and you still get a good crust, because the balance lets you stretch without tearing while keeping enough moisture for flavor.
First, plan your grain selection for strength and texture.
With mid hydration, you trade some elasticity for steady handling, and gluten strength matters more than you think; you’ll learn to time folds and rests for even rise.
Keep your dough damp but not wet, and you’ll enjoy a chewy crumb with a soft interior, plus predictable oven spring that results from balanced hydration practice.
In short, mid hydration gives you control, and you’ll feel more confident as you tune grain selection and gluten strength before you try higher or lower hydration.
Low Hydration Impacts
Low hydration tightens your dough and your grip on it. You feel firmer dough and quicker resistance as you mix. This is the hydration impact showing up as dough stiffness, which makes shaping harder and encourages a tighter crust that results in crust dryness if left unmanaged. Signpost: next, you’ll see how patience and proper handling can ease stiffness and keep crust dryness from becoming a punch line in your bake routine. You can adjust by sparing water, letting dough rest, and using gentle stretch rather than brutal kneading, which reduces dough stiffness and favors forgiving bake. Why bother? Because less hydration means more control over texture, but also more care during shaping, or you’ll face crust dryness and a crumb that’s denser overall.
Fermentation’s Role in Hydration Dynamics
Fermenting dough changes how it drinks water, and you’ll feel the difference as bubbles wake up. Your dough handles hydration in stages. First, you notice yeast metabolism, and water moves with heat and time, so you learn to drink slowly rather than gulp.
Next, fermentation timing affects how long water stays in the dough, and you adjust knead-rest cycles to match those rhythms. Finally, observe hydration changes as gas builds, and you’ll see a smoother crumb when you plan around these signals. I wobble less than my dough, but I still misread a shift now and then. In short, hydration hugs fermentation timing and yeast metabolism, not the other way around. With practice, you’ll feel the flow and trust the process. Keep practicing daily.
Practical Tweaks to Improve Crust With Hydration
If you want a crust that’s crisp yet chewy, start with simple hydration tweaks. You can experiment by slightly increasing water for a lighter bite, then add flour types gradually to balance air retention and chew. On the next move, let dough rest longer in a cooler spot to improve texture and crust browning later in baking. Keep hand mixing gentle and ask the dough to relax between rounds, so you won’t force toughness. Subtle changes matter: a few extra minutes of kneading trains gluten, while a touch of salt steadies fermentation and flavor. Finally, bake on a hot surface and watch for even bubbles. Small steps, steady practice, better crusts over time. You’ll taste the difference with confidence and a little humor too.
Troubleshooting Common Hydration Problems
Why does your dough end up dry or slack, and what can you do about it? First, check hydration by measuring water and adjust gradually; small changes prevent big swings, and you stay in control while learning how flour behaves. Next, address kneading faults by watching for underworked dough that feels stiff or overworked dough that shows torn gluten; patience keeps texture even and improves hydration consistency. Then, check starter viability; a weak starter drains water, so refresh, feed regularly, and bake with lively bubbles. Finally, rest the dough and adjust timing; long rises hydrate slowly, short rests trap dryness, so watch fermentation and readiness. I’ve burned bread rushing once, and I still learn, so you can laugh at my mistakes while you improve.
Conclusion
Hydration really matters for crust. Keep logs and adjust slowly; a five percent bump in water can change crumb and crust by noticeable margins, so you’ll want to measure and note every tweak. Be patient and learn your flour. If the dough feels tight, rest longer, or add water in small amounts during kneading, and remember that better bake performance comes from steady practice rather than bold shortcuts; trust the signs, not bravado, log outcomes.