You’ll master Sicilian dough that gives a thick, airy square pie with a crisp bottom and tender crumb. Use high‑protein flour, generous hydration, slow fermentation, and gentle folding. I’ll walk you through each choice and why it matters — and you’ll want to see the small steps that make the biggest difference.
Ingredients and Essential Equipment
You’ll need just a few high-quality ingredients and a handful of sturdy tools to make authentic Sicilian pizza dough: high-protein (bread) flour, warm water, active dry or instant yeast, fine salt, a little sugar or honey to feed the yeast, and good olive oil. Gather a reliable scale, large mixing bowl, sturdy spoon or dough whisk, and a bench scraper for handling the dough. Use a rectangular sheet pan or rimmed baking tray and coat it with oil. Have plastic wrap or a clean kitchen towel for proofing, and an oven thermometer to guarantee consistent heat. A stand mixer with a dough hook speeds mixing, but you can mix by hand. Keep a spray bottle or small brush for oiling the crust before baking.
Choosing Flour and Hydration Levels

Choose your flour by protein: higher-protein bread flour gives stronger gluten and more chew, while all-purpose yields a softer, tender crumb. For Sicilian dough you’ll typically work between 65–75% hydration—lower for easier handling, higher for a more open, airy crumb. You’ll match flour protein to hydration so you get the crisp, pillowy pan crust you want.
Flour Types and Protein
Flour protein controls the dough’s strength and how much water it can hold. You’ll choose flours by protein to shape texture: high-protein bread flour gives strong gluten, chew, and structure for a tall, airy square crust. All-purpose is versatile—easier to handle and milder chew if you want forgiving dough. Tipo 00 yields silky, refined crumb with less chew; blend it with bread flour if you need both tenderness and strength. Whole wheat or semolina add flavor and bite but cut gluten development; use them partly to avoid dense results. If you want crisp edges, lean toward higher protein; if you want tender crumb, lower protein or blends suit better. Taste and practice will guide your final mix. Record your choices and adjust next bake.
Hydration Percentage Guide
Protein content determines how much water the dough can hold, so match hydration to the flour and the crust you want: high-protein bread flour can handle 65–75% and gives open, chewy crumb; tipe 00 and all-purpose do best around 58–65% for a tender, workable dough; and when you add whole wheat or semolina, cut hydration by a few percent or expect stickier handling because they absorb more and weaken gluten. Use lower hydration for Sicilian pans; push hydration for airier crumb if you can handle sticky dough. Start 2–3% below range if you’re new. Adjust by feel.
| Flour | Suggested Hydration |
|---|---|
| Bread flour | 65–75% |
| Tipo 00 / AP | 58–65% |
| Whole wheat / Semolina | 55–62% |
Measure by weight, not cups, and you’ll nail texture every time.
Mixing and Kneading the Dough
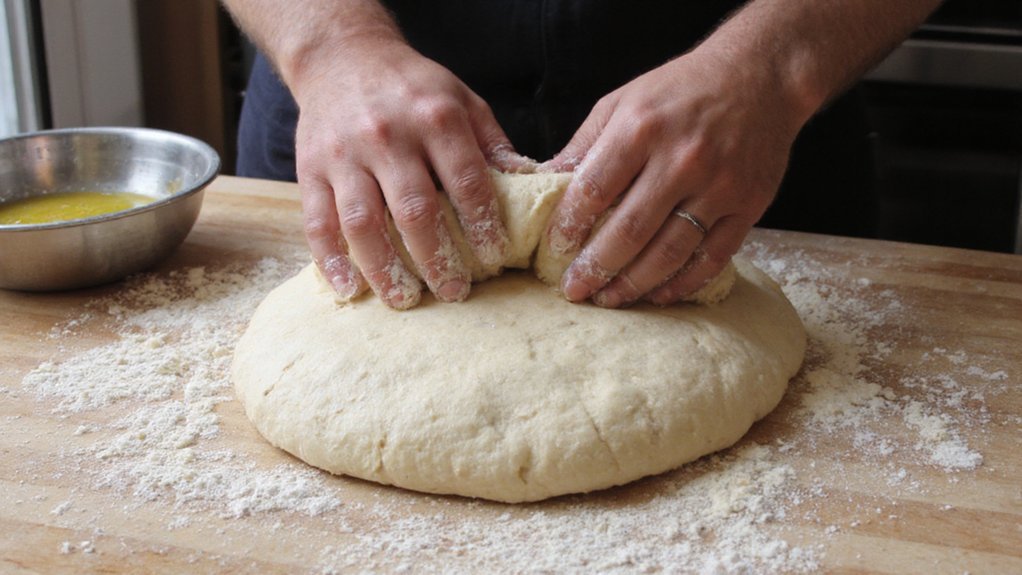
Mixing the dough sets the foundation for that airy, pillowy Sicilian crumb, so work confidently and deliberately: combine water, yeast, and most of the flour into a shaggy mass, let it rest briefly to hydrate, then add salt and oil and knead until the dough feels smooth, elastic, and still slightly tacky. Use a stand mixer with a dough hook on low for 6–8 minutes or knead by hand for 8–12 minutes, folding to develop gluten without overheating. Scrape the bowl often; keep flour additions minimal overall. Watch texture, not time: the dough should clean the sides, spring back, and pass a gentle windowpane when stretched. If it’s too sticky, wet your hands; if too stiff, add water drops. You’ll feel when it’s ready.
Bulk Fermentation: Time and Temperature
Start the bulk ferment at a temperature and duration that match the dough’s activity, because time alone won’t tell you when it’s ready. You want a warm, consistent environment—around 75–78°F (24–26°C) for a straightforward 2–3 hour rise, or cooler 60–65°F (15–18°C) for a slow overnight development. Watch the dough: look for 20–40% expansion, visible bubbles, and a pillowy, slightly domed surface. Press gently; the indentation should spring back slowly. If it overproofs and collapses, shorten time or lower temperature next batch. If it’s sluggish, raise temperature or give it more time. Control temperature with your oven’s light, a proofing box, or fridge planning. Accurate bulk fermentation makes the crumb, flavor, and oven performance sing. Take notes each bake to dial in your ideal schedule.
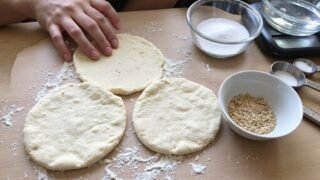
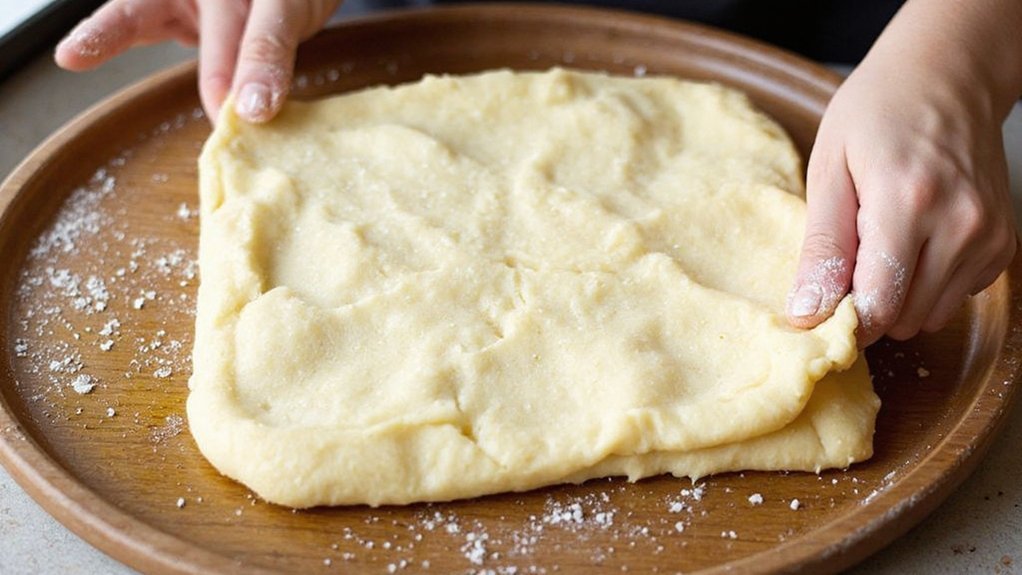
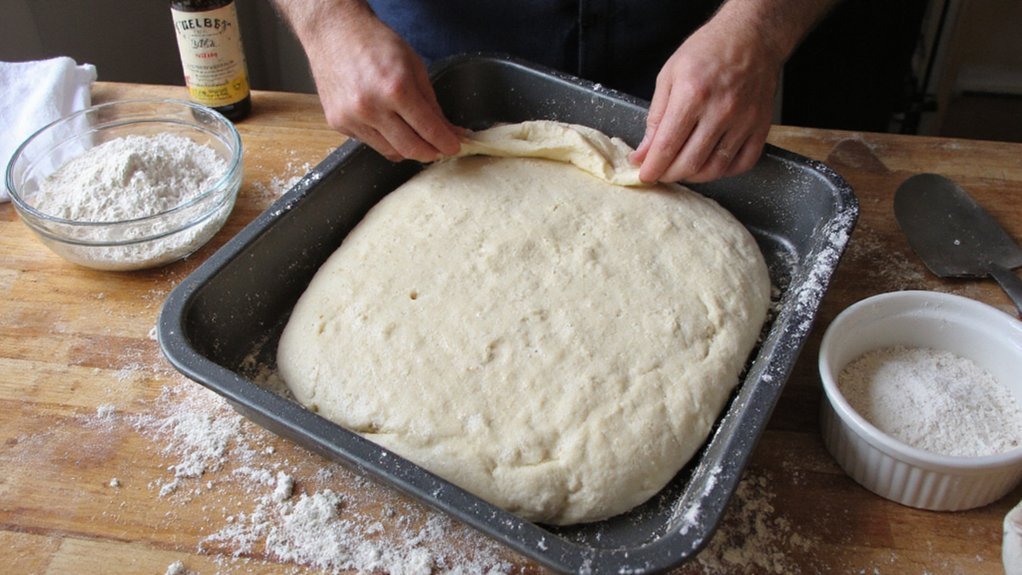
Shaping the Dough and Preparing the Pan
Once your bulk ferment shows the right rise and feel, you’ll move to shaping and pan prep while keeping the dough relaxed—handle it gently to preserve the gas you worked for. Turn the dough onto a lightly floured surface, divide if needed, then lift and stretch it into a loose rectangle. Oil a square pan well; that fat creates crisp edges and prevents sticking. Transfer the dough, letting it settle without pressing. Tidy corners and edges with light pulls and folds, not force. Cover and let it rest briefly before topping.
| Step | Action |
|---|---|
| 1 | Oil pan generously |
| 2 | Transfer dough gently |
| 3 | Shape to corners |
| 4 | Avoid degassing |
| 5 | Rest briefly covered |
You’ll form an airy, even base that bakes into crisp, tender crust.
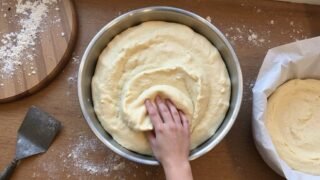
Final Proofing and the Dimpling Technique
While the dough’s doing its last rise, keep handling to a minimum and use dimpling to both shape and preserve those precious bubbles: let the panproofed dough become puffy and slightly jiggly (usually 30–60 minutes at room temp), then press gently with your fingertips—moving from the center outward and letting gas escape only where you want it—to create shallow wells that hold sauce and toppings without collapsing the interior. Let the feel guide you: too soft, give more time; too resistant, relax it with a light swipe of oil. Then follow these focused steps:
- Verify springiness and a visible network of bubbles.
- Oil fingertips and the pan lightly.
- Dimple decisively but shallowly across the surface.
- Rest before transferring to oven.
Sauce, Cheese, and Topping Suggestions
Because Sicilian dough is airy and pillowy, you’ll want a slightly thick, well‑seasoned tomato base that won’t sog the crust—think crushed San Marzano tomatoes or a no‑cook sauce with garlic, oregano, salt, and a splash of olive oil. Keep sauce modest: a thin, even layer lets the dough crisp at the edges while staying tender inside. Use low‑moisture mozzarella torn or thinly sliced for even melt; avoid puddles of fresh mozzarella unless you pre-bake slightly. Finish with grated pecorino or Parmesan for sharpness. For toppings, prioritize bold, sparse choices—sautéed onions, roasted peppers, anchovies, spicy sausage, or mushrooms. Scatter fresh basil or oregano after baking. Press toppings gently into the dimples so every square bites cleanly balanced flavor and texture and enhances the crust beautifully.
Baking: Oven Settings and Timing
You’ll set your oven as hot as it safely can be—450–500°F (230–260°C) is ideal for a crisp bottom and golden top. Position the rack low to medium-low to encourage a sturdy, well-browned crust, or use a preheated steel or stone on the bottom rack for extra crisp. Bake 12–18 minutes depending on dough thickness and toppings; check at the shorter end and rotate once for even color.
Ideal Oven Temperature
When you want a crisp bottom and airy interior, set the oven very hot—typically 475–525°F (245–275°C)—so the exterior browns quickly while the dough keeps its open crumb. Use the high heat to mimic professional decks; you’ll blister edges and lock moisture fast. Preheat thoroughly and trust the temp. Manage bake time: shorter at higher temp, longer if oven runs cool. Follow these practical targets:
- 525°F for 10–14 minutes for deep pans.
- 500°F for 14–18 minutes if your oven is reliable.
- 475°F for 18–22 minutes if you need gentler color.
- Monitor visually; pull when golden and airy.
You’ll get crisp crust and pillowy interior when you respect heat and timing. Adjust for your oven’s quirks and learn what works today confidently.
Rack Positioning Tips
Where should you position the rack for the best Sicilian crust? Place your rack in the lower-third of the oven so the bottom gets strong, direct heat that crisps the thick dough without burning toppings. If your oven has a stone or steel, put it on that lower rack; if not, use a heavy pan to concentrate heat beneath the pan. For extra lift, preheat with the rack inserted so thermal mass is ready when you slide the dough in. Avoid the top rack—too much radiant heat browns topper edges before the interior sets. If you see uneven browning, rotate the pan once midway through baking and shift the rack slightly up or down for future loaves to dial in perfect crust every time.
Baking Time Guidelines
After you’ve placed the rack low to get that intense bottom heat, set your oven and timing to match the thick Sicilian dough: 450–500°F (230–260°C) and roughly 12–20 minutes is your starting window, shorter if your pan’s thin and longer if you’ve got a cold, heavy sheet or an especially deep dough. Watch color and feel: golden-brown top, blistered edges, crisp bottom. Rotate once at halfway if your oven spots. Use a thermometer—internal crumb temp ~200°F (93°C)—for consistency. Rest briefly on the pan to firm the crust, then transfer.
- Thin pan
- Heavy sheet
- Deep dough
- Preheated
Troubleshoot quickly if underdone: return to a preheated pan at 500°F for 2–4 minutes. Be decisive; timing makes or breaks that lofty, tender crumb.
Cooling, Cutting, and Serving Tips
While you let the Sicilian cool for 10–15 minutes, you’ll lock in structure and avoid a soggy slice; rapid cutting will pull cheese and toppings away. Use a sharp, long knife or a pizza rocker and steady pressure to slice cleanly through crust without dragging. Lift each piece with a spatula or parchment to keep the bottom intact. Serve on warm plates to preserve crispness and encourage cheese stretch. If you stack slices, place parchment between layers. Offer simple accompaniments—olive oil, crushed red pepper, or a bright salad—to complement the rich dough. Store leftovers uncovered until slightly cool, then wrap to retain crust texture. Reheat in a hot oven or skillet to revive crispness before serving. Trust these steps and you’ll wow every guest.
Troubleshooting Common Dough Problems
If your Sicilian dough turns out dense or heavy, you’ll want to check your kneading, proofing time, and exact flour measurement. If it’s sticky or wet, tame it by adjusting hydration, switching flour types, or using gentle folds and temperature control rather than dumping in extra flour. I’ll walk you through quick fixes and simple tests so you can rescue the dough and get the airy, tender crust you’re after.
Dense or Heavy Dough
Dense, heavy Sicilian dough feels like a brick and kills the airy, tender crumb you want — but you can fix it. You probably overworked the dough, used low-protein flour, rushed fermentation, or relied on weak yeast. Treat it like a sponge: handle gently, give slow, cool bulk fermentation, and let time do the lifting.
- Reduce kneading — stop once dough’s smooth and elastic.
- Use 00 or high-gluten flour for structure without toughness.
- Proof longer at cooler temps to develop gas and flavor.
- Check yeast freshness and water temperature (100–110°F for active yeast).
Finish with a hot, well-oiled pan and preheated oven; you’ll get an airy, tender Sicilian crust. If you still see density, adjust hydration slightly upward and rest the dough an extra thirty minutes.
Sticky or Wet Dough
Because Sicilian dough needs high hydration to get that open crumb, it’s easy to end up with a slack, sticky mass that clings to your hands and won’t hold shape. Don’t panic: sticky dough usually means you have the right hydration, not that you failed. Use a wet scrape, coat your hands and bench lightly with oil, and practice gentle folding every 20–30 minutes during bulk fermentation to build strength without adding flour. If you must add flour, add only a tablespoon at a time and resist drying the dough out. Chill the dough for 30–60 minutes to firm it up before shaping. Over time you’ll learn the feel—tacky and extensible, not gluey—and your confidence will soar. You’ll make incredible Sicilian pies every time.
Conclusion
You’ll get a crunchy, airy Sicilian pie if you follow these steps: pick strong bread flour, hydrate confidently, and fold gently during fermentation. Keep proofing cool and slow for flavor, oil the pan, press dough to the corners, dimple with oiled fingers, and top sparingly. Bake hot on a low rack until golden. Trust the process, taste as you go, and enjoy slicing into a thick, soulful square you made yourself with pride and joy.