You’ll make a reliable overnight pizza dough using a measured cold-fermentation method that builds flavor and strength. Follow percentages—100% bread flour, 65–68% hydration, 2% salt, 0.1–0.15% yeast—autolyse, finish, then rest refrigerated 18–24 hours. The process sharpens gluten and aroma; next, learn the precise handling and bake that reveals it.
Ingredients and Measurements
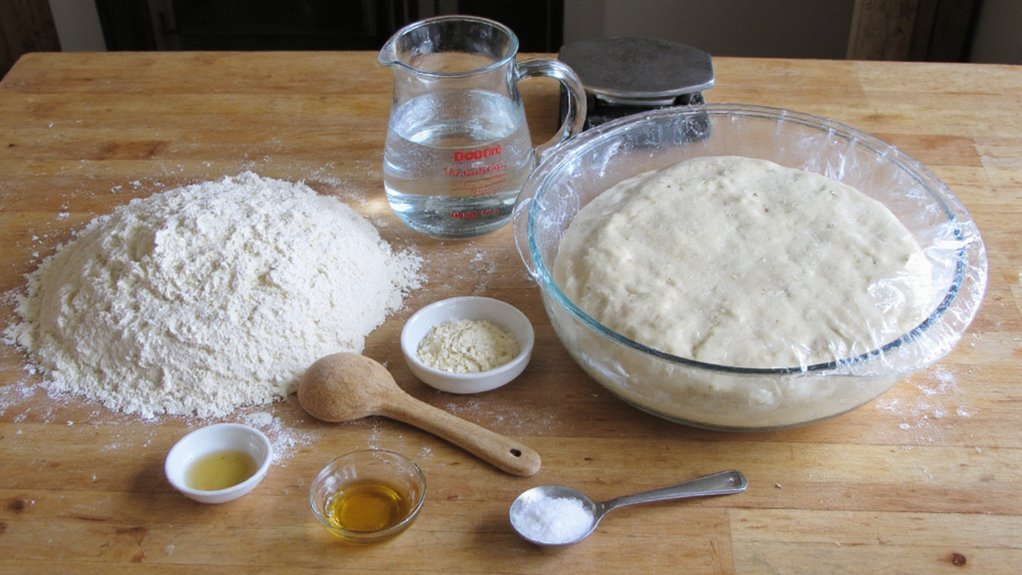
Use a digital scale and specify ingredients by weight: high-protein bread flour (11–13% protein) at 100% flour, water 65–70% hydration for a flexible overnight dough (grams), instant yeast 0.05–0.25% for 12–72 hour cold fermentation (lower end for longer ferment), salt 2% (by weight), and optional olive oil 1–2%. You’ll measure precisely, favoring lower yeast and cooler temps for nuanced acidity and aroma. Aim for 65–68% hydration if you prefer manageable shaping; push to 70% for open crumb and blistered crust. Weigh salt and oil against flour; dissolve yeast in water before autolyse when using higher hydration. Adjust hydration for flour absorption and ambient humidity. Record batch percentages and grams; repeatability refines flavor and texture. You’ll tweak salt and oil to sharpen balance and mouthfeel.
Equipment You’ll Need
You’ll use a large mixing bowl as your primary work vessel for mixing, autolyse, and bulk fermentation. A digital kitchen scale is essential — you’ll measure flour and water by weight to hit precise hydration and yeast ratios. Use a thermometer to monitor water and dough temperature so you can control fermentation rate and reproducibility.
Large Mixing Bowl
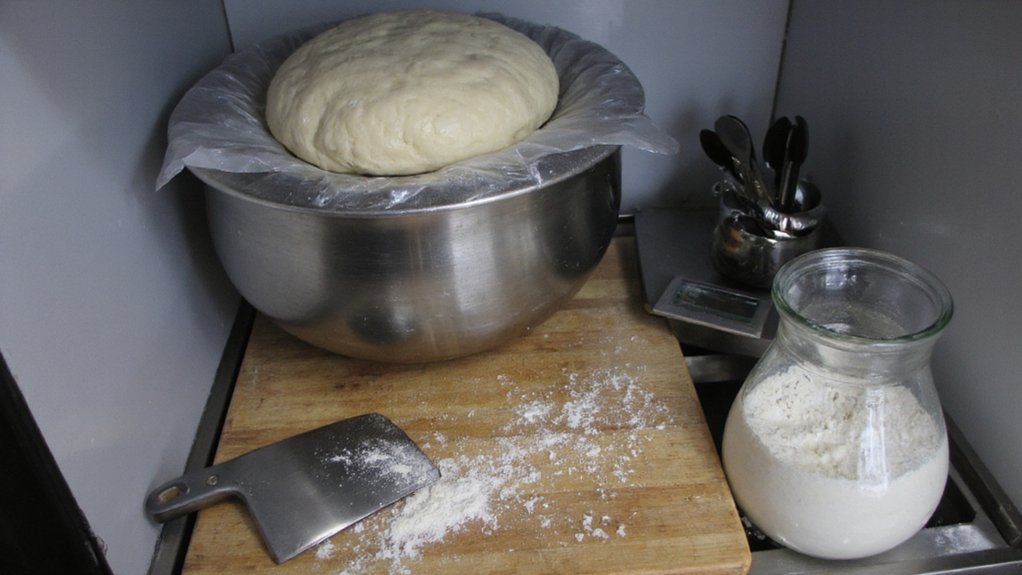
Pick a 5–7‑quart stainless steel bowl with straight sides and a smooth, nonreactive surface—big enough to let the dough double or triple without touching the rim. You’ll avoid crowding that impairs gluten development and temperature control. Straight sides guide efficient folding, retention of hydration, and predictable rise during cold fermentation. Choose a bowl that’s rigid, heavy enough to stay put, and easy to clean; stainless won’t stain or flavor the dough. You’ll want a lip for covering and room for ice or cold packs if necessary.
| Feature | Benefit |
|---|---|
| Capacity 5–7 qt | Room to expand |
| Straight sides | Efficient folding |
| Stainless steel | Nonreactive, durable |
| Rigid base | Stability during kneading |
A clear, unwarped surface gives accurate dough contact and speeds sanitation and inspection over repeated batches reliably.
Kitchen Scale and Thermometer
A precise digital scale and an instant‑read thermometer turn guesswork into repeatable dough chemistry. You’ll weigh flour, water and salt to 1‑gram accuracy, ensuring hydration and salt percentages match your formula. Use tare frequently and measure water at target temperature; small mass deviations shift fermentation kinetics. The thermometer lets you verify dough and room temps: aim for final dough temperature around 24–26°C after mixing, and cool retardation at 4°C for cold fermentation. Calibrated instruments reduce batch variability and let you troubleshoot fermentation rate, yeast activity, and enzyme performance. Invest in stainless probes, a scale with a wide platform, and spare batteries. Precision tools don’t just improve results — they make you a reproducible pizza scientist. You’ll track metrics, iterate, and perfect each bake consistently.
Step-by-Step Dough Preparation

You’ll start by measuring flour, water, salt, and yeast to exact grams—small deviations alter hydration and gluten development. Use controlled mixing and progressive kneading (by hand or mixer) to build a smooth, extensible gluten network without overworking the dough. Then move the dough into cold fermentation and use staggered folds and gentle handling during portioning to preserve gas structure and maximize flavor.
Measure Ingredients Precisely
Although it seems simple, measuring ingredients by weight is the single most important step for repeatable, high-performance dough: use a digital scale tared to 0.1–1 g, weigh flour, water, salt and yeast in grams, and record baker’s percentages to control hydration and salt levels. You calibrate the scale before each session, use tare, and transfer ingredients directly into bowls or containers. Measure flour by weight, not volume; note hydration as water divided by flour ×100. Salt at 2–2.5% and yeast per formula; write baker’s percentages. Label containers and timestamp measurements when preparing for cold fermentation. Precision reduces variability and lets you adjust formulas confidently.
| Ingredient | Weight (g) | Baker’s % |
|---|---|---|
| Flour | 1000 | 100% |
| Water | 650 | 65% |
| Salt | 20 | 2% |
| Yeast | 2 | 0.2% |
Record everything precisely.
Mixing and Kneading Techniques
Beginning with an autolyse lets the flour fully hydrate and shorten overall mixing time: combine flour and most of the water, rest 20 to 45 minutes, then add salt and yeast dissolved in the remaining water. You’ll mix until ingredients cohere, using a dough scraper to minimize friction and control temperature. For hand-kneading, use a slap-and-fold for 6 to 8 minutes to develop gluten quickly, or a gentle stretch-and-fold for doughs with higher hydration. If you use a stand mixer, knead on low (speed 1) for 6 to 9 minutes, monitoring dough windowpane strength and temperature; aim for 24 to 26°C. Rest briefly between sessions to relax gluten. Stop when dough is smooth, slightly tacky, elastic and shows a clear windowpane. Transfer for portioning.
Cold Fermentation and Handling
Chilling the dough in a controlled cold ferment locks in flavor while you manage structure and timing: scale and pre-shape into tight rounds, give a short bench rest (15–30 minutes) to relax the gluten, then final-round and place each ball seam-side down in a lightly oiled, food‑grade container or on a proofing tray, leaving space for expansion. Label containers with date, dough weight and hydration. Refrigerate at 2–4°C for 18–72 hours depending on flavor goals; shorter for milder fermentation, longer for pronounced acidity and complexity. Rotate trays to promote cooling. Before baking, temper dough at room temperature 60–90 minutes to regain extensibility. Handle gently to preserve gas; degas minimally. Use clean hands and flour sparingly so you don’t tear the skin and monitor development.
Cold Fermentation Timing and Flavor Development
When you refrigerate dough overnight, you’re slowing yeast metabolism and directing enzymes—amylases, proteases—toward a steady breakdown of starches and proteins that builds sugars, amino acids, and volatile flavor precursors. You control timing to tune acidity, ester production, and gluten relaxation: twelve to twenty-four hours yields subtle sweetness and mild acid; forty-eight to seventy-two hours increases organic acids, ethyl esters, and complexity without excessive sourness; beyond ninety-six hours risks proteolytic weakening and overly sharp tang. Temperature matters—two to five °C retards fermentation predictably, seven to ten °C accelerates enzyme activity. Adjust yeast quantity inversely to planned cold time. Taste dough pieces after resting to gauge flavor trajectory. When you balance time, temperature, and inoculum, the result is layered aroma, measured acidity, and improved browning potential.
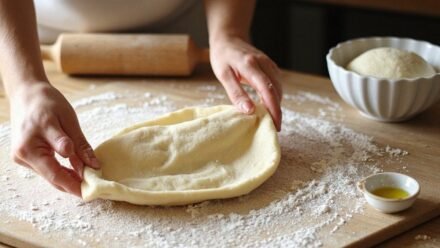
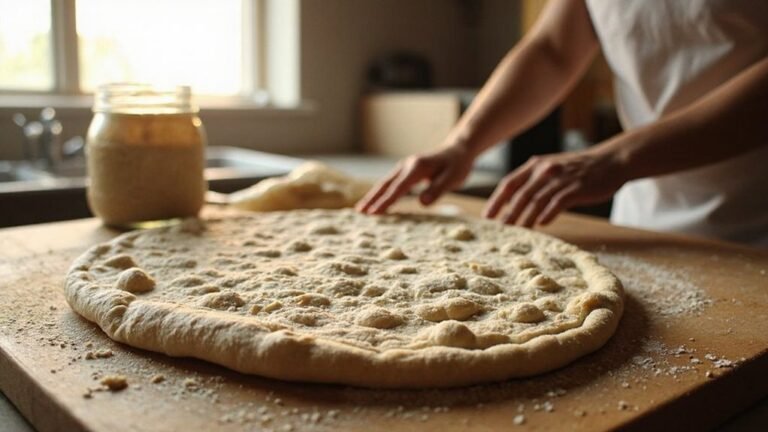
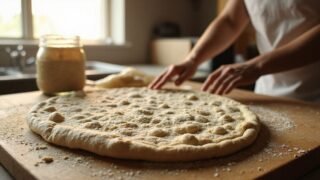
Shaping, Stretching, and Handling the Dough
Shaping and stretching the dough sharpens your feel for hydration, windowing, and surface tension. You degas minimally, preshape into a tight ball, rest 15–20 minutes, then use fingertips to push center while rotating to form the rim. Keep fingers dry, use gravity and momentum rather than force, and avoid overworking the gluten network. Detect thin spots by translucency; patch with gentle pressing and sealing. Transfer to a flour-dusted peel with minimal flour, confident in dough memory and surface tension. The result: a balanced skin that stretches predictably and yields an open crumb with a defined cornicione.
| Property | Action | Goal |
|---|---|---|
| Hydration | Gentle fold | Even crumb |
| Tension | Pinch seam | Crisp edge |
Practice builds sensitivity; you’ll intuit ideal stretch, restraint, timing, and seam control through repetition daily
Topping, Baking Temperatures, and Techniques
Although ovens differ wildly in peak heat, you’ll get the best crust if you match topping load and bake surface to a clear temperature target: 430–500°C (800–930°F) for wood-fired, 300–350°C (570–660°F) for commercial deck ovens, and 260–290°C (500–550°F) for a home oven on a steel or stone. Choose light, evenly distributed toppings; excessive moisture collapses oven spring and wets the crumb. Preheat your stone or steel for at least 60 minutes and use a peel dusted with semolina for rapid transfer. If you use fresh mozzarella, drain and pat dry; calibrate sauce quantity to 20–30 g per 250 g dough. Bake directly on the hot surface, rotate 180° halfway through if needed, and aim for 90–150 seconds at high heat, longer at lower temperatures.
Troubleshooting Common Dough Issues
Why does dough sometimes tear, stick, or bake flat? You’ll diagnose hydration, gluten structure, and handling first. If dough tears, it’s usually under-developed gluten or low hydration; mix longer, perform stretch-and-folds, rest to relax the network. If it sticks, reduce bench flour, oil your hands, or proof on a well-floured or semolina-dusted peel; avoid excessive flour that ruins oven spring. If it bakes flat, you’ve likely overproofed, weakened gluten with excess yeast, or baked from too-cold dough—chill slows strength but overfermentation collapses gas. Use cold fermentation intentionally: control yeast, time, and temp. Preheat your stone or steel above 500°F and create immediate heat and steam to maximize oven spring. Test, adjust, and repeat; precision equals consistent results. Track variables and keep meticulous tasting notes.
Storing, Freezing, and Reheating Dough
After diagnosing tears, stickiness, or collapsed loaves, you’ll need to treat storage as an active part of your process because temperature and handling fundamentally change dough structure and yeast activity. Refrigerate well-sealed dough for 24–72 hours; cooler slows fermentation, enhances flavor, and tightens gluten. For longer storage, portion, oil surfaces, wrap airtight, and freeze on a tray until solid, then bag and label. Thaw in fridge 12–24 hours, then temper at room temperature 1–2 hours before shaping to avoid degassing. When reheating par-baked crusts, use high heat (480–500°F/250–260°C) for 4–6 minutes to revive oven spring and crisp the rim. Always minimize agitation to preserve gas structure, and note that extended freeze reduces extensibility; adjust rest times accordingly and monitor hydration adjustments after thawing regularly.
Conclusion
You’ll master reliable overnight dough by following precise hydration, yeast and salt ratios, autolyse and cold retard. You’ll control fermentation and dough strength by timing bulk rest, cold-proof and tempering before shaping. You’ll handle the dough gently, bake on a screaming-hot stone or steel, and trust temperature and timing to coax complex flavor and ideal structure. With disciplined technique and obsessive attention to detail, you’ll consistently produce blistered, airy, flavorful pizzas every single time reliably.