You’ll coax complex tang from a lively starter and get an airy cornicione with careful hydration and gentle handling. Move deliberately through feeding, mixing, bulk fermentation, folds, and a hot bake to build flavor and structure. You’ll learn precise timings and hands-on shaping that preserve bubbles and create blistered crust—next, you’ll get the exact formula and step-by-step schedule to follow.
Why Sourdough Makes Better Pizza

Because long, natural fermentation develops both flavor and structure, sourdough gives pizza a deeper, more complex crust than commercial yeast can. You’ll notice gradual acidity that sharpens taste without dominating it, and enzymes that soften the crumb while strengthening the gluten network. You’ll handle a dough that’s more elastic yet forgiving, so you can shape thin centers and puffy edges. Extended bulk fermentation and a cold retard let gas pockets form calmly, producing crunchy blistered charring when baked hot. Hydration and gentle folds replace aggressive kneading, so you’ll preserve those airy pockets. You’ll score and stretch with confidence, knowing the dough holds shape and springs in the oven. The result is balanced flavor, crisp exterior, and tender interior you can rely on every time.
Preparing and Feeding Your Starter
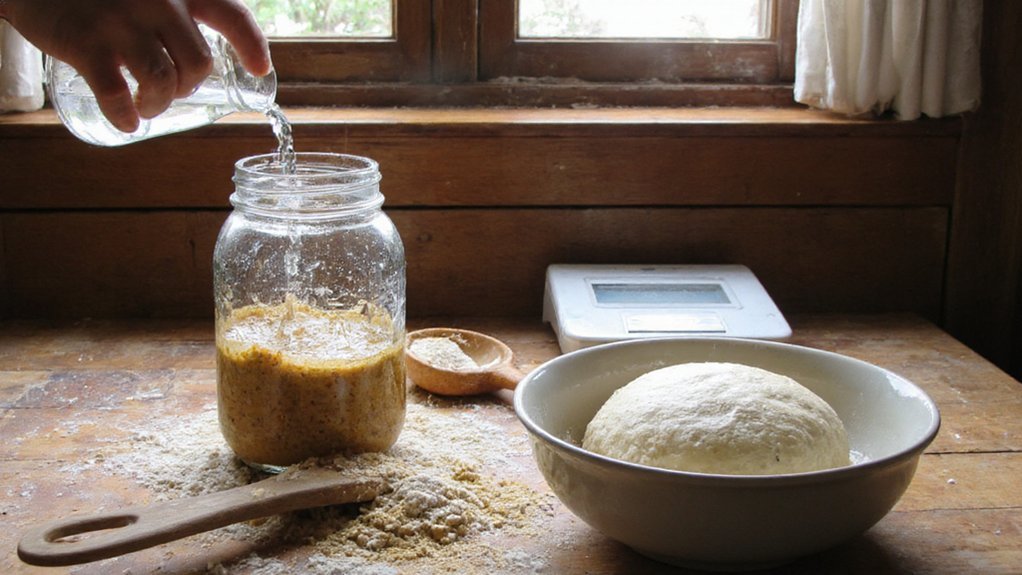
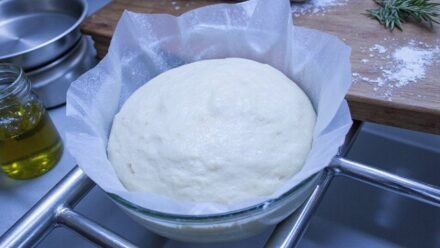
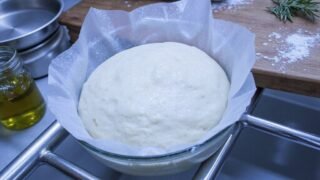
Reviving your starter before you mix dough guarantees it’s lively and predictable: discard down to a manageable amount, then feed with equal weights of starter, water, and flour (1:1:1) for same-day use or a slightly richer feed (1:2:2) if you need a stronger rise later. Keep your vessel clean, label the time, and note room temperature. Stir until smooth, cover loosely, and let it sit where temperature is steady—ideally 75°F (24°C). Watch for doubling and a bubbly domed surface; that peak is your cue to use the starter. If it peaks too early, refrigerate to slow activity; if it’s slow, give it another feed. Maintain a regular feeding cadence and save discards for other uses so you stay consistent and confident with each bake.
Ingredients and Step-by-Step Dough Formula
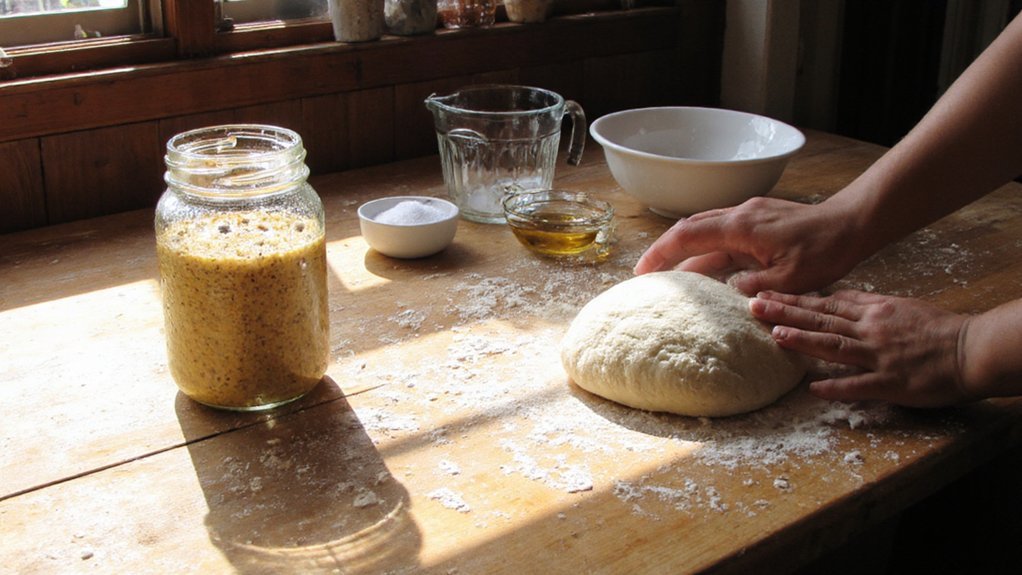
When you’re ready to mix, measure everything by weight and assemble a simple formula: flour, water, active starter, and salt, plus a little olive oil if you like. Use 100% flour basis — typically 500g — and set hydration (water) between 60–70% depending on flour and handling. Aim for 20% ripe starter relative to flour for predictable fermentation; adjust to temperature. Salt at 2% adds flavor and strengthens the gluten; dissolve it into the water before mixing. Olive oil at 1–2% is optional for tenderness. Mix until just combined and let the dough rest briefly so the flour hydrates and becomes cohesive and manageable.
- 500g flour (bread or blend)
- 300–350g water (60–70% hydration)
- 100g active starter (20%)
- 10g salt (2%)
Shaping, Proofing, and Baking Techniques
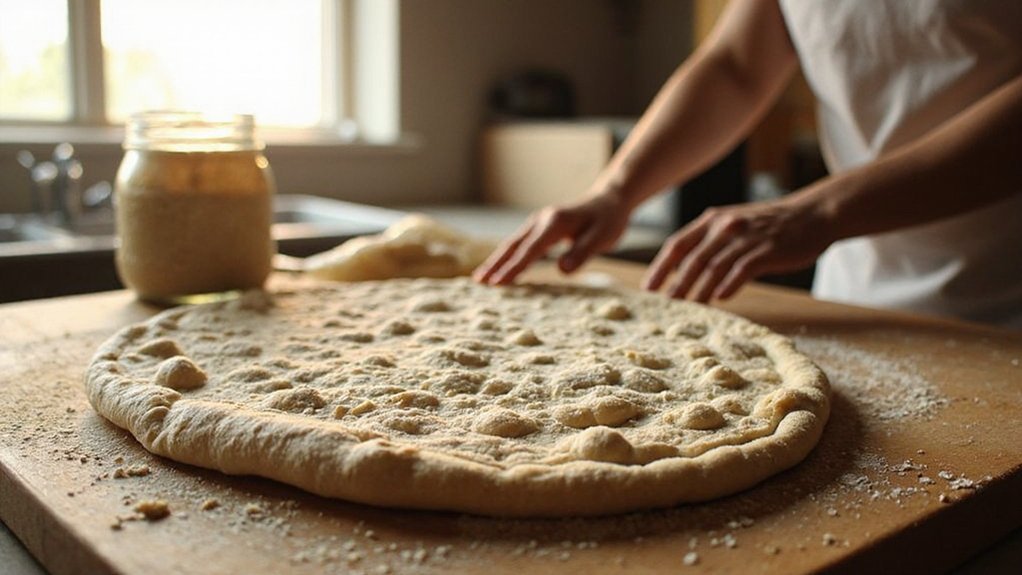
Although you want to handle the dough confidently, be gentle: divide and preshape with minimal degassing, let the rounds bench-rest 20–30 minutes, then stretch by hand using your fingertips to preserve the air in the rim and leave a slightly thicker cornicione. After shaping, place each pie on a well-floured peel or parchment, dusting the underside to prevent sticking. Proof at room temperature for 45–90 minutes depending on warmth, or retard in the fridge for a slow cold proof up to 24 hours for flavor depth. Preheat a pizza stone or steel at the highest oven setting for at least 45 minutes. Bake quickly on the hot surface until the crust puffs and chars lightly. Transfer to a cooling rack briefly before slicing and serving.
Troubleshooting Common Issues and Pro Tips
You’ve just shaped and proofed your pies and baked the first one; now you’ll troubleshoot any issues that showed up and apply practical fixes. Note observations calmly: underbaked center, blistered crust, dense crumb, or overly sour flavor. Triage each issue, test one variable at a time, and record results. Start small, adjust hydration, fermentation time, oven temperature, or handling. Use the list below to guide focused changes.
- Underbaked center: increase oven temperature, preheat a baking stone, bake a few minutes longer.
- Dense crumb: add gentle folding during bulk, allow longer proof, avoid overworking dough.
- Excessive sourness: shorten fermentation, refresh starter before use, reduce starter percentage.
- Burnt spots/blisters: lower peak heat slightly, rotate pie, thin toppings in hot zones.
Record changes and repeat controlled tests.
Conclusion
You’ll finish with a tangy, blistered crust that rewards your patience and care. Follow the feeding schedule, measure ingredients, and handle the dough gently during folds so you preserve bubbles and structure. If you retard the dough, plan ahead and let chill time deepen flavor. When you shape and bake on a hot stone or steel, work confidently but slowly—your hands will coax an airy cornicione and a complex, artisan pizza every time, and enjoy.