You’ll master true Neapolitan dough by making a few precise choices: Tipo 00 flour, exact hydration, gentle handling and cool fermentation. Get those right and you’ll get a tender, blistered cornicione with bright, complex flavor. I’ll give you the exact measurements, timing and hands-on techniques pros use — plus clear fixes for common faults — so you can cook pizza that’s authentically Italian.
Ingredients and Measurements
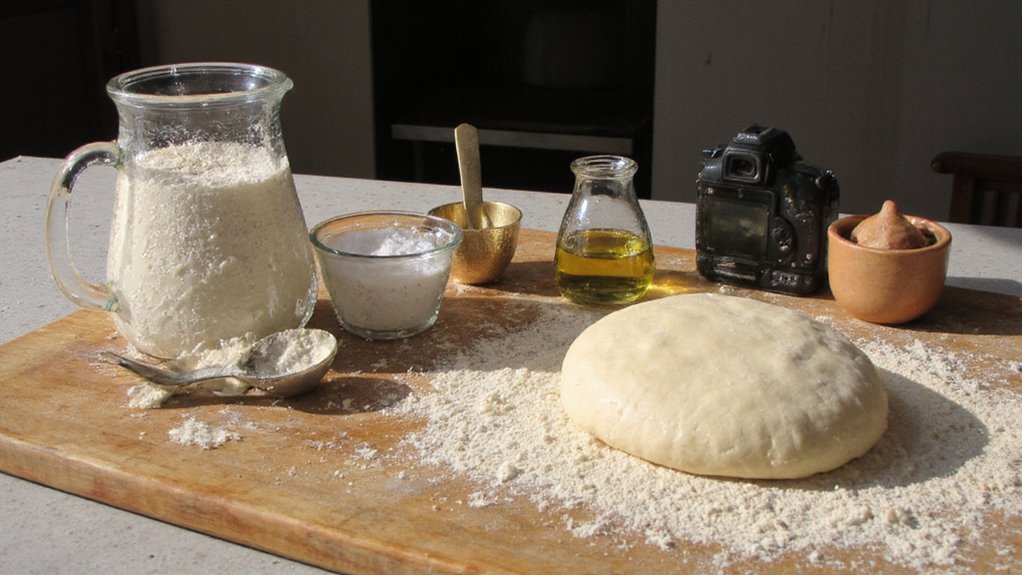
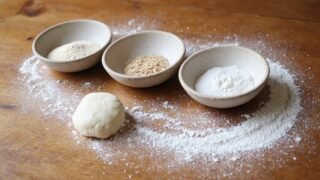
For authentic Neapolitan dough you need just four ingredients and precise quantities: 500 g Tipo 00 flour, 325–330 g water (65–66% hydration), 10 g fine sea salt, and 2–3 g fresh yeast (or 1 g active dry). Measure with a digital scale; grams deliver repeatable results. Use cool water to control fermentation; warmer water speeds it. Dissolve yeast evenly to avoid pockets. Add salt after initial mixing or incorporate thoroughly to guarantee consistent gluten development. You’ll prioritize hydration and salt balance over additives — nothing else belongs in classic dough. Weigh ingredients every time, record ambient temperature, and adjust water within the 325–330 g range to achieve a tacky, extensible dough. Follow these measurements, and you’ll produce true Neapolitan structure and flavor, authentic depth.
Choosing the Right Flour
You’ll choose flour by matching its protein and gluten strength to the airy, blistered Neapolitan crumb you want. True 00 and tipo 0 differ in grind and extraction—00 is finer and often softer, while tipo 0 gives a touch more structure, so pick based on whether you want tenderness or chew. Also consider hydration and absorption—higher‑protein flours take more water and let you work wetter, more extensible doughs without tearing.
Protein and Gluten Strength
The protein content in your flour governs gluten strength and how the dough will stretch, ferment, and spring in the oven. You’ll choose flour by protein percentage: higher for resilience, moderate for tenderness. Balance gives you extensibility for hand stretching and enough structure for oven blistering. Measure protein, adjust hydration, and control knead time to shape gluten development without overworking. Trust your hands and the dough’s response; stronger flours need gentler fermentation to avoid tightness, while lower protein benefits longer ferment for flavor.
| Protein % | Character | Use |
|---|---|---|
| 10–11% | Soft | Longer ferment |
| 11–12.5% | Balanced | Classic Neapolitan |
| 12.5–14% | Strong | High-heat ovens |
| 9–10% | Very soft | Specialty blends |
Calibrate protein choice to oven, hydration, and ferment to achieve the iconic blistered crust and airy crumb with confident hands.
00 Vs Tipo 0
Having matched protein to your oven and ferment schedule, consider how Tipo 0 stacks up: it’s milled a touch coarser than 00, usually carries slightly higher protein and ash, and so absorbs more water and keeps a bit more bite in the crumb. You’ll notice a firmer edge and clearer wheat flavor; Tipo 0 tolerates longer handling and gives more structure during stretch and bake. If you prefer a slightly rustic mouthfeel, it rewards confident kneading and a decisive shaping technique. It also promotes quicker color development and a crisper base under high heat. Use it when you want defined chew, resilience during transfer, and a dough that responds predictably to stronger fermentation. Choose with intention — the flour sets the pie’s character, definitively.
Hydration and Absorption
How much water your dough will accept depends on flour extraction, protein, and how finely it’s milled; match hydration to that absorption and you’ll control handling, crumb openness, and bake performance. You choose Tipo 00 for fine milling and moderate absorption, so you’re comfortable at 58–62% hydration. If you use higher-extraction or stronger protein flour, increase hydration gradually to 65–70% to keep extensibility. Test by feel and windowpane; record results. Adjust for humidity and semolina blends.
- Measure protein to predict water demand.
- Note extraction level—higher extraction holds more water.
- Start low, increment in 1% steps during mix.
- Use feel and bake results to finalize hydration.
With disciplined testing you’ll dial hydration precisely and achieve authentic Neapolitan structure and blistering results.
Yeast, Salt, and Fermentation Basics
You must pick a yeast you trust—active dry or instant for room-temperature builds, fresh if you prefer tradition—and care for it with correct hydration and gentle temperatures. Salt governs flavor and slows fermentation, so add it after the yeast has been hydrated or avoid direct contact that would blunt yeast activity. Plan your fermentation timing—short warm rises for speed or long cold retards for depth of flavor—and you’ll control dough strength and oven performance.
Yeast Selection and Care
When you choose and care for yeast correctly, it becomes the engine that drives a true Neapolitan dough to blistered perfection. You’ll prefer high-quality active dry or instant yeast; fresh compressed yeast works if you can source it. Store yeast sealed, refrigerated for fresh, and in a cool dry place for dry packets. Always check expiration and proof small samples when in doubt. Control dissolving temperature: water around 35–40°C (95–104°F) wakes yeast without damage. Measure yeast precisely—too much speeds proofing and degrades flavor, too little underperforms. Keep dough handling clean and avoid salt contact that can shock yeast during mixing.
- Choose: instant for convenience, fresh for depth.
- Store: airtight, cool.
- Test: proof before large batches.
- Use: precise measurements, gentle activation.
Salt and Fermentation Timing
Although salt seems minor, it determines fermentation pace, dough strength, and final flavor, so you’ve got to treat it as a key ingredient rather than an afterthought. You’ll add 2% salt by flour weight — precise, not approximate — to control yeast activity and tighten gluten. Mix salt into water before combining with flour or add after initial autolyse to avoid direct contact with yeast. If you want slower, cleaner flavor, cold ferment 24–72 hours at 4°C; for quicker turnarounds, proof 2–4 hours at room temperature. Monitor dough temperature: aim 24–26°C for active fermentation. Adjust yeast down when extending cold retards activity. Taste and texture will confirm correct timing; trust your hands and schedule, not guesswork. Record temperatures and timings; consistency breeds authentic Neapolitan results daily.
Water Temperature and Hydration Levels
Because water temperature and hydration directly control fermentation rate and dough character, you need to set them intentionally. You’ll target water around 18–24°C (64–75°F) for predictable, balanced ferment; colder slows yeast, warmer accelerates and risks overproof. Hydration for Neapolitan typically sits 58–65%: lower gives firmer handling, higher produces blistered, extensible crust and softer crumb. Adjust hydration for flour absorption and humidity — strong ’00’ handles higher hydration. Measure water by weight, not volume. Monitor dough feel; aim for tacky but not sticky. Rest times and fermentation temperature interact with hydration, so record what you change and test. Apply consistency: control water temp with cool or warmed water and tweak hydration in 1–2% steps to refine oven performance.
- Temperature
- Hydration
- Absorption
- Consistency
Mixing and Gentle Kneading Techniques
You start with an autolyse: mix flour and water at your target hydration and let it rest to hydrate the flour and begin gluten formation without overworking. After the autolyse, add salt and yeast, then perform a series of gentle stretch-and-folds every 20–30 minutes to build strength and structure while retaining air. You’ll feel the dough grow smoother and more elastic—this careful handling is the heart of authentic Neapolitan texture.
Autolyse and Hydration
Letting flour and water rest during an autolyse activates enzymatic activity that hydrates starches and kick-starts gluten formation, so you’ll get a dough that’s easier to develop and more flavorful. Use a hydration level appropriate for Neapolitan dough—typically 60–65%—and weigh ingredients precisely. Combine water and flour, then wait 20–40 minutes; add salt and yeast afterward to preserve enzyme action. During initial mix, be firm but gentle: you want cohesion, not overworked gluten. Monitor dough texture; it should be smooth, slightly tacky, and extensible. You’ll save time and improve flavor and dough strength.
- Measure by weight for consistency.
- Target 60–65% hydration for classic crumb.
- Rest 20–40 minutes to allow enzymatic activity.
- Add salt and yeast after autolyse to control fermentation.
Stretch and Fold
After the autolyse, perform a series of stretch-and-folds to develop strength while preserving extensibility. You’ll wet your hands, lift one side of the dough, stretch it upward until resistance appears, then fold it over toward the center. Rotate the bowl and repeat four to six times per session. Rest twenty to thirty minutes between sets; three to four sets are typical for 60–65% hydration dough, fewer for stiffer doughs. Watch for a smooth, slightly domed surface and increased elasticity—stop once the dough resists tearing but remains supple. Avoid aggressive kneading; you’re conserving gas-trapping structure. This controlled technique builds gluten efficiently, yielding a light, airy crumb and a thin, blistered crust characteristic of authentic Neapolitan pizza. Practice timing and touch; the results justify the discipline.
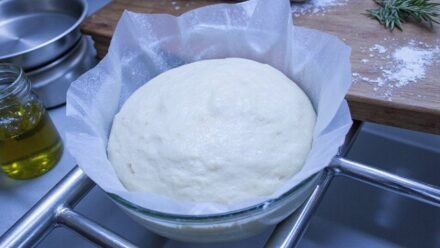
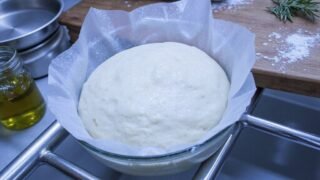
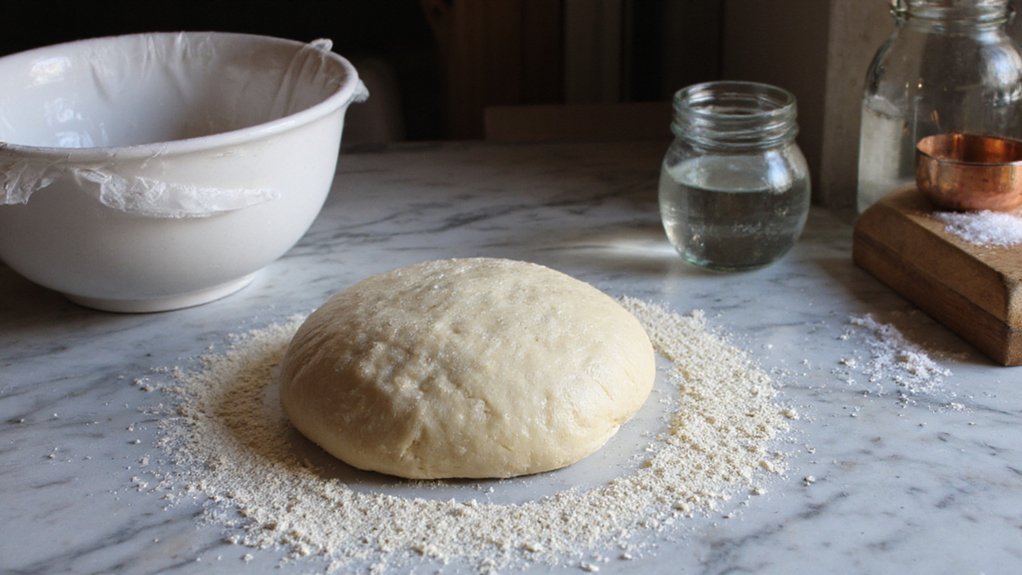
Bulk Fermentation and Cold Proofing
While the dough rests, you’ll watch fermentation develop and gluten relax — this stage sets the crust’s flavor, strength, and oven spring. Keep bulk fermentation controlled: aim 2–4 hours at 20–24°C for active yeast, or slow cold proof 18–72 hours at 2–6°C for deeper flavor. Monitor volume (20–50% rise), aroma (slightly tangy), and dough feel (soft, extensible). Handle gently to preserve gas. When cold-proofing, refrigerate in a covered container; return to room temperature before shaping to revive elasticity. You’ll learn to balance time, temperature, and yeast to match your schedule and oven.
- Timing: measure, don’t guess.
- Temperature: precise control yields predictability.
- Texture: feel, don’t just look.
- Flavor: patience concentrates complexity.
Adapt timings for flour type and hydration; consistent practice will sharpen your instinct and results.
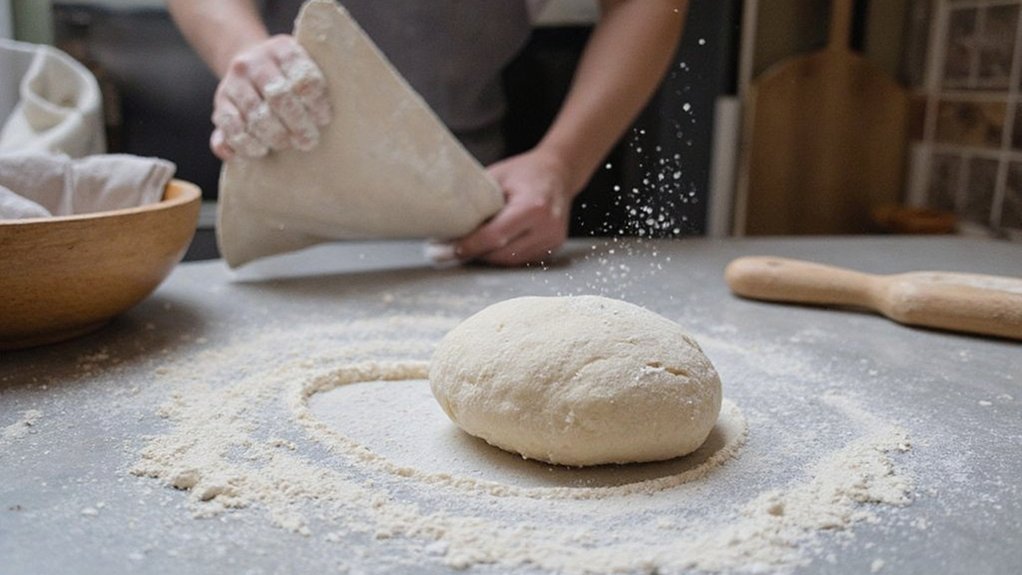
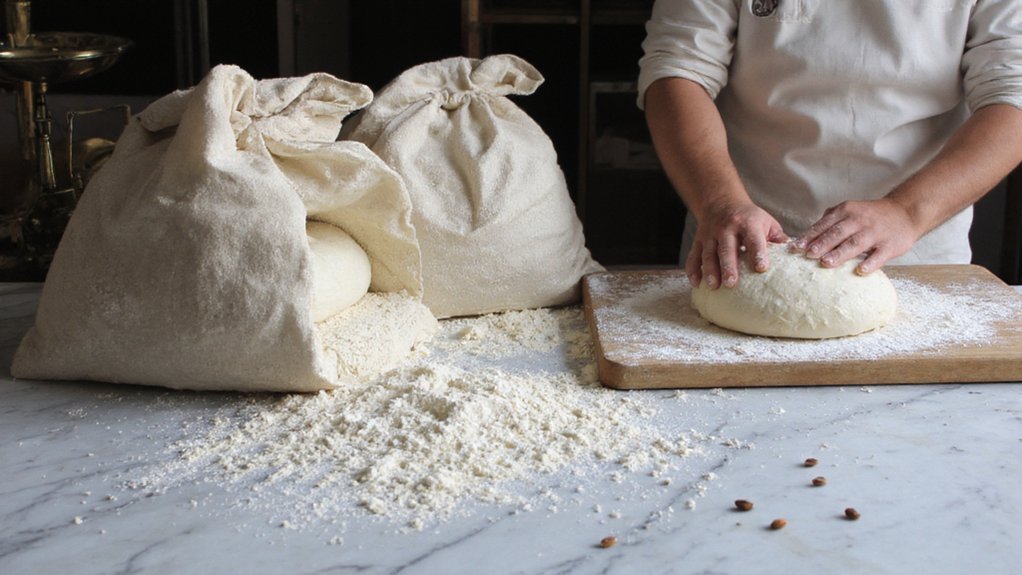
Dividing, Preshaping, and Resting Dough Balls
When you portion the dough, weigh each ball to your target (commonly 250–280 g for Neapolitan) and use a bench scraper to cut cleanly so you don’t tear the gluten network. Handle each piece gently, folding edges beneath to create surface tension that supports oven spring. Preshape into tight, smooth rounds without overworking; a few deliberate folds are enough. Place balls seam-side down on a floured or a lightly oiled couche, leaving space between them so they don’t stick. Cover loosely with plastic or a damp cloth to prevent skinning, and refrigerate or proof at room temperature according to your schedule. Resting lets the gluten relax and flavors mature; don’t rush this step if you want authentic texture and crust and consistent, repeatable results.
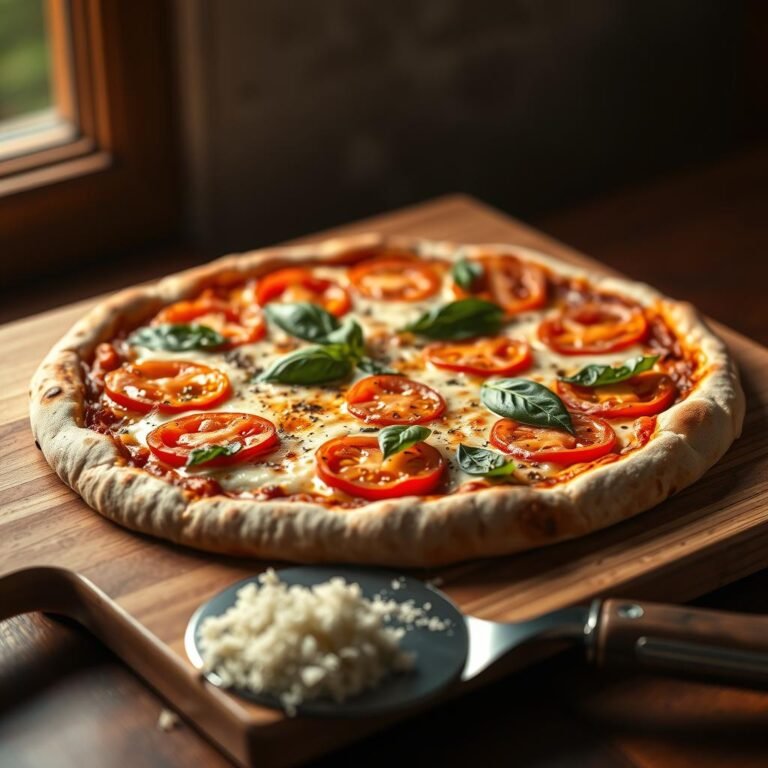
Stretching, Saucing, and Topping Strategies
Stretching the dough takes intention: you’ll press from the center with your fingertips to preserve the cornicione, avoid a rolling pin, and rotate the base so gravity helps you achieve a thin center with a 1–2 cm rim that’ll puff in the oven. Work briskly to keep dough cool; if it resists, let it relax 5–10 minutes. Sauce sparingly: use lusciously seasoned crushed tomatoes, spread with the back of a ladle to leave the rim bare. Top with restrained, high-quality ingredients so the pie cooks evenly and the crust flashes up. Follow order and balance to maximize texture and flavor:
- Hydration-first: thin center, puffy edge.
- Sauce-light: taste, salt, basil.
- Cheese-minimal: fresh fior di latte or buffalo.
- Finish-simplicity: olive oil, a leaf of basil.
Always.
Baking Methods: Stones, Ovens, and Outdoor Options
Although you won’t get the exact blister and char of a 450–500°C wood-fired oven at home, choosing the right surface and heat source still determines whether your Neapolitan crust puffs, chars, or turns soggy. Use a baking stone or steel preheated at maximum oven temperature for an hour; the thermal mass mimics hearth conditions and delivers rapid bottom rise. Place pizza on a well-floured peel and slide onto the hot surface, rotate frequently for even charring. If you have an outdoor pizza oven, capitalize on its intense radiant heat but monitor closely. On a grill, set up direct heat with a pizza stone and keep a lid closed to trap heat. Each method rewards precision and timing—master them and your crust will sing boldly.
Troubleshooting Common Dough Issues
If your dough’s not behaving, diagnose quickly and correct deliberately: feel, timing, and temperature tell you what went wrong. Trust your senses: a sticky, slack mass needs more flour or longer knead; a tight, dry ball needs hydration. Underproofed dough springs back; overproofed collapses. Cold dough resists stretching; warm dough becomes slack. Act decisively: adjust flour, water, proof time, or resting temperature.
- Underworked: knead until smooth and elastic—use windowpane test.
- Overhydrated: fold and rest to absorb water, dust with flour.
- Overfermented: punch down, reshape, shorten final proof.
- Cold dough: raise room temperature or give gentle warm proof.
Correct these, and you’ll consistently achieve light, blistered Neapolitan crust. Measure carefully, record your variables, and repeat adjustments until your dough performs predictably every bake each time.
Conclusion
You’ve learned the essentials to make authentic Neapolitan pizza dough: the right Tipo 00 flour, 65–66% hydration, measured salt, minimal fresh yeast, autolysis, and gentle stretch-and-folds. You’ll cold-proof for depth or quick-proof for speed, divide into light 250–280 g balls, hand-stretch, and bake on a blazing stone or steel for a blistered, tender cornicione. Trust the process, respect the dough, and you’ll produce fragrant, leopard-charred pies that sing of Naples with authentic Italian soul always.