If your pizza dough won’t rise, you’ll want a methodical check rather than guesswork. Start by testing yeast activity, verifying water and dough temperatures, and reviewing salt, hydration, and handling. Each factor changes fermentation predictably. Keep going to learn precise tests and targeted fixes that’ll rescue your next batch.
Common Causes of Flat Pizza Dough

If your dough isn’t rising, start by checking yeast activity and fermentation conditions. You’ll frequently encounter flat pizza due to insufficient fermentation time, excessively cold bulk temperatures, or overzealous proofing that exhausts gas reserves. Incorrect yeast quantity, direct salt contact, or high sugar concentrations can suppress fermentation kinetics. Low-protein flour yields weak gluten networks, limiting gas retention; conversely too much water creates slack dough that collapses. Inadequate kneading or degassing damages dough structure; excessive handling or mechanical heat can denature yeast. Salt and oil ratios matter—excess salt inhibits, excess oil reduces gluten strength. Environmental factors like drafts, inconsistent oven/proofing temperatures, and improper scaling of ingredients produce variability. Diagnose by isolating variables: time, temperature, ingredient ratios, and mechanical treatment, then adjust protocol to optimize rise.
How to Test Your Yeast
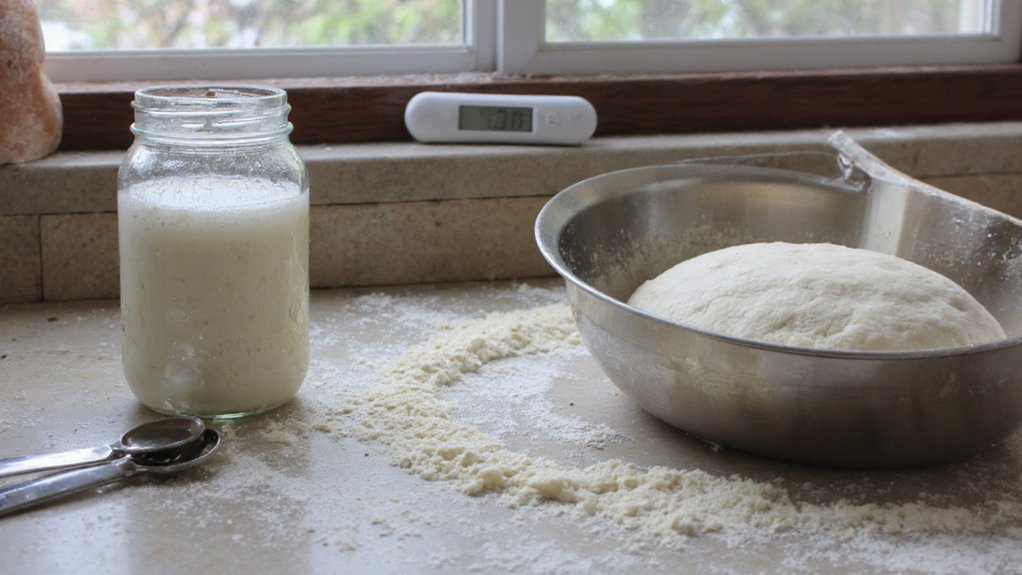
Before mixing, you should proof your yeast to confirm viability. Use water at 105–115°F (40–46°C) and check it with a thermometer so you don’t kill the yeast. Add a pinch of sugar to the water; if the yeast foams in 5–10 minutes it’s active and safe to use.
Proofing Your Yeast
How can you be sure your yeast is alive? Proofing verifies viability before dough mixing. Dissolve the measured yeast and a pinch of fermentable sugar into a small amount of liquid, stir to suspend, and cover. Place the container in a stable, draft-free spot and observe for five to ten minutes. Active yeast produces uniform bubbling and a frothy, latte-like cap; absence of visible activity indicates senescence or improper storage. If foam appears, proceed with the recipe using the remaining liquid and yeast. If not, discard the yeast and replace it; do not compensate with extra yeast later. For best results, proof each batch when yeast has passed its expiration, been stored poorly, or when recipe volume is critical to final crumb structure integrity.
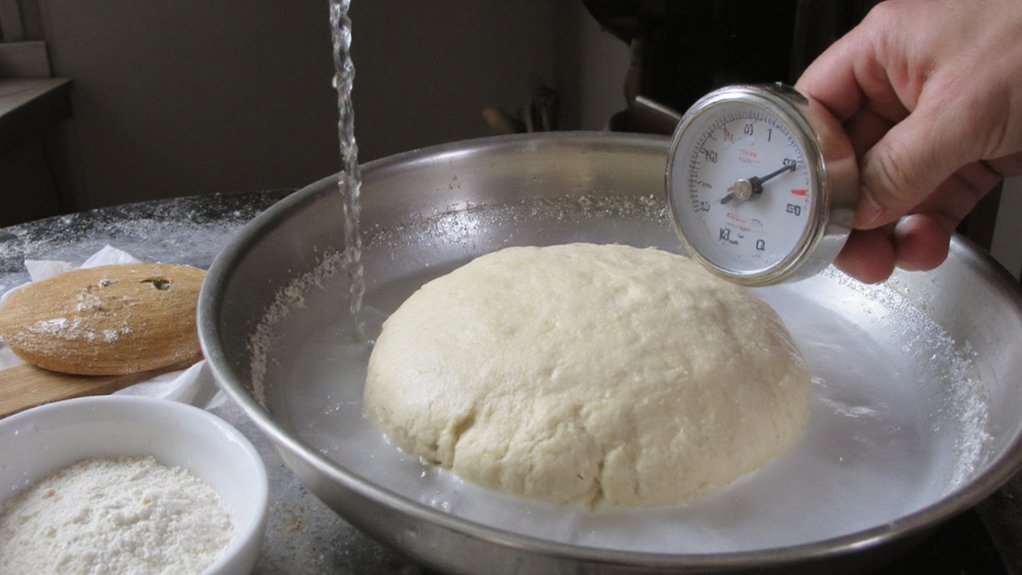
Water Temperature Check
Why check water temperature? You must confirm temperature because yeast activity is temperature-dependent. Use a digital thermometer to measure water before combining with yeast. For active dry yeast, target 100–110°F (38–43°C); for instant yeast, use slightly cooler or room temperature liquids since it’s more tolerant. Avoid water hotter than 120°F (49°C); sustained exposure above 130°F (54°C) will denature and kill yeast. If you don’t have a thermometer, test by feel: water should be warm, not hot, and feel similar to warm bath water. When testing, mix a small yeast sample in measured water and observe bubbling within 5–10 minutes to confirm viability. Record temperatures and adjust technique if yeast fails to activate. Consistent temperature control prevents common proofing failures and guarantees predictable fermentation results daily.
Using Sugar to Activate
If you want to verify yeast viability, dissolve a small measured amount of sugar in warm water, sprinkle the yeast on top, and watch for foam: this controlled activation test confirms metabolic activity. Use 100–110°F (38–43°C) water and 1 teaspoon sugar per 1/2 cup water; sprinkle 2¼ teaspoons (one packet) yeast evenly. Wait 5–10 minutes; active yeast produces a uniform, frothy layer and a yeasty aroma. No foam or minimal bubbles indicates dead or dormant yeast; discard and replace. If foam is weak, extend time 2–5 minutes, but don’t exceed 15 minutes to avoid temperature decline effects. Record water temperature and timings for reproducibility. Adjust recipe hydration or yeast quantity only after passing this diagnostic. Always store yeast per manufacturer instructions to maintain viability.
Water Temperature and Yeast Activation
When water temperature sits outside the ideal window, yeast activation fails and dough won’t rise as expected. You must measure and control temperature to guarantee fermentation proceeds. Active dry and instant yeasts have ideal activation ranges: 100–110°F (38–43°C) for proofing active dry yeast; 105–115°F (40–46°C) for rapid rise; room-temperature water (68–78°F / 20–26°C) for bulk cold fermentation. Use a calibrated thermometer, not guesswork. Too cold delays enzymatic activity; too hot denatures proteins and kills cells. Adjust water temperature for ambient conditions and dough composition. Visualize thermal effects:
- Pale, sluggish bubbles — water too cold.
- Sparse bloom in proof cup — marginal warmth.
- Rapid foam then collapse — water too hot.
- Steady, airy expansion — temperature ideal.
Monitor and adjust precisely.
Salt, Sugar, and Ingredient Ratios
Because salt and sugar both alter yeast activity and dough structure, you must control their amounts precisely: weigh ingredients and use baker’s percentages rather than volume. Keep salt at 1.8–2.2% of flour weight; that range strengthens gluten, controls fermentation, and enhances flavor without inhibiting yeast. Sugar is optional; 0–2% feeds yeast and boosts browning, but above ~5% you’ll create osmotic stress that slows fermentation. Adjust hydration and yeast percentage to compensate for sweet or enriched formulas. Account for salt in water content calculations when using salty ingredients. When scaling recipes, preserve ratios: change flour mass and scale all components by percentage. Document each batch’s percentages and outcome so you can iterate toward consistent rise and crumb. Measure precisely; small deviations produce measurable rise differences.
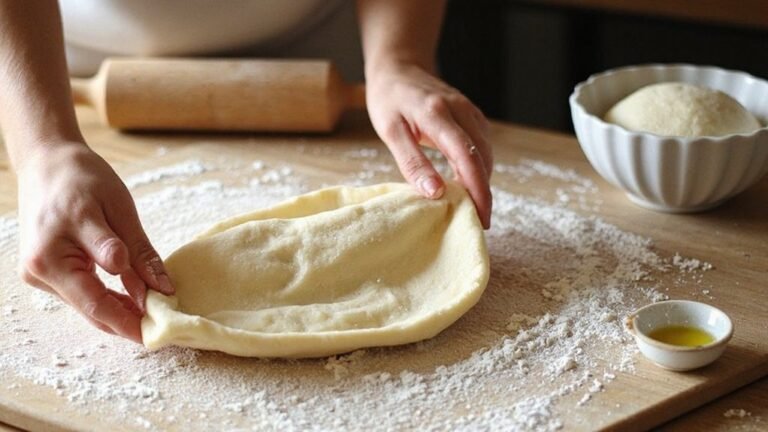
Dough Handling and Overworking
You’ll recognize overworked dough by a tight, rubbery texture, frequent tearing when stretched, poor extensibility, and rapid snap-back instead of relaxed expansion. To prevent further damage, handle dough minimally: use light folding motions, avoid vigorous kneading, and work on a floured surface with gentle hands. If you’ve already overworked it, let it rest under plastic for 30–60 minutes, then use gentle stretch-and-folds or retard in the fridge to relax the gluten and recover extensibility before shaping.
Signs of Overworked Dough
If you overwork pizza dough, you’ll see a handful of clear, diagnostic signs: the dough becomes tight and tense, snaps back and resists stretching, tears easily instead of forming a smooth windowpane, and feels warm or gummy from excess friction. You’ll notice a coarse, matte surface instead of glossy elasticity. Gas retention drops; bubbles are small or absent. Gluten structure is over-aligned and brittle. Follow visual and tactile cues below.
- Surface: dull cracks, lack of sheen.
- Feel: springy recoil, resistant to elongation.
- Windowpane: irregular tears, no translucent film.
- Texture: sticky-warm, gumminess from heat and shear.
These indicators confirm mechanical overworking rather than fermentation issues. Record and correlate these signs with handling practices; consistent occurrence indicates excessive mixing time, speed, or force applied during kneading.
Gentle Handling and Rescue
When dough shows signs of overworking, act quickly and gently to prevent further gluten damage and restore pliability. You should stop kneading immediately and allow the dough to relax at room temperature, loosely covered, for 20–30 minutes. To rehydrate and relax gluten, mist or brush a small amount of water on the surface; avoid saturating. Use gentle fold-and-rest cycles: fold once or twice, then rest 10–15 minutes, repeating up to three times. If dough remains tight, refrigerate for 1–2 hours to slow gluten tension and improve extensibility. When shaping, handle minimally: press from center outward with fingers, don’t tug edges. If texture fails to recover, salvage as focaccia or pan pizza where extensibility is less critical. If needed, mix a small amount of oil.
Proofing Time and Temperature Adjustments
Because yeast activity scales predictably with temperature, adjust proofing time rather than forcing a constant duration across different environments. You’ll calibrate by measuring dough temperature and ambient temperature, then apply rate rules: roughly double proofing time for every 10°C drop in temperature within practical ranges. Target dough temperature (TDT) methods work best: aim for 24–27°C for standard rises; lower for slow cold fermentation. Monitor by poke test and volume change, not clock alone. Control environment with insulated box or proofing drawer when needed. You should record times and temperatures to refine your schedule. Adjust based on dough behavior.
- Cold kitchen: longer bulk proof, tighter crumb.
- Warm kitchen: shorter proof, faster gas production.
- Refrigerator: slow enzymatic development, enhanced flavor.
- Consistent TDT: predictable results, repeatable schedules.
Quick Fixes for Dough That Won’t Rise
Although a stalled rise usually indicates insufficient yeast activity or an unsuitable environment, you can apply a series of targeted, rapid interventions to salvage the dough. First, verify yeast: dissolve a pinch of yeast in 40°C water with a pinch of sugar; if it bubbles within five to ten minutes, add that slurry and knead briefly. If yeast is dead, make a fast sponge: combine equal parts flour and warm water with active yeast, let ten minutes, then fold into dough. Raise ambient temperature by placing the dough in a sealed container above a pot of 45°C water or in an oven with only the light on. Redistribute gases by gentle kneading and a controlled second rise. Monitor temperature and bake once fully risen.
Preventive Practices for Consistently Puffy Crusts
Maintaining consistent puff in your crust starts with controlling fermentation, dough structure, and baking conditions. You’ll standardize hydration—measure water by weight to achieve 58–65% for most flours—and adjust for whole grain or high-protein flours. You’ll use strong gluten development: mix to windowpane strength, then rest for autolyse. You’ll manage fermentation temperature: aim 75–78°F (24–26°C) for bulk rise or retard at 38–45°F (3–7°C) overnight for flavor and gas retention. You’ll handle dough gently to preserve trapped CO2 when shaping. You’ll preheat your oven and baking surface to 500–550°F (260–290°C) and use a stone or steel. Visual checklist:
- Weighed ingredients
- Hydration target
- Gluten windowpane
- Oven and surface temp
Follow these controls and you’ll get consistent puffy crusts. Adjust schedules and logs to refine results over time.
Conclusion
You can diagnose and fix dough that won’t rise by systematically checking yeast viability, water temperature, ingredient ratios, and handling. Proof yeast in 105–115°F water with a pinch of sugar, target a 24–27°C dough temperature, and keep salt and hydration within standard baker’s percentages. Use gentle folds and adequate rests, and adjust proofing time or retard in cool conditions. With these controls, you’ll produce consistent, puffy crusts and predictable fermentation and reliable baking outcomes consistently.