You’ll feel the difference the first time you press, fold and turn dough by hand versus letting a mixer take over: one gives you subtle tactile feedback—warm, tacky, elastic—while the other builds strength fast and consistent. I’ll show you exact motions, speeds and signs to watch for so you can pick the right method for your pizza—and avoid common mistakes that ruin crusts.
Why Kneading Matters for Pizza Dough
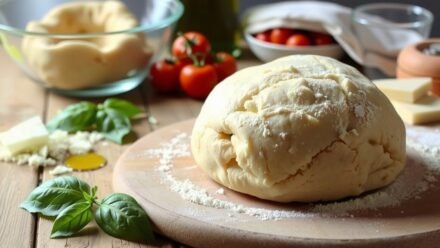
Feeling the dough change under your hands tells you everything you need to know: kneading develops gluten, creating a network that gives the crust its chew, structure, and ability to trap gas bubbles. You press, fold and stretch, sensing resistance soften as strands align; that tactile feedback guides you more than timers do. Proper kneading balances elasticity and extensibility so the dough holds shape yet stretches thin without tearing. It influences crumb openness, oven spring and browning by distributing gas and proteins evenly. Under- or over-knead and you’ll get dense or tough results; just-right kneading yields a springy, slightly tacky surface that springs back when poked. Trust your hands, watch the texture, and you’ll control texture and rise from feel alone every single time.
Hand Kneading: Tools and Preparation
With that tactile feedback as your guide, gather a few simple tools before you knead: a digital scale for accurate hydration, a sturdy bench or wooden board with a smooth surface, a metal or plastic bench scraper, and a large mixing bowl. Lay out measured flour, water, yeast, and salt within arm’s reach. Lightly dust the board; you want grip, not excess dry flour. Warm your water to the recipe temperature and set the bowl nearby to catch the dough. Towel or plastic wrap and a small dish of olive oil will keep dough from drying during rest.
- Digital scale and measuring spoons
- Smooth bench or wooden board
- Bench scraper
- Large mixing bowl, towel, oil
Stand ready, knees slightly bent.
Hand Kneading: Basic Technique Step by Step

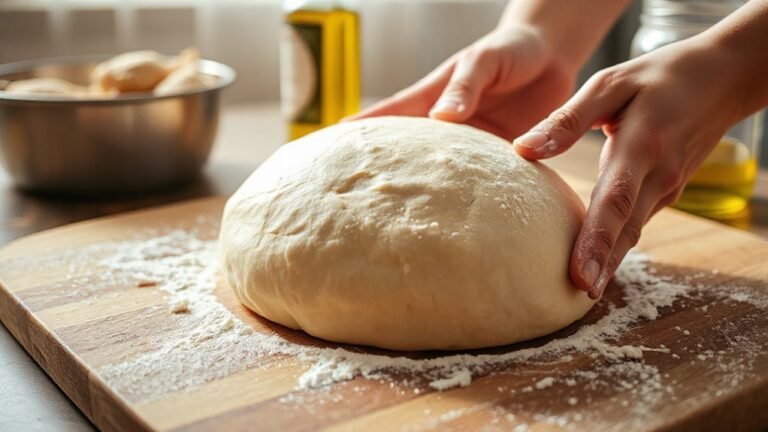
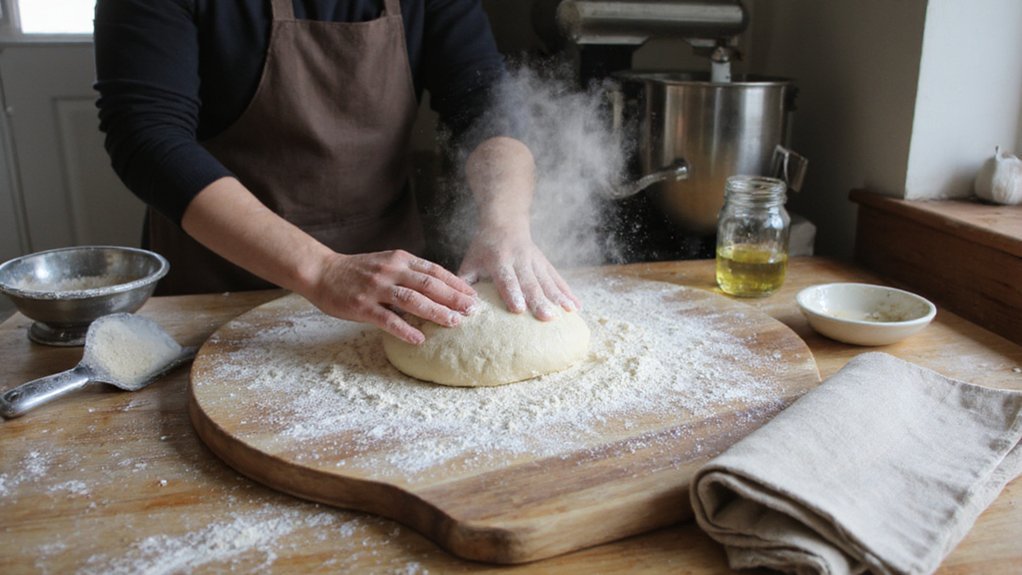
Starting by pressing your palms into the center of the shaggy dough, push it away with the heel of your hand, fold the far edge back over toward you, give the dough a quarter turn, and repeat in a steady rhythm—push, fold, turn—so you build structure and warmth. Keep your movements deliberate: press firmly, feel the dough smooth and elastic, and use your forearms, not fingers, to avoid tiring. Knead for about 8–10 minutes until it springs back and holds a light sheen. Resting intervals let gluten relax; cover the dough to retain heat. Use this quick checklist for focus:
| Action | Sensation |
|---|---|
| Push | Resistance |
| Fold | Softness |
| Turn | Stretch |
Continue until the texture is supple and slightly tacky. You’ll feel readiness under gentle pressure consistently.
Hand Kneading: Advanced Moves and Tips
Although you’ve mastered the basic push‑fold‑turn, these advanced moves—stretch-and-fold, slap-and-fold, targeted pinching, and controlled tensioning—let you refine crumb, strength, and oven spring with purpose. You’ll feel the dough smooth, open, and alive as gluten aligns. Use stretch-and-fold to thread strength through the mass; lift, stretch, fold. Slap-and-fold wakes the dough—catch, slap, fold—repeat. Pinch tightens weak seams; your fingertips test resistance. Controlled tensioning rounds a glossy skin for clean oven spring. Practice rhythm and touch; trust what you feel to stop or continue.
- Lift, stretch to a thin windowpane without tearing.
- Slap until the dough resists but remains airy and warm.
- Pinch the seam into a tight, smooth ball with fingertips.
- Rotate and pull to create tension; the skin should gleam.
Bake with confident hands.
Stand Mixer Kneading: Setup and Attachments
You’ll want the spiral or dough hook that matches your dough weight and folds without tearing—feel it engage as it glides through the mix. Choose a bowl big enough for the dough to swell, preferably stainless steel or glass so you can sense temperature and clean easily. Start on low, then raise to medium as gluten forms, and time your batches—short bursts prevent motor heat and keep the crumb elastic.
Choosing the Right Hook
Dough-hook choice matters: pick the shape and size that matches your mixer, dough hydration, and the texture you want. You’ll feel the difference immediately—firm hooks wrestle stiff dough, spiral hooks glide through wetter batches. Match hook thickness to motor power; thin hooks flex and burn weak motors. Choose stainless for grip and durability, coated hooks for stickier dough.
- Spiral hook — digs, folds, builds gluten; best for high hydration.
- C-shaped hook — simple, steady, suits medium doughs and classic texture.
- Flat beater (for low hydration) — pushes and compresses for dense crusts.
- Speed and clearance — use slower speeds, make sure hook reaches center without scraping bowl.
Swap hooks if dough binds; listen for strain, stop and adjust. and continue carefully.
Bowl Size and Material
Sizing the bowl to the job keeps your mixer working smoothly and your dough behaving predictably. Choose a bowl that gives the hook room to fold without splashing or trapping dough under the paddle. For single 12–14-inch pizza crusts a 4.5–5 quart bowl is tidy; if you batch or like high hydration, step up to 6–7 quarts. Prefer stainless steel: it’s lightweight, nonreactive, resists scratching, and conducts temperature so you feel warmth or chill through the metal. Glass and ceramic show dough and look elegant but are heavier and can retain heat, which affects fermentation. Look for a wide lip for easy scraping, a secure mounting fit, and a smooth interior so dough releases cleanly. Cleanability and durability matter more than aesthetics. And function.
Speed Settings and Timing
When you set up the mixer, lock the bowl and dough hook in place, start on a low speed and keep a hand on the timer—gentle folding at low RPMs prevents overworking and splashing. You’ll hear a soft thrum as flour hydrates; begin at speed one or two for one minute to hydrate, then pause and scrape. Increase to speed three to develop gluten, watching the dough gather cleanly around the hook. Set incremental bursts rather than continuous high power; big jumps tear and heat the dough.
- Start slow: sixty to ninety RPM, one minute.
- Mid mix: one hundred twenty to one hundred fifty RPM, three to five minutes.
- Rest and scrape: thirty to sixty seconds.
- Final: quick pulse, and verify smooth, springy texture.
Stand Mixer: Speeds, Timing, and Avoiding Overwork
If you crank the mixer too fast you’ll overheat and shred the gluten — start on low (speed 1–2) to hydrate and bring the mass together, then bump to medium-low (speed 2–4) for most of the kneading. Use the dough hook, press twice to release air, and listen: a steady, quiet hum means healthy kneading; a high-pitched whine or burning smell means you’re too fast or running too long. Time is a guide — 6–8 minutes typical on medium-low — but watch the dough’s feel: it should pull away cleanly and feel elastic, not sticky and collapsing. Pause for 1–2 minutes if the bowl heats or the hook strains. Don’t force extra minutes; overworked dough will become slack and gummy. Finish kneading when the machine runs smoothly and quietly.
How to Tell When Dough Is Ready: Windowpane and Texture
How do you know the dough’s ready? You feel it: smooth, slightly tacky, springy under your palms. Use the windowpane test—stretch a fingertip-sized piece into a thin, translucent membrane without tearing; if light passes through, gluten is developed. Texture-wise, the dough should hold shape, wobble back when poked, and feel satiny, not sticky.
- Smooth surface: no rough lumps, feels silk-like.
- Tacky but not clinging: a gentle touch leaves a faint impression.
- Elastic response: press and dough rebounds slowly.
- Windowpane: thin film stretches without ripping.
Smell the faint fermenting sweetness and note warmth—both signal active yeast and proper development and resilience too.
Common Kneading Mistakes and How to Fix Them
Ever notice your dough feels either like rubber or like sticky glue? You can fix common mistakes with touch and timing. Under-kneaded, dense crumb: keep folding and pressing until it springs back and you see a windowpane. Over-kneaded, gummy rubber: rest the dough fifteen to thirty minutes to relax gluten; handle gently. Too sticky: add flour sparingly, knead briefly, or oil your hands. Too dry: sprinkle water and work until smooth and slightly tacky.
| Problem | Quick Fix |
|---|---|
| Under-kneaded | Fold, press, check windowpane |
| Over-kneaded | Rest, handle gently, avoid extra flour |
Trust your hands; feel tells you when texture shifts and when to stop. Listen for subtle changes: dough should soften, stretch without tearing, and bounce back; these sensory cues replace guesswork and save your bake.
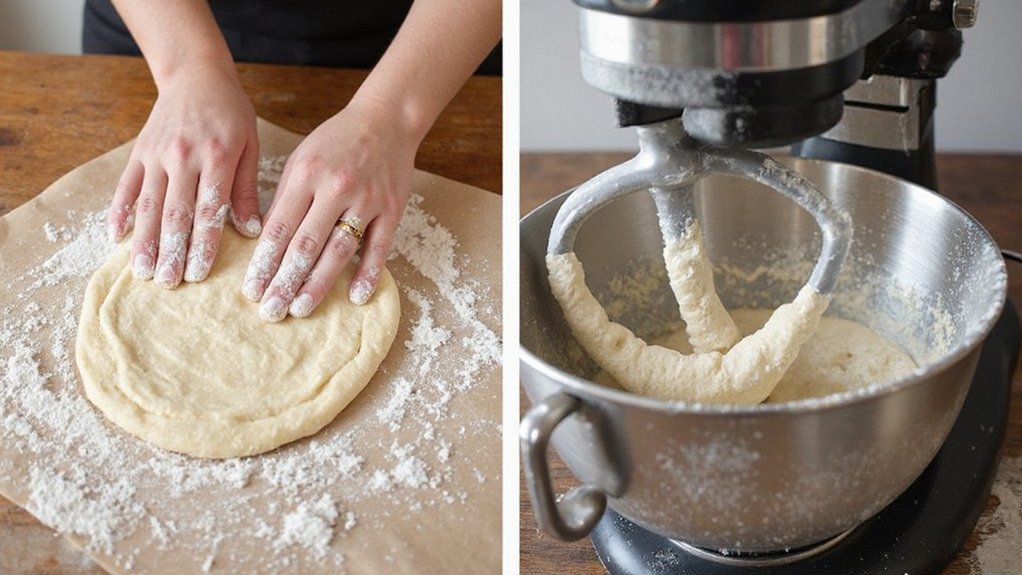
Choosing the Best Kneading Method for Your Pizza Style
For a paper-thin, blistered crust you’ll want a short, gentle knead so the dough stays tender and springs into a crisp bite. If you’re building a sturdy deep dish, you need a longer, vigorous knead to develop bold gluten and a chewy, substantial crumb. You’ll learn when to use your hands or the mixer for each style and how to read the dough by touch and sound.
Thin Crust, Short Knead
Choosing a short-knead approach for thin-crust pizza means you want a dough that’s relaxed enough to roll ultra-thin yet structured enough to blister and snap in the oven. You’ll favor gentle stretches and brief folding over long, aggressive kneading; this preserves extensibility and a light crumb. Use a stand mixer on low for two to three minutes or hand-knead with quick, decisive presses totaling about the same time. Feel the dough change: tacky, smooth, slightly elastic. Rest it under oil to relax the gluten before shaping.
- Lightly tacky surface, easy to stretch.
- Minimal elasticity, high extensibility.
- Thin rolled edges that blister.
- Crisp snap when you bite.
Trust your hands and eyes; stop kneading when the dough yields and holds shape.
Deep Dish, Strong Knead
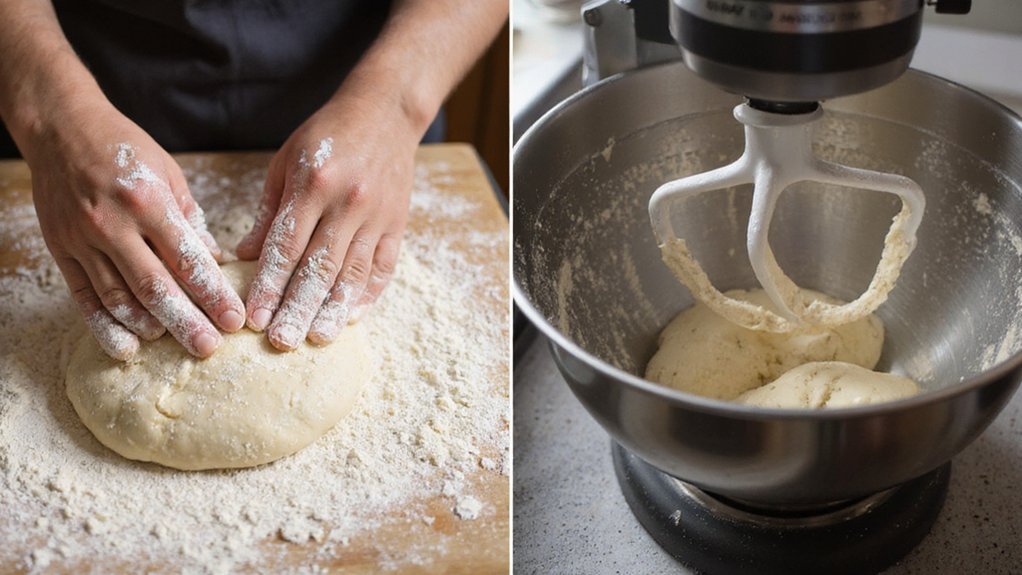
Build strength into the dough so it can hold up to heavy toppings and a tall, chewy crust: deep-dish pizza needs a vigorous knead to develop a tight, elastic gluten network that gives you chew, oven spring, and structure. Pick the stand mixer for consistency and power—use the dough hook on medium-low for 8–12 minutes, watching the dough clear the bowl and form a smooth, slightly tacky ball. If you prefer hands, brace your forearms and push-fold-turn with intent for 12–15 minutes until the dough sings with resistance and snaps back when stretched. You’ll feel grainy flour turn glossy, hear a faint thud, and see well-defined strands when you perform a windowpane test. Rest, cold-proof, then shape with confidence. This method yields reliable deep-dish.
Conclusion
You’ll pick the method that fits your rhythm: use your hands when you want tactile feedback—push, fold, feel the skin tighten and the dough sing—so you preserve extensibility and sense readiness. Use a stand mixer when you’re after consistent strength and speed, but watch, scrape, and stop before it hums or overworks. Trust the windowpane, the bounce, and your hands; they’ll tell you when to shape, stretch, and bake, and enjoy the crust you’ll create.