You don’t need a pizza stone to get a crisp, blistered crust. Use a preheated heavy pan or inverted sheet, crank the oven up, control dough hydration, and time toppings. You’ll get precise oven setup, parbake and broil tricks, and topping hacks that make a home oven sing — next, the step‑by‑step.
Why a Pizza Stone Isn’t Necessary
While many people think a pizza stone is essential, you don’t need one to make great pizza—proper heat, surface, and technique matter more. You can use alternatives—baking steel, cast-iron skillet, inverted heavy-duty sheet pan, or well-seasoned baking sheet—that conduct heat efficiently and give a crisp crust. Focus on dry, taut dough, minimal toppings, and quick transfer to the preheated surface to avoid sogginess. Use semolina or coarse flour on your peel or pan to prevent sticking. Rotate the pizza for even browning and monitor closely; visual and tactile cues matter more than gadgets. A stone’s benefit is replaceable by understanding thermal contact and workflow. You’ll get excellent results by prioritizing materials that hold and transfer heat and by refining your technique and timing control.
Oven Temperature and Placement for Best Results
Preheat your oven to its highest safe setting—typically 500–550°F (260–290°C)—to reproduce the intense heat a stone provides. Position the rack in the top third for a blistered, crisp top or on the lowest rack for a firmer, crisper bottom, and choose based on your pan. You’ll get the best results by letting the oven fully heat before sliding the pizza in and watching closely the first few minutes to rotate or switch racks if needed.
High-Heat Settings
Because oven heat dictates crust texture, set your oven to its highest safe temperature—ideally 500–550°F (260–290°C)—and give it at least 30 minutes to stabilize. You’ll get crisp bottoms and rapid oven spring when the air and your chosen transfer surface are uniformly hot. Use a heavy-duty steel, inverted sheet pan, or cast-iron skillet as a heat reservoir; preheat it alongside the oven. If your oven has a convection setting, use it to promote even heat and slightly shorten bake time, but reduce temperature by about 25°F (15°C) if recipes call for conventional heat. Slide the pizza onto the hot surface quickly, watch closely—bakes often finish in 6–10 minutes—and use an instant-read thermometer to check dough doneness if unsure. Don’t overload toppings; they impede browning.
Rack Positioning Tips
If you want a crisp bottom, position the rack low so the pizza sits close to your preheated steel, pan, or skillet; the radiant heat from below will brown the crust fast. Set oven temperature to 500–550°F (260–290°C) when using metal surfaces, and let them preheat at least 30 minutes. Use the lower rack for thin-crust pies and a middle rack for thicker dough to avoid burning edges while ensuring internal cook. If top browning lags, move the rack up in the final 1–2 minutes or switch to broil briefly while watching closely. Avoid placing pans directly on the oven floor; they block airflow and create uneven heat. Consistent placement and timing yield predictable, repeatable results. Rotate pans halfway through to promote even cooking.
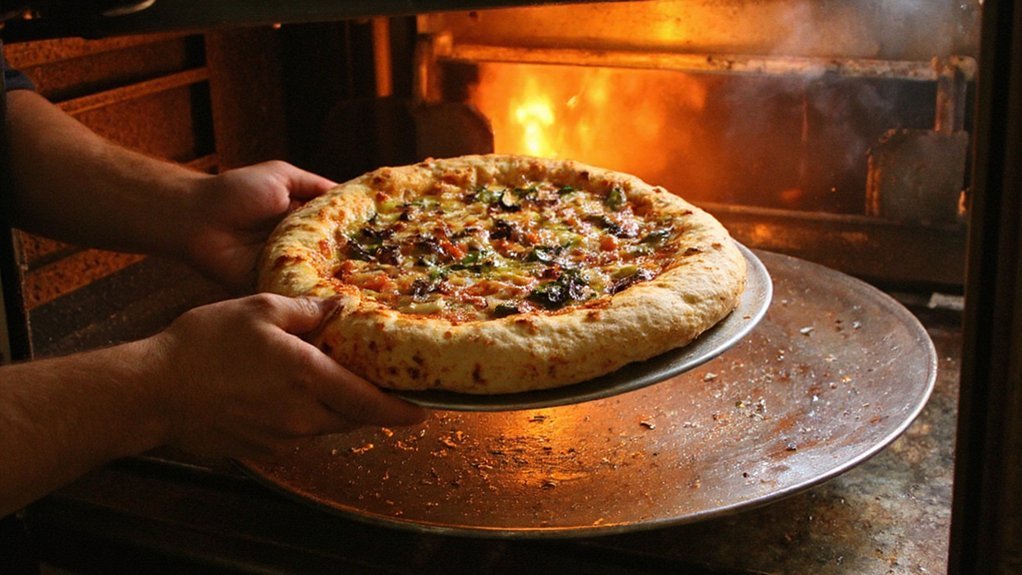
Preheated Baking Sheet or Inverted Cookie Sheet Technique
When you heat a heavy baking sheet or turn an inverted cookie sheet into a hot surface, it mimics a pizza stone and gives you a crisp, evenly browned crust. Preheat the sheet on the middle or upper rack at the highest oven temperature for at least 30 minutes; a thoroughly heated metal surface launches immediate crust-setting. Slide the assembled pizza onto the hot sheet using a well-floured peel or parchment, then bake until edges are blistered and bottom is golden.
- Use a heavy, rimless sheet for even contact.
- Preheat long and hot for rapid oven spring.
- Dust with semolina or flour to prevent sticking.
Remove carefully with oven mitts; rest briefly before slicing. Check the bottom periodically to avoid burning.
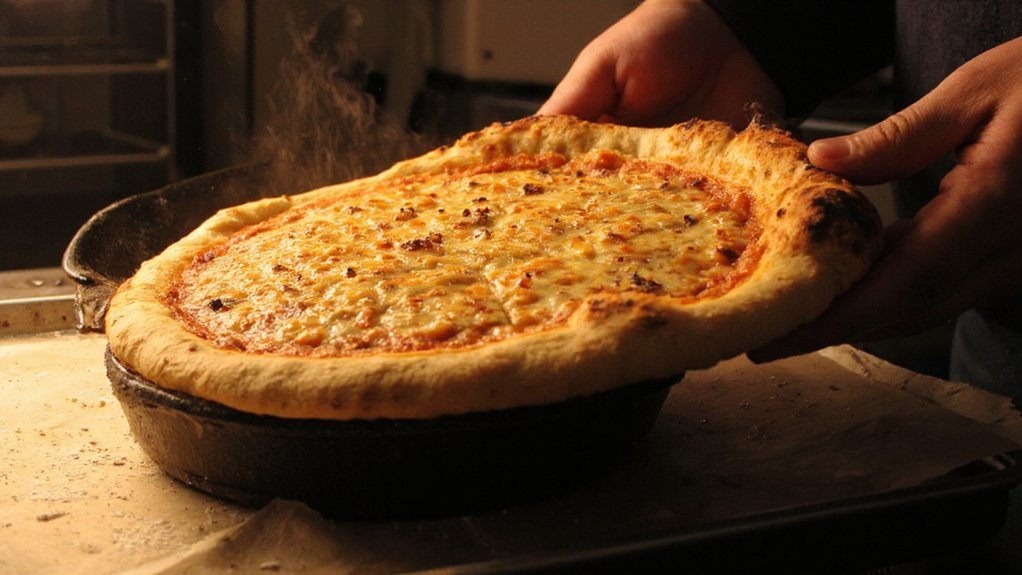
Cast‑Iron Skillet and Pan Methods
Although a cast-iron skillet isn’t a pizza stone, it heats fast and conducts heat so you can get a crisp, blistered bottom and crunchy edges with minimal equipment. Use a heavy, well-seasoned skillet or a carbon-steel pan; preheat the pan in a 500°F oven for 30 minutes so the metal stores heat. Stretch dough to fit, dust with semolina or flour, and brush a thin layer of oil on the pan to prevent sticking and promote browning. Slide the topped pizza into the hot pan; if the crust cooks faster than the toppings, lower oven rack or reduce heat slightly. For thinner crusts, a shallow sheet pan or perforated pizza pan gives similar results. Clean and reheat the pan between pies for consistent performance.
Parbake, Broil, and Other Heat Tricks for a Crispy Crust
Parbake the crust for 4–6 minutes before adding toppings to set the structure and prevent sogginess. After topping, return the pizza to a very hot oven and hit it under the broiler for 1–2 minutes—you’ll crisp the surface and char the edges. You can combine short parbakes with high direct heat from a skillet or broiler to get a crisp, evenly cooked crust without a stone.
Parbake Before Topping
If you want a crisp base without a stone, partially bake the crust before adding toppings to set the structure, drive off surface moisture, and prevent a soggy center. Parbaking gives you a stable platform so wet toppings won’t penetrate dough. Preheat your oven to the highest safe temp, slide the shaped dough onto a preheated pan, and bake 4–6 minutes until it firms but stays pale. Remove, add toppings, then finish baking until cheese melts and edges brown. For consistent results, control hydration and timing:
- Use medium hydration dough (60–65%) for structure.
- Dock or blind-bake thin sections to avoid bubbles.
- Parbake 4–6 minutes; adjust for thickness.
This method yields a crisp, evenly baked crust without specialized equipment. Follow timing closely for repeatable results.
Broil For Finish
When you want a blistered, crunchy finish, finish the pizza under a hot broiler for 1–3 minutes so the cheese browns and the surface dries without overbaking the base. Position the oven rack 4–6 inches from the broiler element, watch constantly, and keep the door slightly ajar if your oven manual allows. Use a thin metal baking sheet or inverted rimmed sheet for quick radiant heat; avoid insulated pans that slow browning. Rotate once for uniform charring. If toppings bubble too fast, slide the pizza back onto the lower rack briefly to protect the crust. For extra crisp, brush exposed dough edge with oil before broiling. Practice timing with your oven; once you know its response, you’ll get repeatable, restaurant-quality results every time reliably.
Dough Handling: Hydration, Proofing, and Stretching Tips
How you handle hydration, proofing, and stretching determines whether your crust will be chewy, airy, or dense; focus on precise hydration percentages (55–65% for hand-stretched, 65–75% for wetter styles), controlled proofing (room temp for 1–2 hours or cold ferment 24–72 hours for flavor and strength), and gentle stretching techniques that preserve gas cells and gluten structure. Measure flour and water by weight, adjust hydration for flour type and oven. Proof to tension: underripe dough tears, overproof collapses. Use bench rests to relax gluten, keep dough tacky. Stretch from center outward, support the rim to keep gas in the edge. Use minimal flour on the peel. Temperatures and timing matter; note dough feel over clock time.
- Hydration control
- Proofing stages
- Gentle stretch
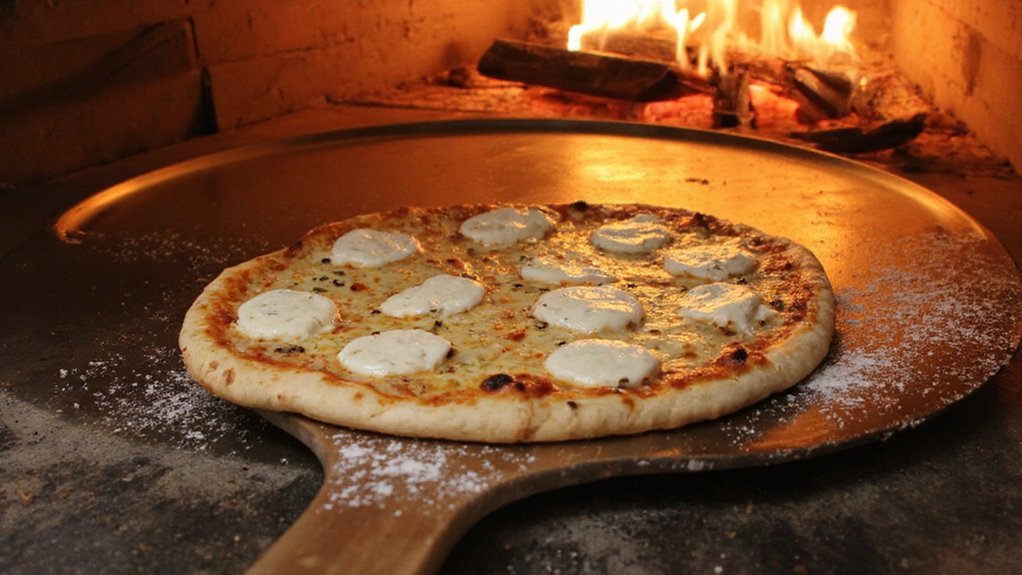
Topping Choices and Timing to Prevent a Soggy Pizza
Because toppings can make or break your crust, you must control moisture and timing precisely to avoid sogginess. Choose low-moisture cheeses, drain and pat wet ingredients, and slice vegetables thin so they release less water. Pre-cook high-moisture toppings—mushrooms, spinach, zucchini—briefly to evaporate liquid. Use a light hand with sauce: spread thinly and avoid pools; consider thicker, reduced sauces. Add delicate herbs and tender greens after baking. Layer strategically: cheese on dough first creates a barrier, then meats and vegetables. Bake at high heat immediately after topping to seal crust; don’t let assembled pies sit. If you must hold a pizza, use a perforated pan or a rack to maintain airflow. Follow them for consistently crisp results.
Conclusion
You don’t need a pizza stone to get crisp, blistered crust. Preheat a heavy inverted sheet pan or cast‑iron skillet at 500–550°F for at least 30 minutes, dust your peel with semolina, and slide a thin, well‑stretched pie onto the hot surface. Parbake briefly if the dough’s wet, finish high under the broiler, use low‑moisture toppings, and serve on a rack so your crust stays crisp. Follow these steps and you’ll get reliable restaurant-quality results.