You want a fail-proof pizza dough you can trust, so you’ll use precise flour, hydration, salt, and tiny yeast doses, then mix, knead, and ferment with purpose. This guide gives practical timing options, shaping tricks, and baking temps to get a blistered, airy crust every time—stay with this and you’ll learn the single technique that makes the difference.
Ingredients You’ll Need
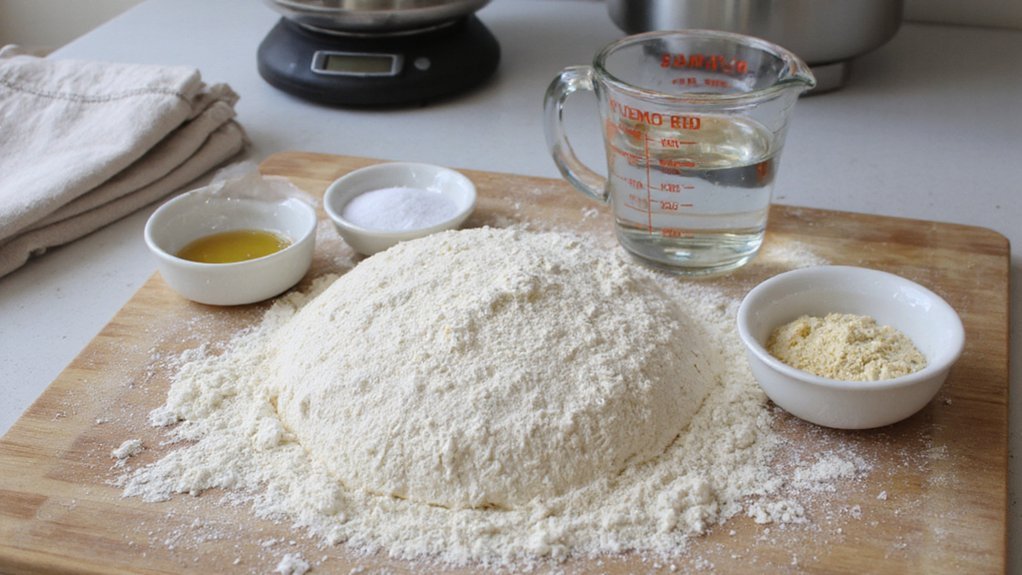
You’ll need just a handful of staple ingredients: high-protein (bread) flour, warm water, active dry or instant yeast, fine salt, and a bit of olive oil; a pinch of sugar or honey is optional to feed the yeast. Measure by weight for consistency: 1000g flour to about 650–700g water (hydration 65–70%) is a reliable starting point. Use 1.5–2% salt relative to flour weight and 0.2–0.5% yeast for slow or room-temperature rises. Olive oil adds extensibility and flavor—about 2% of flour weight. If you prefer whole-grain blends, compensate with slightly more water. Keep ingredients fresh: old yeast or rancid oil will defeat results. Note clarity: scale, temperatures, and ingredient quality matter most. Store flour airtight, weigh yeast precisely, and don’t skip the salt. Period. Always.
Equipment and Optional Upgrades

Now that you’ve gathered the right ingredients, the proper tools make shaping, proofing, and baking predictable and faster. You need a sturdy mixing bowl, a bench scraper, a digital scale, and a thermometer. A stand mixer with dough hook speeds kneading and saves effort, but you can hand-knead. Proofing in covered bowls or a proofing box keeps temperature steady; a warm oven or insulated cooler work as budget options. For baking, a pizza stone or steel provides oven spring and crisp crust; a peel gets pizza on and off hot surfaces safely. Optional upgrades: a high-quality peel, a Docker, a good bench, and an infrared thermometer. Maintain and clean tools—consistent results start with reliable equipment. Invest wisely; the right gear shortens your learning curve.
Step-by-Step Dough Recipe
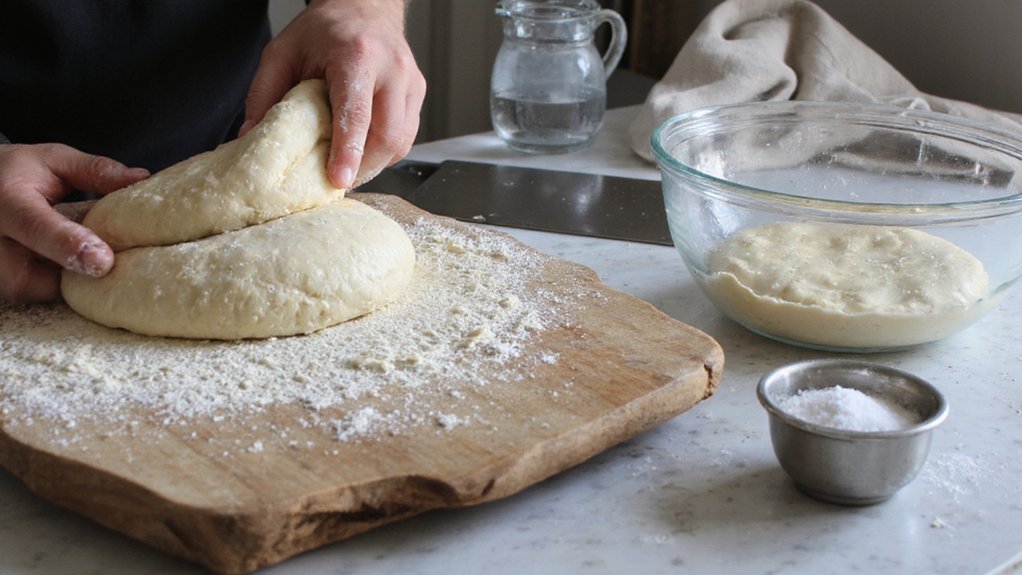
Begin by weighing your ingredients precisely—measure flour, water, salt, and yeast (or your prefered starter) on a digital scale so the dough behaves predictably. Start by combining the flour and water until a shaggy mass forms, then incorporate salt and starter evenly. Work confidently; you want uniform hydration and even seasoning before any resting. Portion the dough into baking-size pieces once mixed, keeping surfaces lightly floured to prevent sticking. Prepare your baking station and oven while dough rests.
- Use a digital scale for repeatable results.
- Hydrate fully before adding salt for better texture.
- Portion on a clean, floured surface to maintain consistency.
- Dust peel or pan with semolina for easy transfer.
Preheat thoroughly and have toppings ready for efficient assembly.
Kneading, Rising, and Timing Options
If you want a strong, open crumb, knead until the dough’s smooth and elastic—about 6–10 minutes by hand or 4–6 minutes in a stand mixer on low. Use the windowpane test: stretch a bit; if it thins without tearing, it’s ready. For rising, proof at room temp 1–2 hours or retard in the fridge for 12–48 hours for more flavor. Handle gently after first rise to preserve gas. Timing choices: short proof for quick pizza, long cold ferment for depth. Below is a quick guide.
| Method | Time | Notes |
|---|---|---|
| Hand knead | 6–10 min | Windowpane test |
| Mixer | 4–6 min | Low speed |
| Room rise | 1–2 hr | Double |
| Cold ferment | 12–48 hr | More flavor |
Follow schedules, but trust feel and dough temperature to decide final timing as needed.
Shaping, Topping, and Baking Techniques
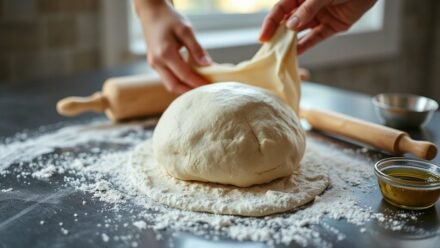
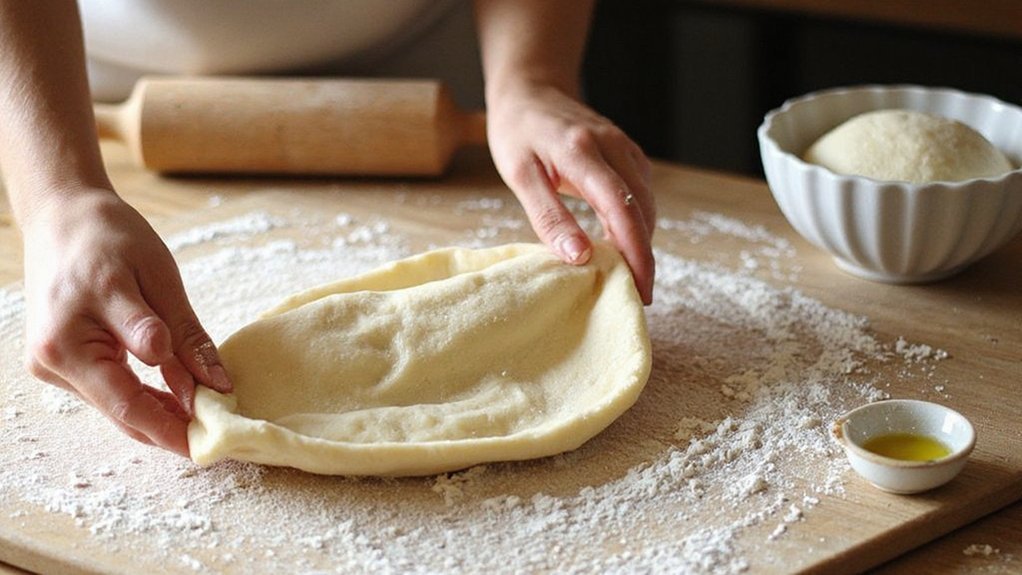
You’ll shape the dough with your fingertips and gravity, stretching from the center and leaving a defined rim without overworking the gluten. Place sauce and toppings to balance moisture and weight—use less sauce, blot wet ingredients, and spread toppings evenly so the crust cooks through. Preheat your oven and stone until screaming hot (500–550°F), bake fast, and monitor time and position so you get a blistered, crisp base.
Stretching and Shaping Tips
While stretching the dough, work from the center outward with your fingertips so air pockets move to the rim and form a light, blistered crust; handle it gently, using gravity and rotation rather than brute force to avoid tears. You’ll sense tension and thin spots; keep edges thicker for structure and let the dough rest if it resists. Support the disc on the back of your fists as you rotate, letting centrifugal force do the work. Use a light dusting of flour or semolina to prevent sticking, not to dry the dough. Follow these focused practices:
- Keep the rim unchanged for a sturdy cornicione.
- Rest for five minutes on resist.
- Stretch in short bursts, not one long pull.
- Use a peel to transfer safely.
Topping Placement and Balance
How you arrange toppings will make or break the bake, so think about balance, moisture, and heat exposure. You should layer ingredients to control water release: spread sauce thin, pat wet vegetables dry, and precook high-moisture items like mushrooms or eggplant. Put cheeses closer to the crust for insulation and scatter delicate herbs or arugula after baking. Reserve a central area free of heavy toppings so the pie lifts evenly. Distribute protein in even clusters, don’t pile them, to promote consistent browning. Use a light hand with oil — don’t drizzle much to avoid sogginess. If you want crisp edges, keep toppings off the outer rim. Taste balance as you build: salt, acid, fat, and texture should all be present. Adjust as you go.
Oven Temperature and Timing
Because ovens and equipment differ, set your expectations by matching temperature and timing to the dough style: for blistered, Neapolitan-style pies heat a stone or steel to 500–550°F (260–290°C) and bake 4–8 minutes; for thicker, pan, or New York–style crusts use 450–475°F (230–245°C) and expect 8–15 minutes. Preheat thoroughly, monitor color, and rotate for even bake. Use a peel dusted with semolina. Test one pie to dial in timing.
- Preheat stone/steel at least 45 minutes.
- Slide pizza near center for balanced heat.
- Rotate at halfway point for uniform browning.
- Remove when crust is golden with charred spots.
You’ll adjust minutes by topping weight and oven quirks—trust visual cues over strict time. Make notes after each bake so you’ll reproduce consistent results every time precisely.
Troubleshooting Common Problems and Pro Tips
You’ll get quick, practical fixes for sticky dough—add flour sparingly, let it rest so the gluten relaxes, or oil your hands and work surface. If dough’s underproofed, warm it gently or give it extra time at room temperature until it shows visible puffing and passes the finger test. These pro tips will get you back on track without sacrificing texture or flavor.
Handling Sticky Dough
When dough sticks more than it should, don’t panic — it’s usually fixable with a few precise adjustments. You’ll diagnose stickiness first: humidity, overhydration, or insufficient gluten development. Work cleanly: lightly flour your board and hands, but don’t overdo it — too much flour ruins texture. Use stretch-and-folds to build strength and reduce tackiness. If dough is very wet, add small increments of flour (1 tablespoon at a time), mixing gently until manageable. For tacky but elastic dough, cold rest in the fridge for 20–30 minutes to firm the surface. Remember to monitor hydration next time and adjust water by environment. Practical checklist:
- Light dusting of flour on surfaces
- Slow, gentle additions of flour
- Short cold rests to firm dough
- Consistent stretch-and-fold sessions
Stay precise.
Reviving Underproofed Dough
How can you rescue dough that’s clearly underproofed? First, don’t panic. Gently deflate the dough, reshape into a tight ball, and return it to a lightly oiled bowl. Increase proofing warmth: place the bowl in a warm spot (about 80–85°F/27–29°C) or use the oven with just the light on. Give it additional time—usually 30–90 minutes—checking every 15 minutes for visible puffiness and a slight spring-back when poked. If time’s short, use a yogurt-warm-water bath or proofing drawer to accelerate activity. Avoid overhandling; you want to preserve gas pockets once it proofs. Once it’s noticeably airy and holds an imprint, proceed to stretch and bake. If repeated failures occur, adjust yeast, temperature, or fermentation schedule immediately.
Conclusion
You’ve got the formula: high‑protein flour, precise weights, 65–70% hydration, and minimal yeast and salt. Mix to a shaggy mass, knead until the windowpane forms, then cold‑ferment for flavor or proof for same‑day pies. Preheat a stone or steel hot, stretch gently to protect the cornicione, top sparingly, and bake until airy and charred. Follow this, and you’ll turn out reliable, restaurant‑quality crusts every time. Adjust fermentation to taste and you’ll master it consistently confidently.