You want a reliably perfect bake, so you’ll need precise timing, temperature control, and clear technique. You’ll learn how oven type, crust thickness, and topping moisture interact, plus when to use a stone, steel, or pan. Keep a thermometer and timer ready—what follows will change how you approach every pie.
Understanding Oven Types and Heat Distribution
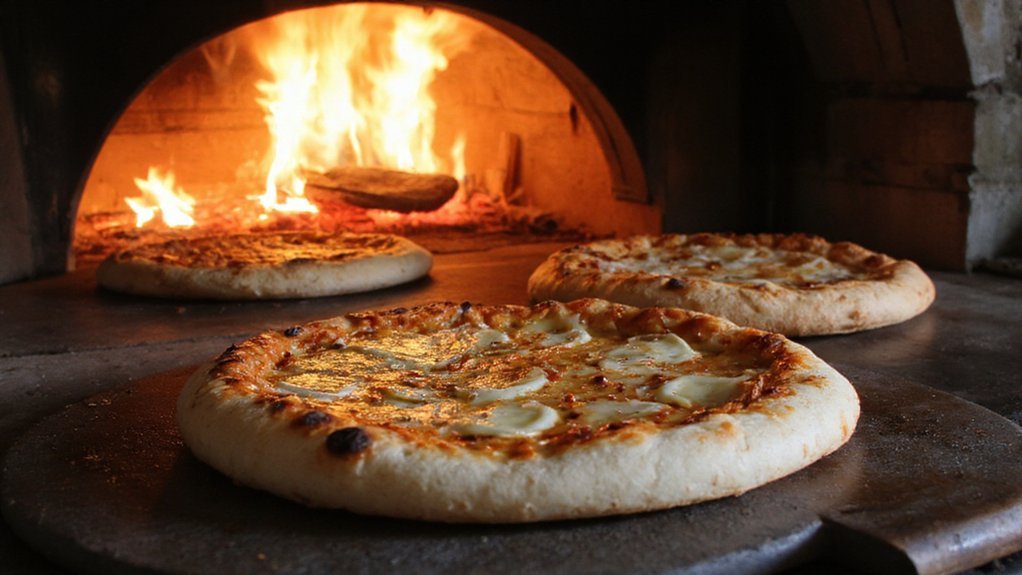
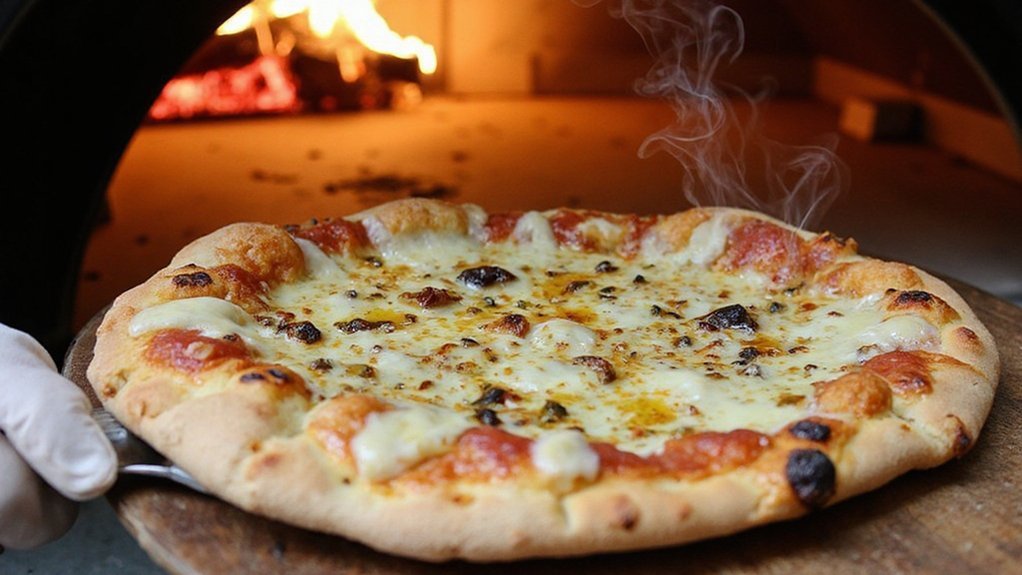
How does oven type change the way heat reaches your crust and toppings? You’ll learn that convection ovens force hot air across surfaces, promoting rapid, even browning through convective heat transfer, while conventional ovens rely more on radiant heat from elements. Deck and masonry ovens store thermal mass, delivering intense radiant heat and conductive contact that crisps bottoms quickly; gas ovens introduce moisture and variable radiant profiles that can slow surface drying. Broilers and pizza stones concentrate radiant energy and conduction respectively, so placement becomes critical. You’ll adjust rack position, preheat duration, and use of stones or steel to control the balance between top coloration and bottom crispness. Understand these mechanisms and you’ll predictably tailor bake strategies for consistent results with measurable, repeatable outcomes.
Thin-Crust Pizza: Time and Temperature Guidelines
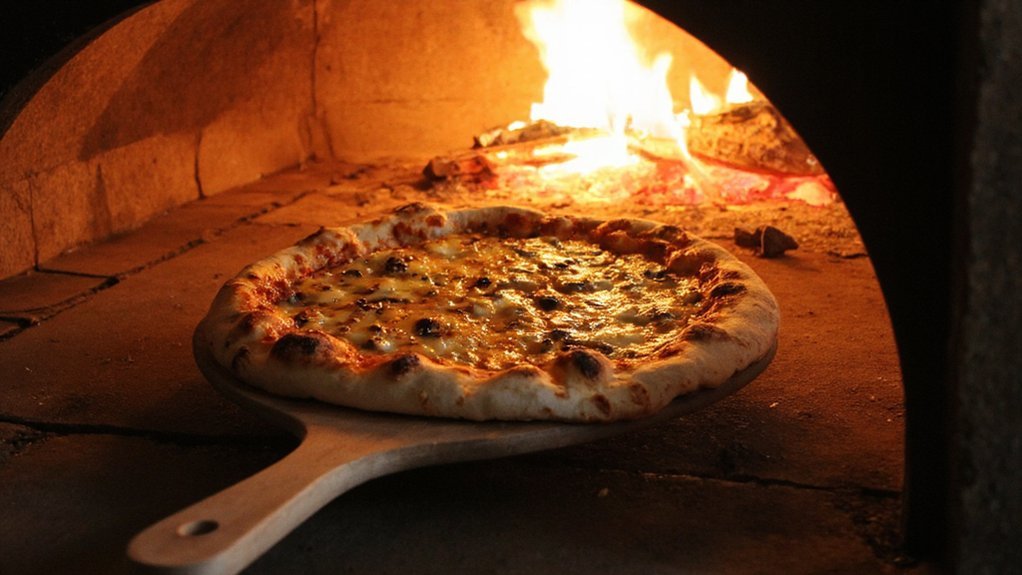
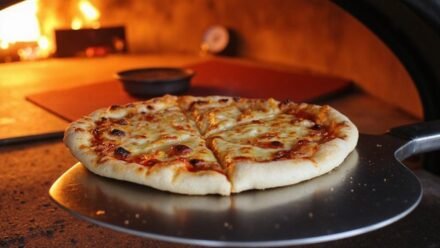
Thin-crust pizzas demand high, focused heat and precise timing, so you’ll target oven temperatures and placements that deliver rapid surface browning without soggy centers. You should preheat a pizza stone or steel at 500–550°F (260–290°C) for at least 45 minutes; in commercial or wood-fired ovens 700–900°F (370–480°C) yields 2–6 minute bakes. Slide the pie onto the hot surface using a peel, position it low for crisp bottoms, and move it higher if the top needs more color. Aim for 6–10 minutes at domestic temperatures, 2–6 minutes in very hot ovens, rotating halfway for even charring. Use minimal, evenly distributed toppings and a thin hydration dough (approx. 55–60%) to prevent steam buildup and promote snap. Check bottom color and internal texture; remove at desired crispness.
Thick and Deep-Dish Crusts: Longer Bakes and Lower Heat
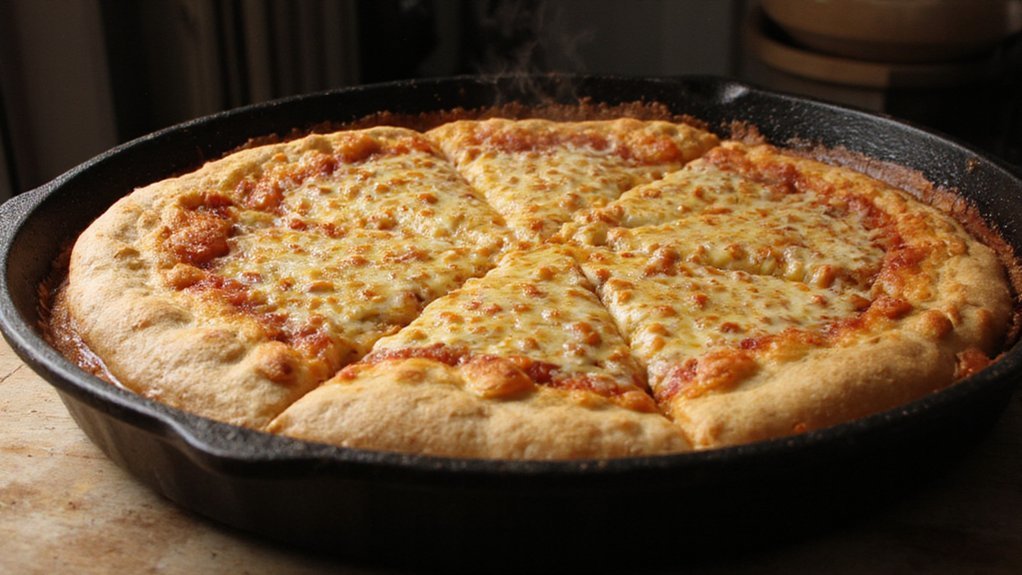
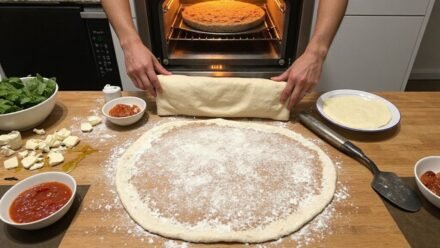
Because thick and deep-dish crusts contain far more mass and moisture than thin pies, they need lower oven temperatures and much longer bakes to drive heat into the center without overbrowning the exterior. You’ll set the oven between 325–375°F (160–190°C) and plan for 25–45 minutes depending on dough height and pan conductivity. Use a heavy pan or cast iron to guarantee even conductive transfer; thin metal pans speed surface browning, so reduce temperature further. Monitor internal temperature: aim for 200–210°F (93–99°C) for fully gelatinized starches and set protein structure. Rotate the pan midway, check crust color and base rigidity, and tent with foil if edges advance too quickly. Finish with a brief rest to stabilize crumb and redistribute residual heat before slicing and serving.
Toppings and Moisture: Adjusting Bake Times
You must account for topping moisture because wet ingredients release steam that cools the bake and soaks the crumb. High‑moisture toppings (fresh tomatoes, ball mozzarella, raw vegetables) either need pre‑roasting/draining or a slightly higher temperature and longer bake to evaporate excess water and avoid sogginess. Dry toppings (cured meats, hard cheeses, roasted vegetables) brown and crisp faster, so you can add them earlier or shorten the bake by a few minutes to preserve texture and prevent burning.
High-Moisture Toppings
When high-moisture toppings hit a hot oven they dump water onto the dough, so plan your bake to control that evaporation rather than hoping the oven will do it for you. You’ll pre-condition toppings, reduce surface water, and sequence placement to preserve crust heat. Par-bake or increase oven temperature briefly to drive off moisture without overbrowning. Monitor internal topping temperature; aim for 70–80°C to denature proteins and release juices before crust sets. Use this checklist to visualize workflow:
- Pat and salt vegetables to draw and expel water, then blot.
- Pre-cook high-moisture proteins to render and remove fat/water.
- Par-bake crust 2–4 minutes at higher heat to set barrier.
Execute decisively—moisture control equals crisp, structurally sound pizza. You get reliably superior texture always.
Dry Toppings Timing
Having managed wet ingredients, shift focus to dry toppings and how they alter thermal behavior and bake timing. You’ll find dry toppings—pepperoni, salami, cured sausages, dehydrated vegetables, powdered cheeses—have low free water, so they heat faster, crisp, and can char before the crust is done. Compensate by lowering oven temperature 10–25°F or placing toppings mid-bake, adding them after initial 4–6 minutes at high heat. Alternatively, preheat a baking steel to reduce bake time while preserving topping texture. Monitor surface temperature with an infrared thermometer when precision matters; aim for topping surfaces around 250–300°F for Maillard reactions without burning. You’ll preserve crunch, flavor concentration, and synchrony between topping doneness and crust bake. Adjust based on thickness, fat content, and oven airflow for consistent results reliably.
Using a Pizza Stone, Steel, or Pan Effectively
Mastering heat transfer through a stone, steel, or pan gives you precise control over crust development and bake time. Preheat thoroughly: let the chosen medium reach target temp (stone 500–550°F, steel 550–650°F, pan 450–500°F) to store and radiate energy. Slide the dough onto the hot surface to maximize bottom crisping while your oven’s air browns toppings.
- Heat capacity — steel stores more energy, responds faster; stone smooths peaks and holds steady.
- Surface contact — thin pans reduce conduction; perforated pans enhance airflow and crispness.
- Thermal mass management — preheat time and placement (lower rack for bottoms, mid for balance) tune bake outcomes.
You’ll adjust bake duration by tracking bottom color and internal crumb temperature, not just minutes. Measure, observe, refine, and repeat for consistency.
Quick Bakes With Countertop and Conveyor Ovens
How quickly do you dial in a consistent bake on a countertop or conveyor oven? You set precise variables: oven temperature, belt speed, dough thickness and topping load. Preheat fully to target (400–700°F depending on model), confirm with an infrared thermometer, and stabilize carriage temperature. Adjust belt speed in seconds-per-inch increments; faster for thin Neapolitan-style, slower for thicker crusts. Use perforated pans or stones when allowed to promote bottom crispness. Arrange pies spaced to maintain uniform airflow and avoid overloading conveyors. Calibrate routinely and log settings for each recipe so you reproduce results batch after batch. Watch color development and make micro-adjustments to speed or temp rather than changing procedures mid-run. You’ll hit repeatable, rapid bakes with disciplined controls. Refine profiles using thermocouples regularly.
Troubleshooting Undercooked Centers and Burnt Edges
When your pizza has a raw center but charred edges, you’re facing uneven heat distribution and a mismatch between dough thickness and baking temperature. You should measure crust thickness, adjust oven zones or rack position, and calibrate surface and air temps so the center reaches about 200–210°F while the edges stay below intense charring thresholds. Tune your countertop or conveyor settings, use a stone or perforated screen, and try thinning the center or lowering top-heat to restore thermal balance across the pie.
Uneven Heat Distribution
If your pizza comes out with a raw center and charred rim, it’s usually because heat isn’t reaching the middle evenly — oven hotspots, poor thermal contact with the baking surface, and imbalanced airflow create steep temperature gradients across the crust. You can diagnose and correct uneven heating by monitoring contact, conduction, and convection.
- Map hotspots: slide a thermal probe or an oven-safe thermometer around the surface while baking to locate zones of over- and under-heating.
- Improve conduction: use a preheated steel or stone, make sure the pizza sits flat with full contact, and avoid warped trays.
- Optimize airflow: enable even circulation with convection, avoid blocking vents, and rotate the pizza mid-bake.
With control, you’ll eliminate split outcomes and achieve consistent browning.
Dough Thickness and Temps
Why does a thick center stay underbaked while the outer crust blackens so fast? You’re fighting opposing heat-transfer regimes: conduction through dough versus radiative and convective surface browning. Thick dough increases thermal mass and thermal resistance, so oven heat chars the exterior before conductive wave reaches center. To fix this, reduce thickness, prebake the base, or lower oven temperature while extending bake time to allow conductive penetration without excessive surface Maillard reaction. Use a baking steel or preheated pizza stone to raise bottom heat flux, and employ an overhead shield or move to a lower rack to balance top-to-bottom flux. Monitor internal temperature—around 200–210°F (93–99°C) signals doneness. Precise control of thickness, temperature, and time prevents undercooked centers and burnt edges. Adjust incrementally and test.
Conclusion
You’ll master bake times by matching crust type, oven profile and topping moisture. For thin crusts you’ll use 500–550°F and 6–10 minutes; for deep-dish lower 325–375°F and 25–45 minutes targeting ~205°F internal. Preheat stones/steels thoroughly, rotate for even heat, and prebake wet toppings. Use higher radiant heat for quick bakes and gentler conduction for thick pies. With disciplined temperature control and observation, you’ll consistently deliver perfectly browned, cooked-through pizzas every single time, with pride, guaranteed.