To make perfect thin crust pizza every time, focus on high-quality flour and dough hydration between 60-65%. Create a light, even sauce layer, and experiment with fun toppings like arugula, goat cheese, or heirloom tomatoes. Preheat your oven to 500°F and use a pizza stone for ideal crispiness. Remember, even thickness is key! With these tips, you’ll master the art of thin crust pizza, and there’s even more you can discover to elevate your pizza game!
Key Takeaways
- Use high-quality, finely ground pizza flour for a stretchy and crisp texture.
- Maintain dough hydration at 60-65% for the ideal crispy crust.
- Preheat your oven to 500°F and utilize a pizza stone for optimal cooking.
- Distribute sauce evenly to prevent sogginess, avoiding overloading or underusing.
- Allow for proper fermentation time to enhance dough flavor and develop bubbles.
How to Make Perfect Thin Crust Pizza Ingredients?
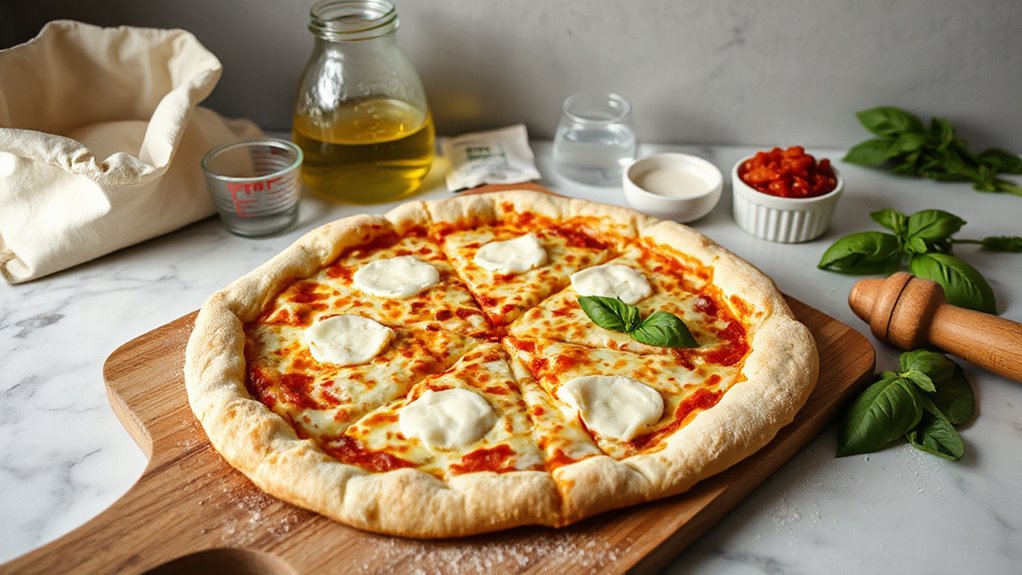
To create the perfect thin crust pizza, you’ll need just a handful of key ingredients that work together to achieve that delightful crunch. Start with high-quality pizza flour; it’ll give your crust the ideal texture. You’ll want to look for a fine grind that’s rich in gluten, which helps create that stretchy, tender feel.
Next up is the sauce. There are so many sauce options to explore! A classic tomato base is always a winner, but don’t hesitate to try pesto or maybe a zesty garlic olive oil for something different.
Don’t forget about salt and a dash of olive oil to bring everything together. With these ingredients in hand, you’re well on your way to crafting a thin crust pizza that’s not just delicious but also uniquely yours. So gather your essentials, roll up your sleeves, and let’s get cooking!
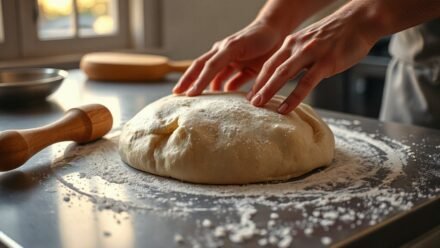
Mastering Dough Texture and Flavor

Having gathered your key ingredients, you’re now ready to focus on mastering the dough’s texture and flavor. A few simple techniques can elevate your pizza game. First, pay attention to dough hydration. The right moisture level makes for a crispy crust. Aim for 60-65% hydration for that perfect thin texture.
Next, don’t rush the fermentation time. Allowing the dough to rise slowly enhances flavor and elasticity. A longer fermentation develops those delightful bubbles you crave.
Here’s a quick reference table to help you:
| Hydration Level | Fermentation Time | Texture Outcome |
|---|---|---|
| 55% | 1 hour | Dense, chewy |
| 60% | 4 hours | Balanced, crispy |
| 65% | Overnight | Light, airy |
Creative Toppings for Thin Crust Pizza
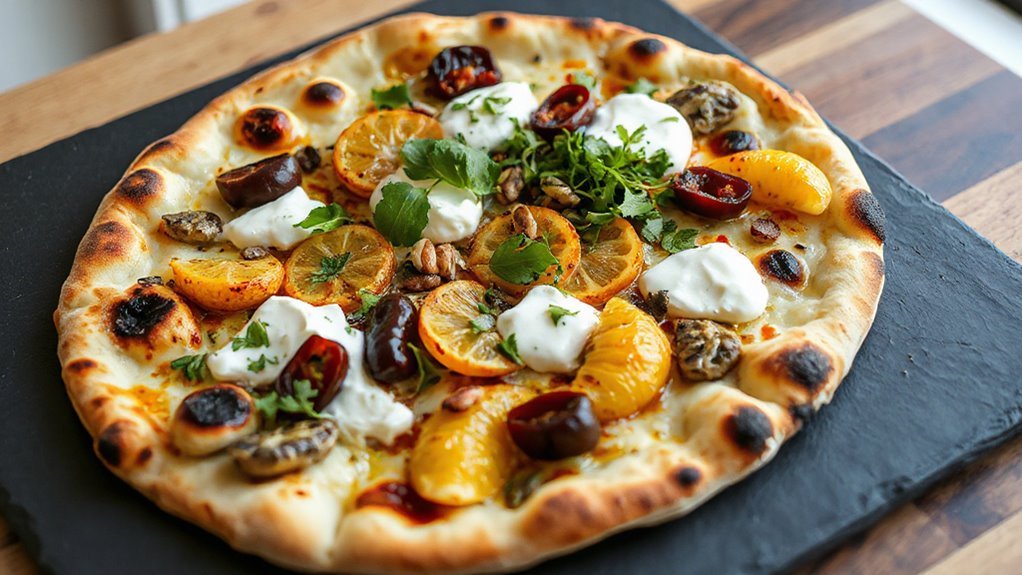
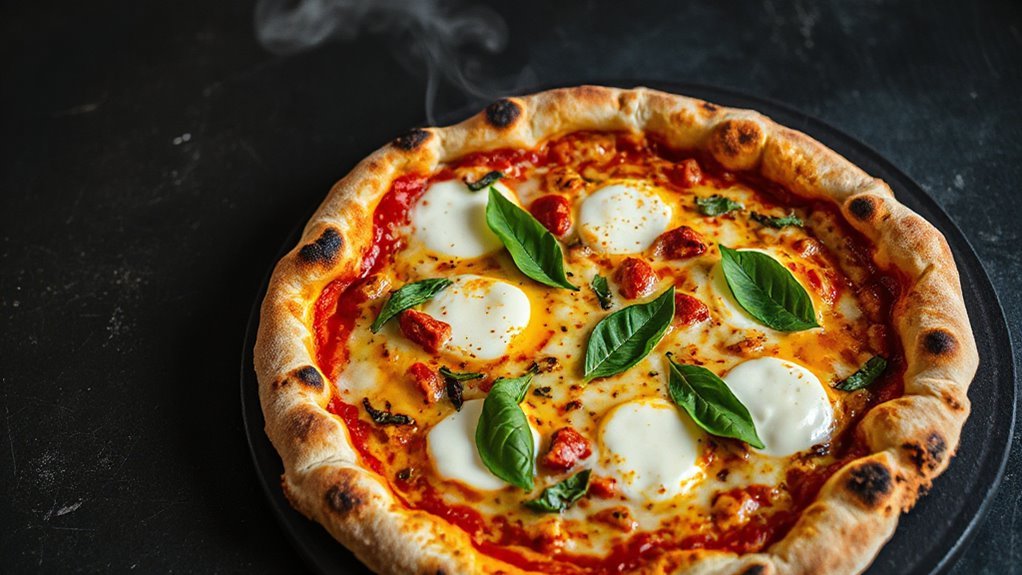
When it comes to crafting the perfect thin crust pizza, creative toppings can take your pie from ordinary to extraordinary. Imagine drizzling a fig balsamic reduction over fresh arugula and goat cheese, creating a gourmet option that’ll impress anyone. Or maybe you’ll opt for seasonal ingredients like heirloom tomatoes and basil in summer, letting their natural flavors shine through.
Don’t shy away from unique combinations! How about a blend of caramelized onions, brie cheese, and prosciutto for a sophisticated touch? Or try spicy roasted red peppers and artichoke hearts for a Mediterranean twist.
Using fresh, seasonal produce not only elevates your pizza but also adds vibrancy to every slice. So go ahead—mix it up, experiment with new flavors, and discover toppings that reflect your personal style. Your thin crust pizza is the perfect canvas for your culinary creativity. Embrace the freedom to make it uniquely yours!
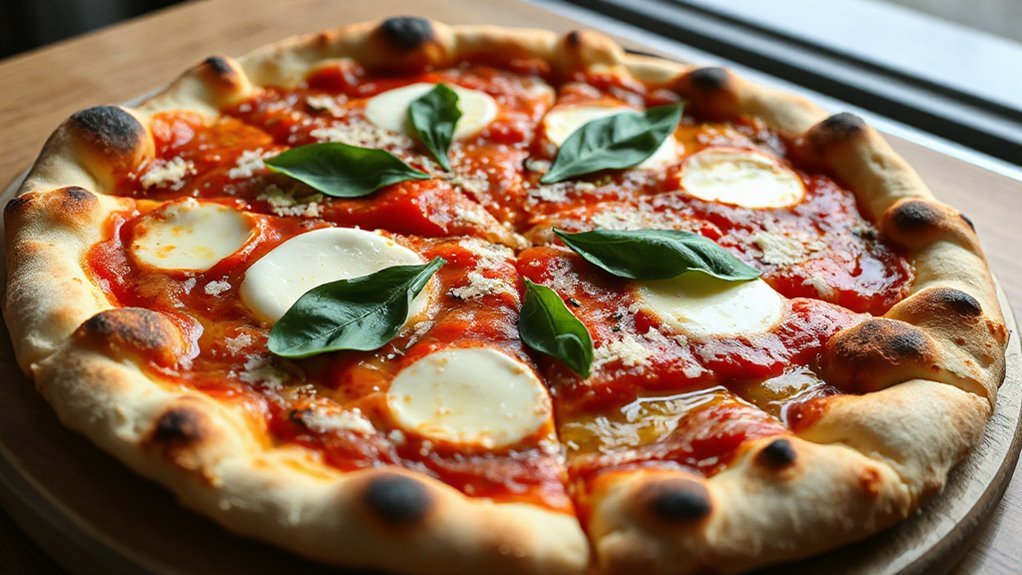
Bake for a Crispy Finish
You’ve chosen those creative toppings, and now it’s time to focus on the baking process that’ll give your thin crust pizza that delightful crunch. Start by preheating your oven to a blazing 500°F. High oven temperature is essential for achieving a crispy finish—after all, that’s the magic of a great thin crust.
While the oven heats up, consider the baking technique you want to use. If you have a pizza stone, place it in the oven to get hot. This helps absorb moisture and gives you that restaurant-quality crust. If you don’t have one, a preheated baking sheet can do the trick.
Slide your pizza onto the hot surface, and resist the urge to open the oven door too often. Aim for about 10-12 minutes of baking, until the edges are golden brown and the cheese is bubbling. Enjoy that perfect crunch!
Common Thin Crust Pizza Mistakes and How to Fix Them
Making a thin crust pizza can be a delicious experience, but it’s easy to stumble into a few common pitfalls that can ruin your efforts. One mistake is miscalculating the crust thickness. It’s essential to roll it out evenly—too thick, and you’ll end up with a tough bite; too thin, and it risks breaking.
Another key factor is sauce distribution. If you overload one part or skimp in another, it affects not just the flavor, but also how the pizza cooks. Aim for a light, even layer across the entire surface.
Finally, don’t forget to preheat your oven adequately. A hot oven gives you that crispy finish you crave.
Frequently Asked Questions
Can I Use Gluten-Free Flour for Thin Crust Pizza?
Absolutely, you can use gluten-free flour for your thin crust pizza! There are plenty of gluten-free options out there, like almond flour or a pre-mixed gluten-free flour blend. Just keep in mind that it might change the texture slightly, but you’ll still get delicious results. Experimenting with different flour alternatives can be fun, so don’t hesitate to play around until you find the perfect combination that suits your taste! Enjoy your pizza adventure!
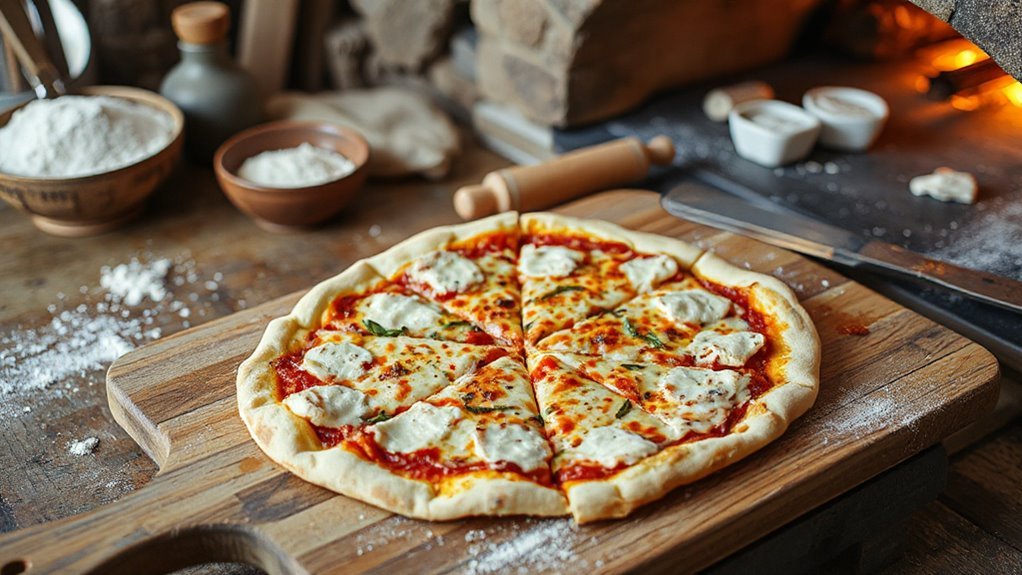
What Type of Oven Is Best for Thin Crust Pizza?
If you’re aiming for that perfect, crispy thin crust, a wood-fired oven‘s your best friend. Much like a classic Italian pizzeria, it delivers high heat and smokiness that take your pizza to another level. If you don’t have access to one, a pizza stone in a conventional oven works wonders, too. Just preheat it to get that hot, inviting surface. Either option will help you release your inner pizzaiolo with delicious results!
How Can I Store Leftover Thin Crust Pizza?
To store leftover thin crust pizza, you’ve got a couple of great options! For short-term storage, wrap individual slices in foil and pop them in the fridge. If you want to keep them longer, freeze them with parchment paper between slices. When you’re ready to enjoy, you can reheat in the oven at 375°F for a crispy texture, or toss them in the microwave for a quick fix—whatever suits your mood!
What Is the Ideal Serving Temperature for Thin Crust Pizza?
The ideal serving temperature for thin crust pizza is between 130°F to 160°F. When you slice it, let it rest for a minute to reach that sweet spot. This temperature range helps keep the crust crispy while making the cheese perfectly melty. For bonus serving tips, you can warm your plates beforehand or even pop the pizza in a warm oven for a few minutes. Enjoy every delicious, cheesy bite!
Can I Prepare the Dough Ahead of Time?
Absolutely, you can prepare the dough ahead of time! Just remember that dough fermentation improves its flavor and texture. Mix your ingredients, knead until you achieve that perfect dough consistency, then let it rise. You can refrigerate it for up to 24 hours, which enhances the taste. When you’re ready to make your pizza, just roll it out, and you’ll have a delicious base waiting for you! Enjoy the freedom of prepping in advance!
Conclusion
With a few simple steps and a sprinkle of creativity, you can whip up a thin crust pizza that’ll make your taste buds dance. Remember, even the most seasoned chefs started somewhere, and it’s all about enjoying the journey. So, when a pie doesn’t turn out as expected, don’t sweat it—each attempt brings you closer to pizza perfection. Embrace the process, and soon you’ll be the pizza maestro you’ve always dreamed of being!